
Table of contents: Front suspension and steering ↓ Rear suspension ↓
1. At intervals given in Section "Maintenance" at the beginning of this manual, perform a complete inspection of all suspension and steering components using the following procedures as a guide.
Front suspension and steering
2. Apply the handbrake. Jack up the front of the car and secure it on axle stands.
3. Visually inspect the lower ball joint dust caps and steering rack, mechanism protective covers. If the ball joint dust caps are damaged, they can be replaced separately as described in Chapter 7.
4. Grasp the wheel at the 12 and 6 o'clock positions and try to rock it. Very little play is acceptable, but if movement is noticeable, you need to determine the cause. Continue rocking the wheel while pressing the brake pedal. If there is no movement or movement has decreased, the hub bearings are probably damaged. If there is still play with the brake pedal depressed, there is wear in the suspension joints or mountings. Finally, look at the lower ball joint and the control arm mounting bushings. Replace worn components as described in the relevant Chapters of this Section.
5. Now grasp the wheel at the 9 o'clock and 3 o'clock positions and try to rock it. Movement may be caused by wear in the hub bearings or the inner or outer ball joints of the steering tie rod. If there is no movement when the brake pedal is depressed, damage to the steering tie rod joints is likely. Removal and installation of the tie rod assemblies are described in Chapter 20.
6. Using a large screwdriver or flat bar, check for wear in the stabilizer bar mounts and control arm mounts by gently pushing on these components. Slight movement is acceptable as the mounts are made of rubber. Replace any worn bushings.
7. When turning the steering wheel back and forth one eighth of a turn in each direction, there should be no play in the transmission of motion between the steering wheel and the wheels. If this is not the case, closely inspect the connections and installations described earlier, but in addition check the steering column connections and the rack and pinion mechanism. Any wear should be visible and corrected as described in the relevant Chapters of this Section.
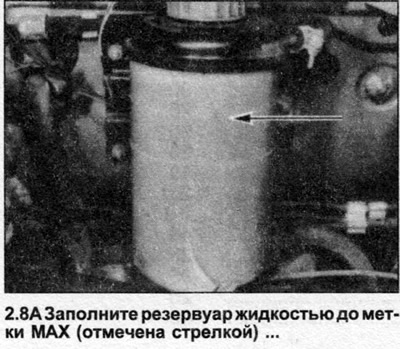
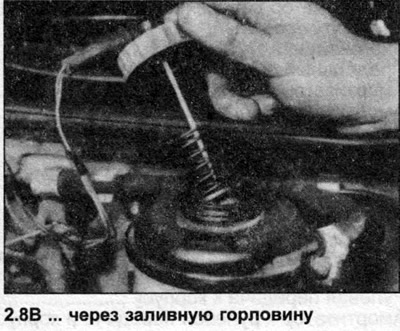
8. On models equipped with power steering, check the hydraulic oil level in the reservoir. Check under the following conditions: the vehicle is unloaded, the engine is running, the steering is in the straight-ahead position. If necessary, add hydraulic oil to the MAX mark (photo). Check the condition of the power steering pump drive belt, replace it or adjust the tension if necessary.
Rear suspension
9. Block the front wheels, jack up the rear of the car, and secure it on axle stands.
10. Visually inspect the condition of the rear suspension components, connections and rods.
11. Grasp the wheel at the 12 o'clock and 6 o'clock positions and try to rock it. Excessive movement indicates play in the hub bearing, which should be checked as described in Chapter 12.
Wheels and tires
12. Carefully inspect each tire, including the spare, for uneven wear, excessive bulges, or damage to the tread surface or sidewalls. Refer to Chapter 30 for further details.
13. Check the condition of the inner side surfaces of the wheel rim. Check the tightening torque of the wheel bolts, check the tire pressure.
Shock absorbers
14. Check for leaks around the shock absorber body or from the rubber boot around the piston rod. If fluid leaks are noticed, the shock absorber is faulty and needs to be replaced.
15. The effectiveness of the shock absorber can be checked by rocking the car in each corner. Generally speaking, the body should return to its normal position and stop immediately after being released. If it rises and falls again, the shock absorber may be faulty. Also check the upper and lower shock absorber mounts. Replacement procedures are contained in Chapters 4 and 10.
The original article is located on the online resource: audimanual.ru