
2. Place under the rear axle on the working side, lift the axles.
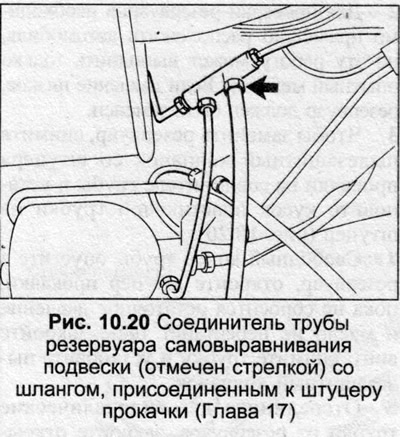
3. On vehicles with self-leveling suspension, move the three-way connector in the hydraulic pressure line to the rear suspension reservoirs (Fig. 10.20). Connect a suitable hose to the bleed nipple on the connector, place the other end of the hose in a container. Open the bleed nipple to release the pressure, close it again and remove the hose. Disconnect the hydraulic line coupling in the strut assembly.
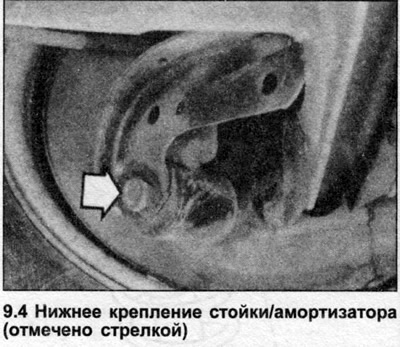
4. Unscrew the nut and remove the bolt securing the lower shock absorber mount (photo).
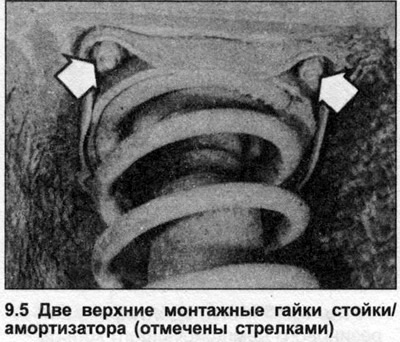
5. Unscrew the three upper mounting nuts, remove the suspension strut/shock absorber (photo).
6. Installation is carried out in the reverse order, tightening all nuts and bolts to the tightening torque specified in the Specifications. On vehicles with self-leveling suspension, fill the power steering reservoir to the MAX mark with the engine running and the steering wheel in the straight-ahead position. If the reservoir was empty, use the following Chapter 25 for the bleeding and filling procedure.