
2. Remove the plastic cover from the top of the shock absorber.
3. Block the front wheels. Jack up the rear of the car and support it on axle stands installed under the bottom
4. Support the rear axle with a jack.
5. Unscrew the nut on top of the shock absorber, remove the cuff and the upper rubber cushion (photo). Note that it is not recommended to remove both shock absorbers at the same time, otherwise there is a risk of damaging the flexible hoses of the hydraulic brake system.

6. Lower the rear axle only enough to relieve all tension on the coil spring.
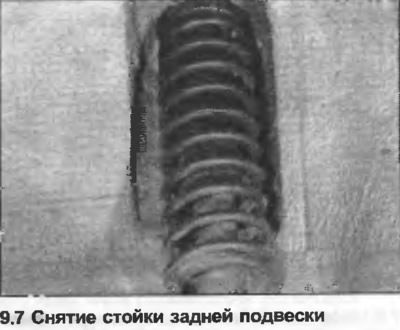
7. Loosen and remove the lower shock absorber mounting bolt. The shock absorber, together with the coil spring, shock absorber ring and mounting parts, can now be lowered from the vehicle (photo). Note the installation position of the rubber cushions.
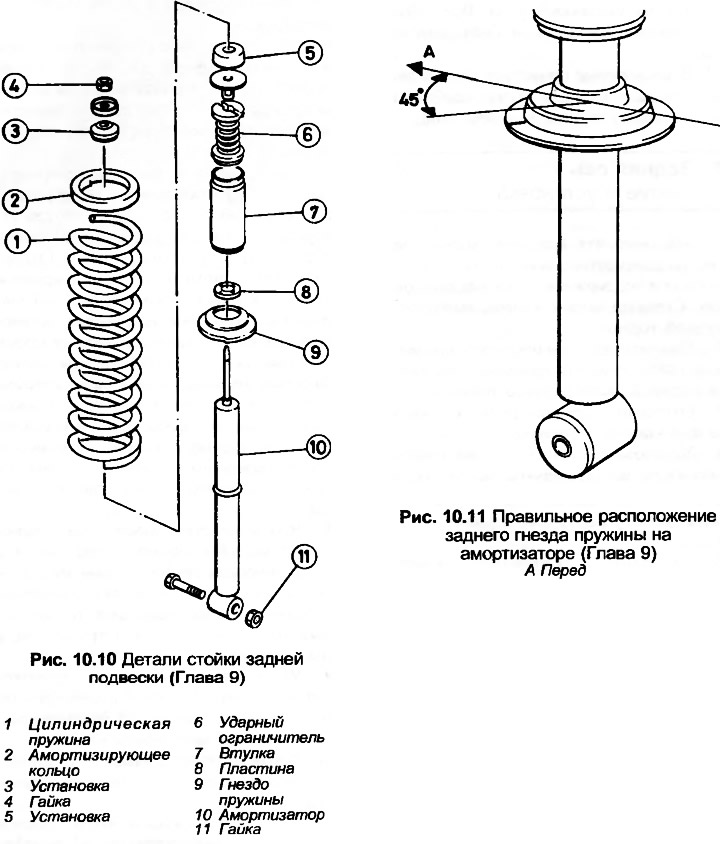
8. Remove the coil spring, shock absorber ring, lower spring seat, mounting and rubber shock stop.
9. Clean all parts, check their condition. Check the shock absorber, following Chapter 4, item 6. The shock absorber and coil spring are color coded and when installing new ones, they must have the same color code. Before installing a new shock absorber, the piston must be pumped several times to full stroke in a vertical position to remove air.
10. Installation is carried out in the reverse order. Position the lower spring support as shown in Fig. 10.11 and dust the upper rubber pads with talc. Do not fully tighten the lower shock absorber mounting bolt until the vehicle weight has been established on the suspension. All automatic lock nuts must be replaced.
(The original source of the article can be found on the website: «AUDIMANUAL.RU»)