



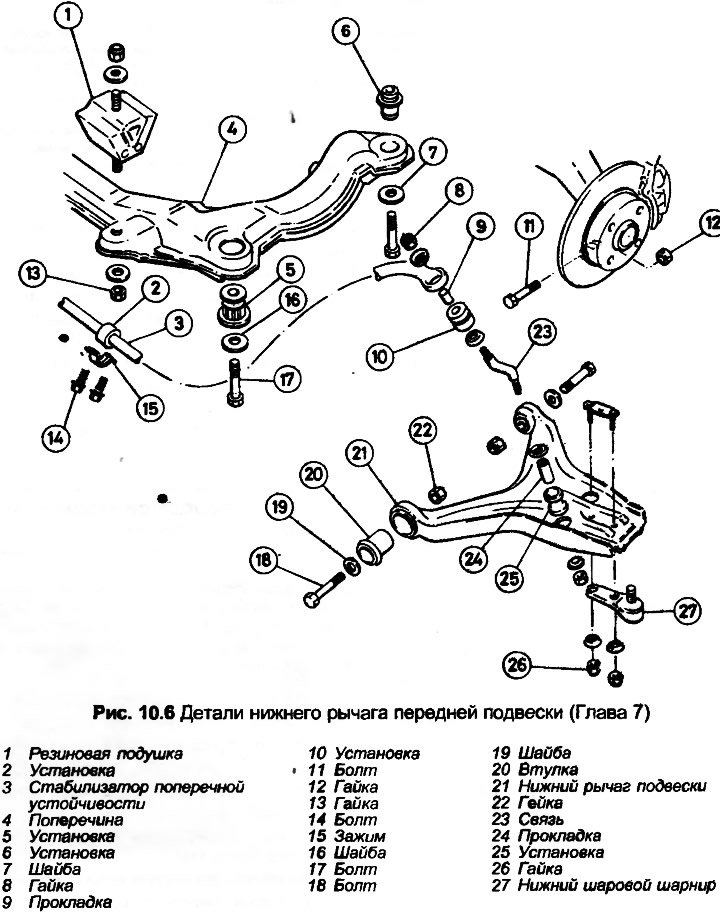
1. Apply the handbrake, then jack up the front of the car and support it on axle stands. Remove the relevant front wheel.
2. On direct-acting steering models, remove the stabilizer bar completely as described in Chapter 6. On models with power steering, remove the nut securing the lateral links to the lower control arm.
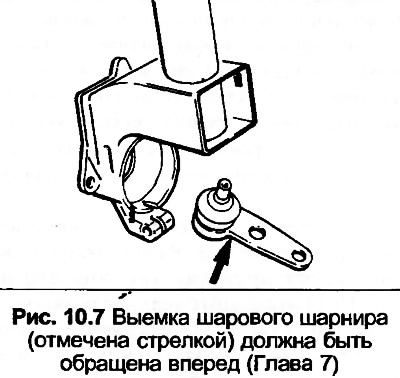
3. Loosen and remove the lower suspension ball joint clamp bolt with the bolt head facing forward.
4. Push the suspension arm down to release the ball joint from the wheel bearing housing.
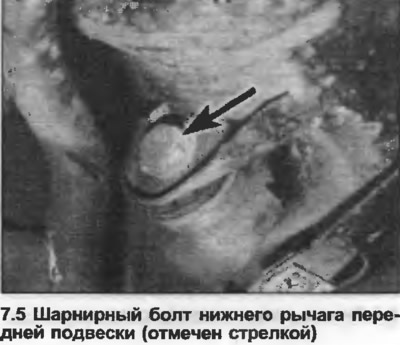
5. Loosen and remove the pivot bolts (photo) from the lower frame, noting that the nuts are facing each other, then lower the lever and remove it from under the car.
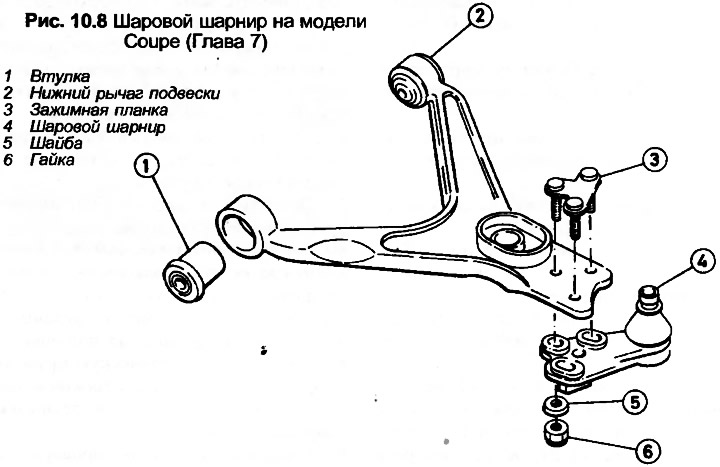
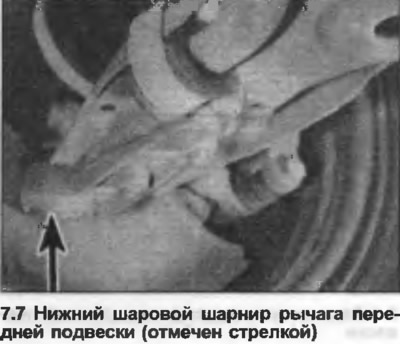
6. Check the ball joint for wear and the condition of the pivot bushings. Also check that the suspension arm is not damaged. If necessary, replace the ball joint and bushings as follows.
7. Before replacing the ball joint, determine the exact position on the control arm (photo). This is important because the holes in the control arm are elongated to allow for camber adjustment. Loosen the nuts, remove the ball joint and clamp bar. Position the new ball joint exactly on the mark, install the clamp bar and tighten the nuts. New nuts must be used. Note on non-Coupe models, the offset side of the ball joint must face forward. On Coupe models, the ball joint with the uneven part number must be on the left side, and the one with the even part number on the right side.
8. To replace the steering axle bushings, use a long bolt along with a metal pipe and washers to pull out each bushing. Install the new bushings using the same method, but soak them in soapy water first.
9. Install the suspension arm in the reverse order. Do not tighten the pivot bolts until the weight of the vehicle is placed on the suspension.
10. Guided by Chapter 6, install the anti-roll bar.
11. Tighten all nuts and bolts to the torque specified in the Specification, noting that the internal pivot bolts are additionally turned by the specified angle. All auto-lock nuts must be replaced.
12. Finally, check the front wheel camber angle and have it adjusted by your Audi dealer if necessary.
(The original version of the article is posted on the website: AUDIMANUAL)