
Table of contents: Disassembling the ignition… ↓ Checking the ignition distributor ↓ Removal the ignition distributor ↓
The ignition distributor is, in a certain sense, two-level. At each level, different work is performed:
In the high-voltage element, the distributor runner distributes the ignition pulse to the spark plugs.
At the lower level of the distributor there is a Hall sensor that generates control pulses.
Disassembling the ignition distributor
Use a screwdriver to pry up the metal fastening brackets on the cover.
Disconnect the ground wire from the shielding.
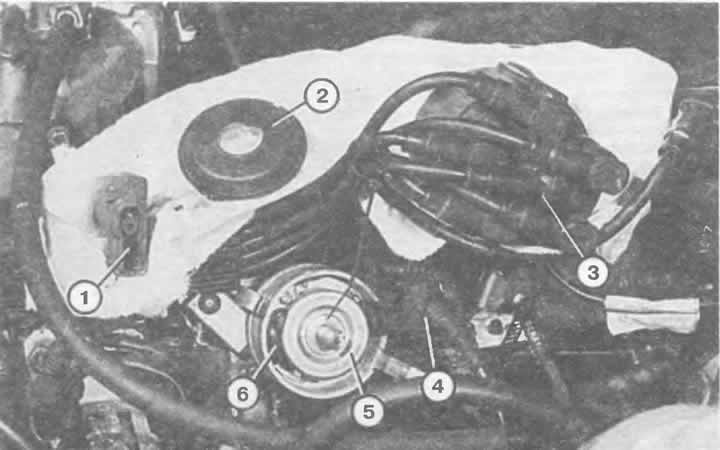
Remove the distributor cap, the high voltage wires remain connected.
Remove the distributor runner and take out the dust cover located below.
When installing, insert the dust cover so that the guide protrusion fits into the groove along the edge of the distributor housing.
Disassembled ignition distributor of a 5-cylinder engine:
1 — distributor runner;
2 - dust cover;
3 — distributor cap;
4 — plug;
5 - perforated diaphragm;
6 — Hall sensor.
The distributor rotor has a lug that fits into a recess on the distributor shaft.
The distributor cap is also provided with a lug as protection against displacement, it must fit into the cutout on the distributor body.
Checking the ignition distributor
Remove the distributor cap. It must be clean both inside and outside so that conductive dirt, friction products or moisture do not drain high voltage current from the ignition system.
The contact carbon in the middle should be smooth and shiny and move without jamming or binding.
The distributor runner must not be burnt on the contact tongue and on the filling compound of the interference suppression resistor between the middle contact and the tongue.
A correctly selected distributor runner should be marked "R1".
The pencil-like streaks on the distributor cap are traces of current leakage, which were burned out by dirt or moisture.
This can be temporarily fixed by scraping them off with a screwdriver or knife and covering them with a layer of glue, nail polish, or, for lack of a better option, just lipstick.
Removal the ignition distributor
Removal: set the first cylinder to the TDC position of the ignition timing, see chapter "Engines".
Remove the distributor cap.
Remove the bolt on the distributor mount (at the bottom at the base), remove the ignition distributor.
Installation: The camshaft and crankshaft must still be at TDC (control).
4-cylinder models only: The slot on the end of the oil pump shaft must be positioned in the distributor bore parallel to the crankshaft.
Turn the distributor shaft so that the contact plate of the distributor runner coincides with the mark on the edge of the distributor housing.
Insert the ignition distributor, if necessary, turn its body until it matches the mark. Finally, adjust the ignition, see end of chapter.