
Table of contents: Removal ↓ Inspection ↓
Removal
1. On models with a manual transmission, remove the transmission (see Section 6) and clutch (see Section 5).
2. On models with automatic transmission, remove the transmission as described in Section 7.
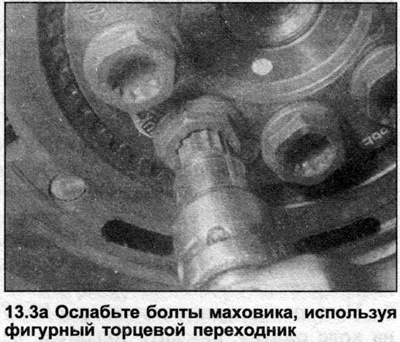
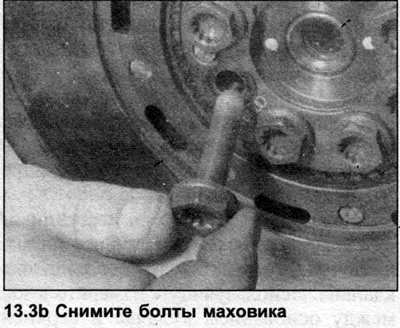
3. The flywheel/drive plate bolts are unevenly spaced across the flywheel/drive plate to ensure proper orientation during installation. Screw the bolt into the cylinder block and use a wide screwdriver to lock the flywheel/drive plate. Use a socket adapter to remove the component mounting bolts (see illustrations).
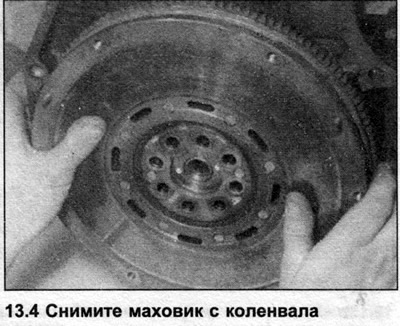
4. Remove the flywheel/drive plate from the crankshaft (see illustration). When removing the drive disc, note the location of the gaskets.
Inspection
5. Check the flywheel/drive plate for damage and signs of wear. Inspect the flywheel ring gear for broken teeth. If the drive plate or its ring gear is damaged, they must be replaced as an assembly. The flywheel ring gear can, however, be replaced separately from the flywheel, but this work should be entrusted to an Audi dealer. If the flywheel contact surface with the clutch is discolored or has deep scratches, cracks or other damage, the flywheel must be replaced. However, in some cases the flywheel surface can be reground - consult your dealer for advice. Be sure to replace the flywheel/drive plate bolts.
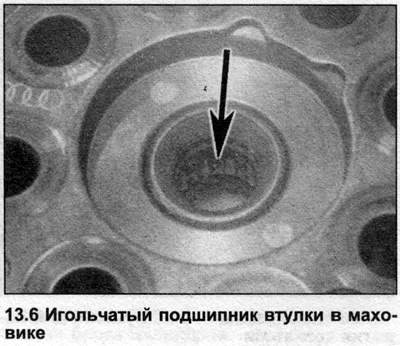
6. Check the needle bearing bushing in the center of the flywheel for signs of wear by rotating it with your finger (see illustration). If there is any sign of excessive wear or if the bearing is missing grease, replace it. To do this, place the flywheel with the engine side facing up and use a suitable drift to drive out the bearing. Turn the flywheel over and install the new bearing so that it is flush with the clutch-facing surface of the flywheel. The sealed side of the bearing should face the engine.
Installation
7. Install in reverse order. Coat the threads of the new bolts with locking compound, insert them and tighten them to the tightening torque of Stage 1, then tighten them to the required angle (Stage 2).
[The text is based on materials from the website AUDIMANUAL]