
Table of contents: Inspection ↓ Replacement ↓
Inspection
1. Jack up the front of the vehicle and support it securely on axle stands, then remove the lower engine compartment panel.
2. Inspect the rubber pads to ensure they are not cracked, hardened or separated from the metal base. Replace the pad if damaged or contaminated.
3. Make sure that the hanger fasteners are securely tightened (use a torque wrench).
4. Using a large screwdriver or crowbar, carefully check the suspension for play (he talks about wear and tear). Alternatively, have a helper move the engine/transmission back and forth or side to side and observe the mounts. Some play should be present even with new components, but excessive wear will be obvious. If play is significant, first check the tightness of the relevant mounting bolts, then replace any worn components as described below.
Replacement
5. Apply the handbrake, then jack up the front of the car and support it on axle stands.
6. Support the weight of the engine with a winch.
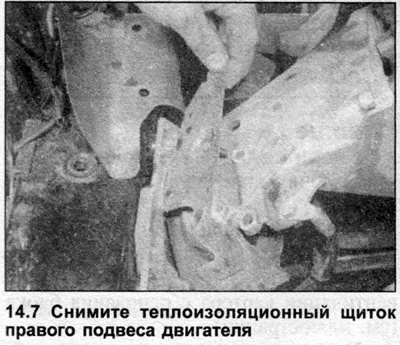
7. To remove the right suspension, first unscrew the nuts and remove the heat-insulating shield from it (see illustration).
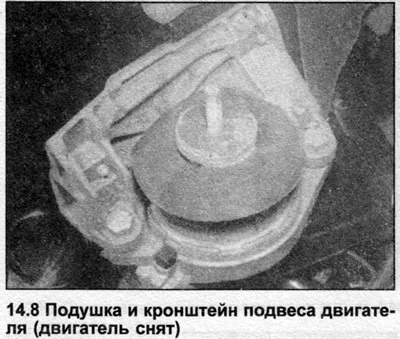
8. Unscrew the upper nut of the suspension, then lift the engine and unscrew the suspension bracket bolts (see illustration).
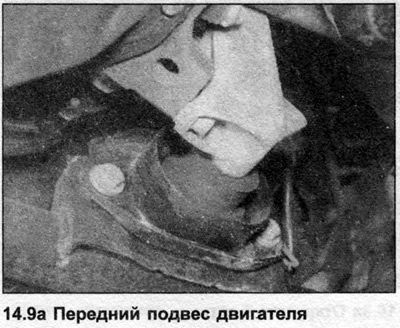
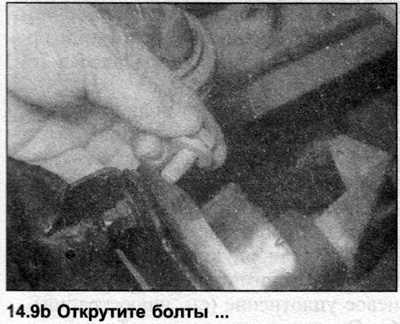
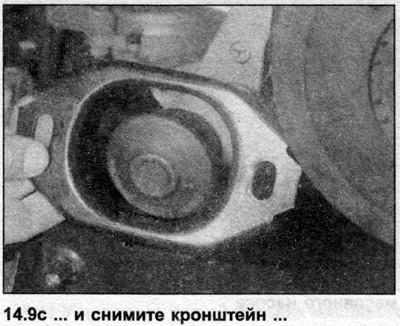
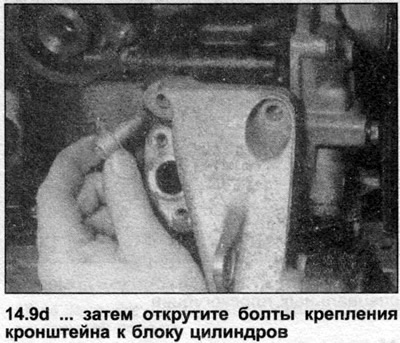
9. To remove the front suspension, unscrew the bolts and separate the bracket from the subframe, then remove the bolts securing the suspension to the cylinder block (see illustrations).
10. Install the new hanger in the reverse order of removal.
[This publication is borrowed from the resource: AUDIMANUAL.ru]