
Table of contents: Removal ↓ Installation ↓
Removal
1. Apply the handbrake, then jack up the front of the car and support it on axle stands.
2. Unscrew the bolts and remove the lower shield from under the engine. Remove the engine oil level dipstick.
3. Place a container under the pan, then unscrew the drain plug and drain the engine oil. After all the oil has drained, clean, install and tighten the plug.
4. Remove the screws and separate the wiring and hose brackets from the front suspension crossmember.
5. The front suspension crossmember now needs to be moved down so that the pan can be removed. To do this, unscrew the front crossmember mounting bolts so that they are only held in place by three threads. To prevent the crossmember from falling, support it with a jack before unscrewing the bolts. Unscrew the bolts completely, then screw them in three turns each and remove the jack.
Note: Manufacturers recommend replacing bolts during installation.
6. To access the two rear oil pan bolts, rotate the crankshaft until the slots in the oil pan and flywheel align.
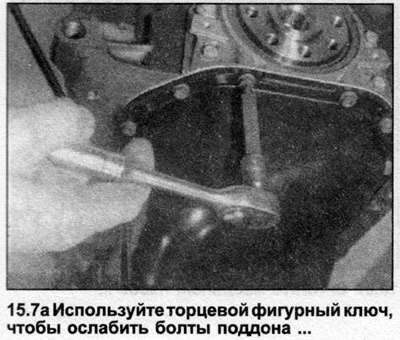
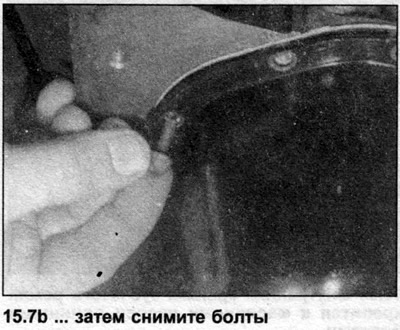
7. Loosen and remove the pan bolts using a socket wrench (see illustrations).
8. Remove the pan and gasket (see illustration). If this does not work, gently tap the tray with a mallet.
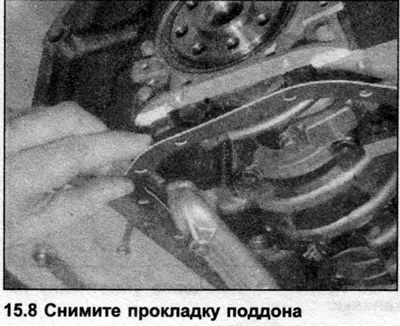
Note: On the 3D engine, the gasket has a reflector plate.
Installation
9. Clean the contact surfaces of the oil pan and engine block.
10. Place a new gasket on the oil pan, then position the oil pan against the engine block and install the bolts. Do not use sealant. Working in a diagonal sequence, gradually tighten the bolts to the torque specified in the Specifications.
11. Tighten the front crossmember mounting bolts to the torque specified in the Specifications.
12. Install the electrical wiring and hose brackets onto the crossbar.
13. Install the engine oil dipstick.
14. Install the lower engine shield and lower the vehicle to the ground.
15. Fill the engine with the required amount of oil.
(A link to the original source is available on the website: AUDIMANUAL.ru)