
Use a syringe to suck out the working fluid so that its level becomes lower than the fluid supply nipple to the master cylinder.
Remove the left lower instrument panel trims.
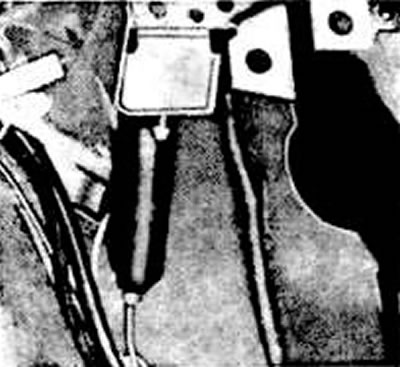
Clutch master cylinder installation location
Place some material underneath to protect the floor mats.
Disconnect the working fluid supply pipe to the clutch master cylinder and drain excess fluid into a clean container.
Disconnect the pipe from the master cylinder that goes to the slave cylinder and drain the excess working fluid.
Loosen the mounting bolts and remove the master cylinder.
Install the clutch master cylinder in the reverse order, then bleed the clutch hydraulic drive as follows: remove the protective cap from the bleed nipple on the slave cylinder and attach a hose to it, lowering the lower end of which into brake fluid poured into a transparent glass container.
Slightly unscrew the bleed nipple, press the clutch pedal all the way down and smoothly release the pedal.
Repeat the operation several times until no more air bubbles come out of the hose with the brake fluid.
Add working fluid to the clutch hydraulic reservoir to the normal level.
Screw the bleed nipple onto the slave cylinder and install the protective cap on it.
Check the operation of the clutch and the free play of the clutch pedal.
(The original material is located on the website Audimanual.ru)