



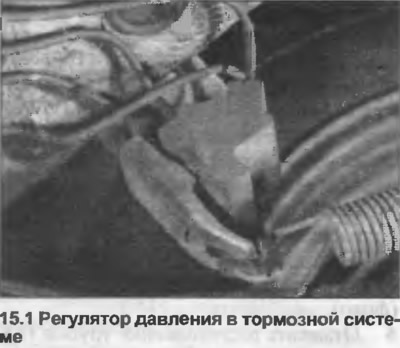
2. To check the operation of the adjuster, press and quickly release the brake pedal. If the vehicle is on the suspension, the adjuster arm should move, indicating that the unit is not jammed.
3. To check for leaks from the regulator, connect pressure gauges to the left front brake caliper and the right rear wheel cylinder or caliper. Since special equipment is not usually available to the home mechanic, this job should be left to an Audi dealer. However, the procedure is as follows. Press the brake pedal until the pressure in the left front caliper is 100 bar. Record this pressure for five seconds and check that the pressure in the right rear wheel cylinder or caliper does not differ by more than 10 bar.
4. Note that over time it is normal for a small amount of brake fluid to leak from the regulator outlet.
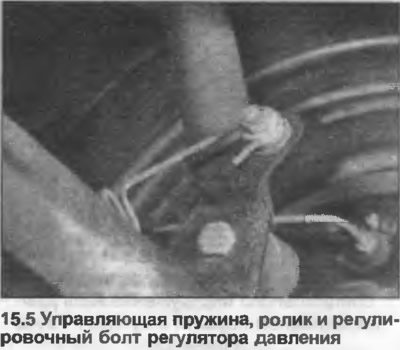
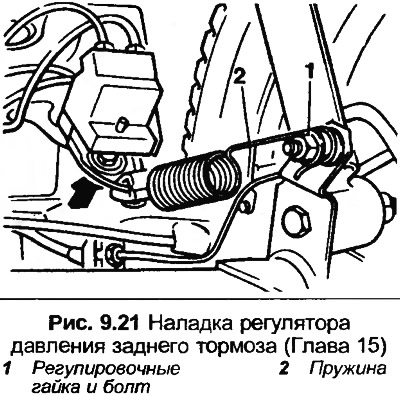
5. Before adjusting the regulator, unscrew the nut, disconnect the control spring and remove the plastic roller from the adjustment bolt (photo). Clean the bushing, apply grease to it, then install the roller, nut and spring without tightening the nut.
6. The car should be at normal net weight and the rear suspension at normal height. Shake the rear of the car several times to settle the suspension.
7. Press the regulator lever all the way back until it hits the stop.
8. On Audi 90 models, place a 1.0mm drill bit between the engaged end of the spring and the plastic roller. On Coupe models, use a 7.0mm drill bit.
9. Move the adjusting bolt to remove all slack from the coil spring, but do not stretch it, then tighten and lock the nut.
10. Remove the drill, push the spring completely onto the plastic roller.
[Read the original source on the website AUDImanual]