
Table of contents: Replacing lamps ↓ Removal ↓
Replacing lamps
External rear lights: Turn the rotary latch to the left and remove the socket.
Lights in the luggage compartment lid: First remove the lid (for Avant see chapter "Body parts").
Turn the lamp socket approximately 30° to the left (counterclockwise) and pull it out.
Replacing lamps is the same in all cases: lightly press the lamp into its socket, turn it to the left and remove it.
When installing a dual-filament bulb for the brake light and rear position lights, please note that their side mounting pins are located at different heights. Due to this, the bulb can be installed without force only in one specific position.
Removal
Exterior rear lights: remove bulb socket (see previous section).
Unscrew the trunk trim in the area of the rear lights.
Remove the four hex nuts from the luggage compartment side.
Remove the lamp housing from the outside. If it is stuck to the body due to the sealing cord, you should pry it off with a screwdriver wrapped in a rag.
Individual lights on the trunk lid: remove the bulb socket (see previous section).
Remove the locking element from the right rear light by loosening the two hex bolts.
Remove a total of four hex nuts from the inside of the cover.
These taillights can also get stuck to the body due to the sealing cord - pry it off with a screwdriver.
A new sealing cord must be used during installation.
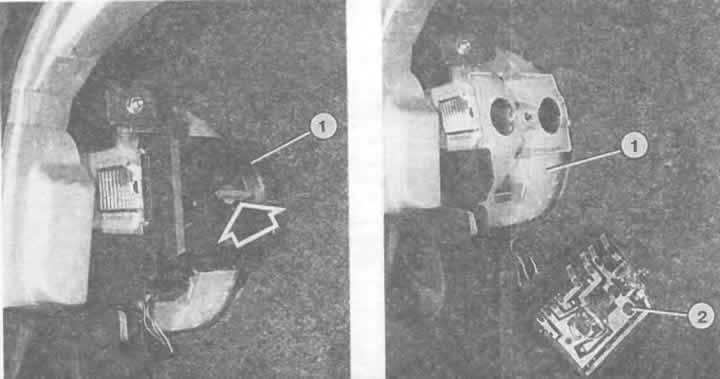
Replacing the rear light bulbs.
Left: remove the cartridge (1) after pressing the rotary latch (arrow).
Right: The headlight socket (2) is separated from the headlight housing (1).
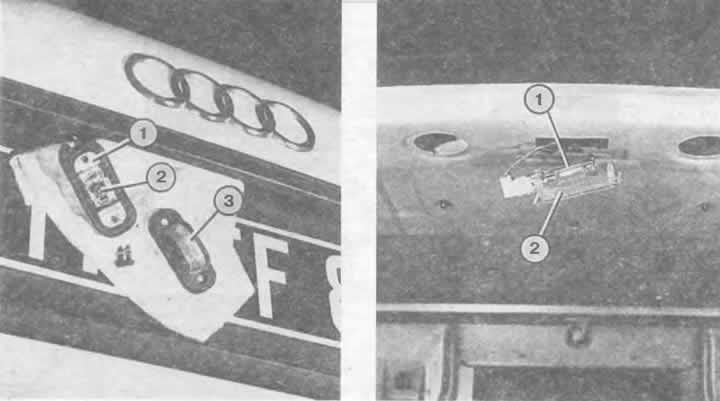
Left: License plate light:
1 - lamp support;
2 - incandescent lamp;
3 - outer glass.
Right: The luggage compartment light (2) is inserted into the sheet metal at the top in front of the luggage compartment lid in passenger cars with a saloon body.