
Table of contents: Removal ↓ Installation ↓
Note: Observe the precautions given in Chapter 1.
Removal
1. Before removing the tank, drain as much fuel from it as possible.
2. Disconnect the negative cable from the battery and move it away from the terminal. If possible, use a hand pump or siphon to suck out any remaining fuel from the bottom of the tank.
3. Guided by Chapter 4, do the following:
- a) Disconnect the wiring from the top of the sensor.
- b) Disconnect the fuel supply and return hoses from the sensor.
4. Open the fuel filler cap and remove the screw securing the filler cap to the body.
5. Jack up the rear of the car and place it on axle stands. Block the front wheels.
6. Remove the right rear wheel, then unscrew the bolts and remove the wheel arch liner.
7. Disconnect the overflow hose from the filler neck and holder.
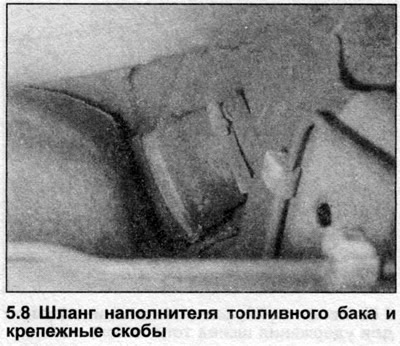
8. Loosen the clamp and disconnect the filler hose from the fuel tank, then remove the filler hose from under the vehicle (see illustration).
9. Place the jack in the center of the tank. Insert a wooden block between the jack seat and the tank to prevent damage. Use the jack to lift the tank slightly.
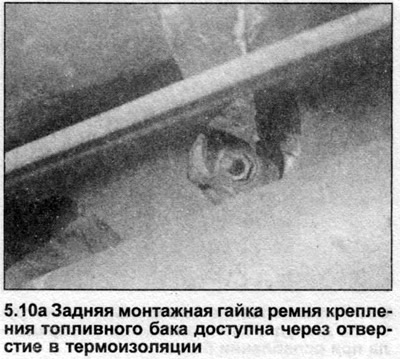
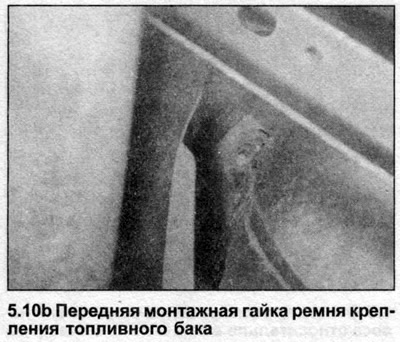
10. Unscrew the nuts securing the belts to the bottom and remove the belts (see illustrations).
11. Lower the jack, supporting the tank, and then remove it from under the car.
12. If a new tank is to be installed, remove the heat-resistant shield from the old one.
13. If the tank is contaminated with sediment or water, remove the sensor (see Chapter 4) and flush the tank with clean fuel. The tank is made of synthetic material and should be replaced if damaged. However, in some cases, it may be possible to repair small leaks or minor damage. Consult a specialist for advice.
Installation
14. Install in the reverse order of removal, paying attention to the following:
- a) When lifting the tank back into working position, ensure that the rubber cushions are positioned correctly and that none of the hoses are pinched between the vehicle body and the tank.
- b) Make sure all tubes and hoses are connected correctly and securely.
- c) Connect the ground strap to the terminal on the filler neck.
- d) Tighten the tank mounting bolts to the specified tightening torque Specifications.
- e) Finally, fill the tank with fuel and check for leaks.