
Note: For safety, the fuel tank should be removed in a well-ventilated area and never over an inspection pit.
1. Disconnect the negative battery cable.
2. Block the front wheels, then jack up the rear of the car and install holders on axle stands. Remove the filler cap.
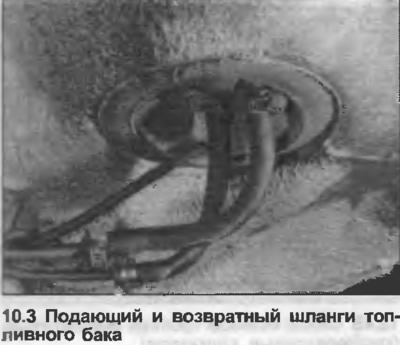
3. Place a container under the fuel tank. Loosen the clamps, disconnect the feed and return hoses from the tank (photo).
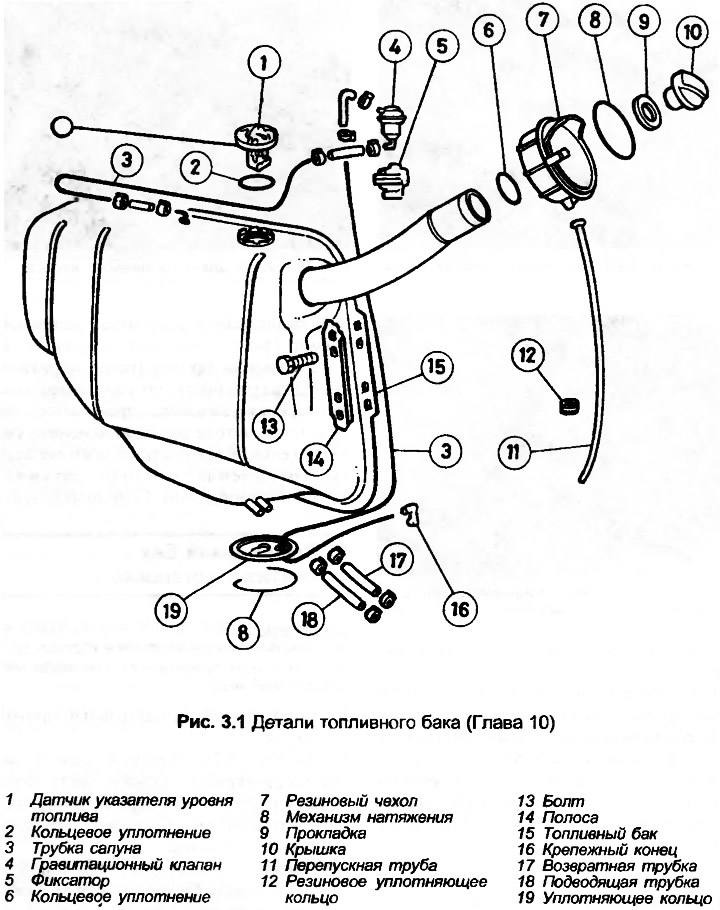
4. Remove the rubber sealing ring and disconnect the breather tube.
5. Remove the trim in the luggage compartment.
6. Disconnect the electrical wiring from the fuel level sensor.
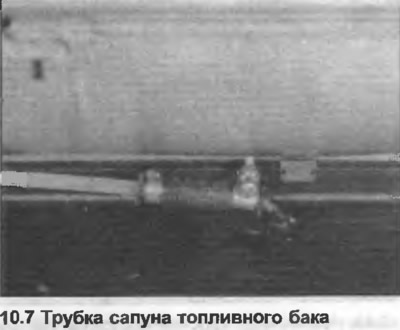
7. Disconnect the breather tube from the top of the tank (photo).
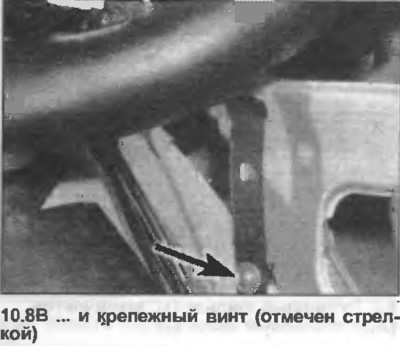
8. Loosen the mounting bolts and remove the clamp plates (photo). Remove the fuel tank from the luggage compartment.

9. If the tank is contaminated with sediment or water, remove the gauge sensor as described in Chapter 11, and flush the tank with clean fuel. If the tank is damaged or leaking, it must be repaired by specialists or replaced with a new one.
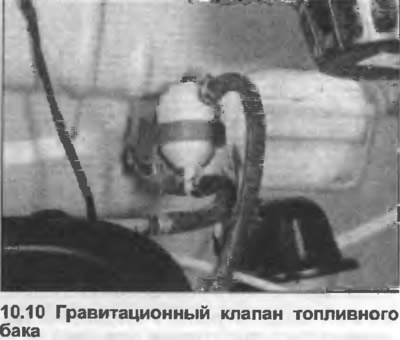
10. With the tank removed, it is a good idea to check the gravity valve (photo). Disconnect the hoses and remove the valve from the retainer. When in a vertical position and correctly oriented, the valve should be open, but when tilted at 45°, it should close.
11. Installation of the fuel tank is carried out in the reverse order of removal.
(This article was previously published on the resource: AUDIMANUAL)