
Execution order
1. Connect the ammeter to the glow plug circuit.
2. Disconnect the wire from the coolant temperature sensor.
3. Use the ignition key to turn on the glow plugs for a maximum of 15 seconds.
4. Measure the current consumed by the glow plugs. It should be about 60 A.
5. The current passing through one spark plug is about 12 A. Therefore, if the measured value is 48 A, then one spark plug is damaged, 36 A - two spark plugs, 24 A - 3 spark plugs, 12 A - 4 spark plugs. If the ammeter shows zero, i.e. no current consumption, this indicates a malfunction of all spark plugs.
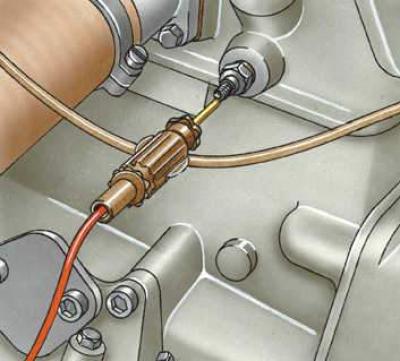
6. To determine the faulty spark plug, disconnect the wire and the current-carrying bus from the glow plugs. Connect the tester wire to the positive terminal of the battery and apply the tester to each spark plug in turn, as shown in the figure. If the tester lamp lights up, the spark plug is OK; if not, it is damaged and must be replaced. Screw in the new spark plug and tighten it to a torque of 30 N·m (3.0 kgf·m). Do not exceed the specified tightening torque to avoid damaging the spark plug. Connect the current-carrying bus and wire.
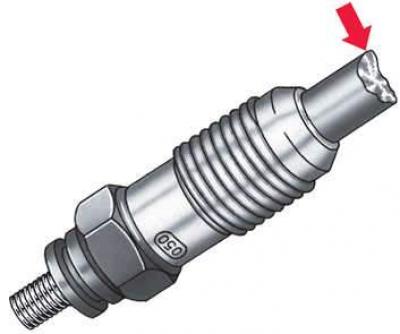
7. If the spark plug checks do not reveal any faults, but the engine starts poorly, visually check the spark plugs while they are heating up. To do this, remove the injectors and observe the spark plugs through the injector holes. If spark plugs with burnt tips are found, as in the picture, this means that the injectors are not working properly. Replacing such spark plugs is not enough; you also need to check the injectors for injection pressure and tightness. You should also make sure that the fuel flow is dense and well atomized. It is recommended to check the injectors at a service station.