
Air temperature sensor contact numbers
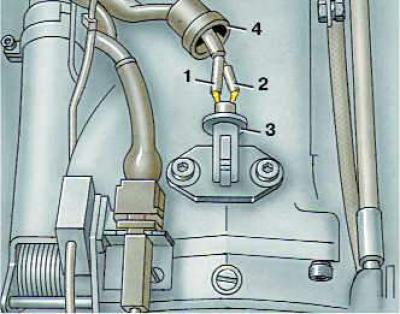
- 1 and 2 - sensor contacts;
- 3 - air temperature sensor;
- 4 - protective cover
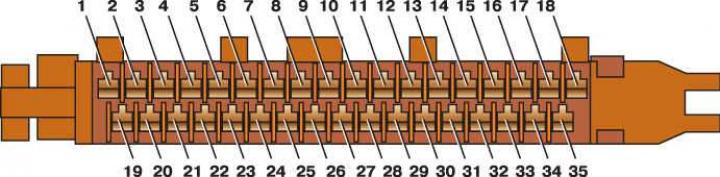
Control unit junction block contact numbers
Execution order
1. Move the protective cover.
2. Use an ohmmeter to measure the resistance between contacts "1" and "2" of the sensor. It should be 400–700 Ohm.
3. If the resistance differs from the specified one, you need to measure the resistance of the wiring between contact "3" and contacts "1" and "2" in turn. The resistance should be equal to zero and 400-700 Ohm, respectively.
4. Then measure the resistance between contact "24" and contacts "1" and "2" in turn. The resistance should also be equal to zero and 400–700 Ohms, respectively. If the resistance differs from the specified value, there is a break in the wiring.
5. Unsolder the wires from the sensor and measure the resistance between its contacts "1" and "2" again. It should be 400–700 Ohm. If the resistance differs from the specified value, replace the sensor.
6. Unscrew the two bolts and remove the sensor.
7. Install a new sensor, tighten the bolts.
8. Solder the wires to the sensor contacts.
[This article was copied from an online resource AudiManual.ru]