2. Disconnect the wiring connector on models with power windows.
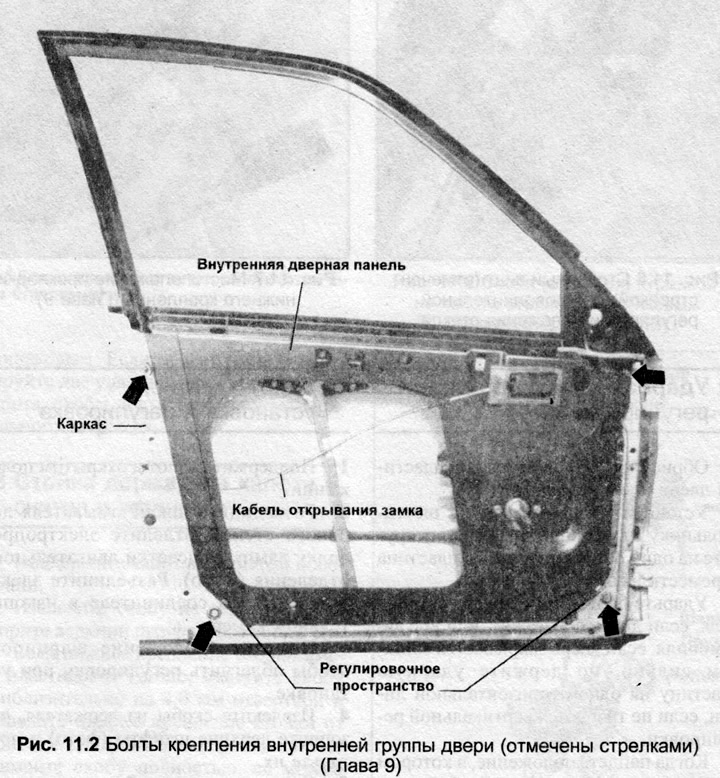
3. Referring to Fig. 11.2, remove the four bolts securing the inner door panel to the outer door panel. Note the washers on the two lower bolts.
4. Remove the inner door group with glass and frame from the outer door group.
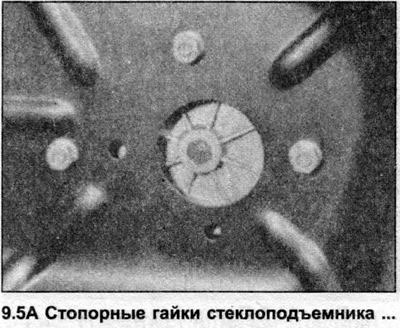
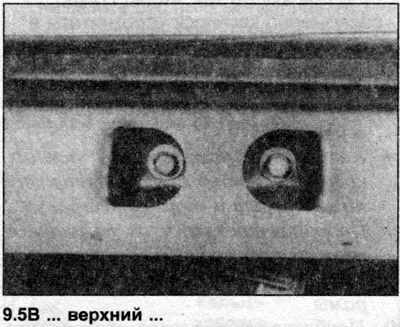
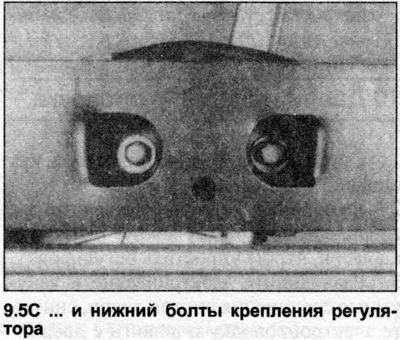
5. Unscrew the bolts securing the window regulator to the door group (photo). Remove the regulator from the inner door group.
6. Remove the window glass by sliding it down from the guide channels.
7. Installation is carried out in the reverse order; before installing the inner door group to the outer door group, adjust the window glass as follows.
8. Move the window to its lowest position.
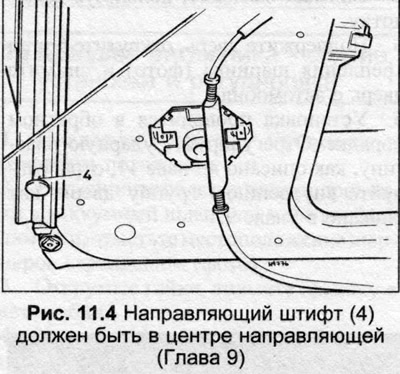
9. Look down into the guide channels and check that the lower guide pin is centered in the guides. If not, loosen the regulator mounting bolts and move the regulator.
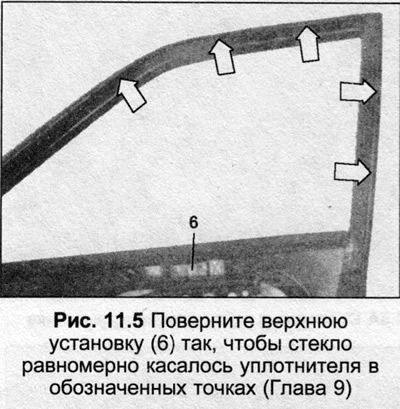
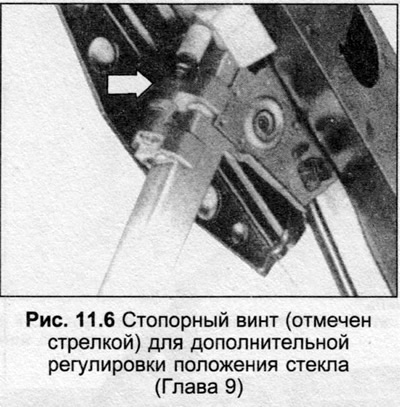
10. Raise the window, adjust the regulator so that the glass contacts the seal evenly at the points indicated in Fig. 11.5. It may be necessary to turn the regulator as required (Fig. 11.6).
11. Adjust the inner group as follows.
12. Check the door closing and opening. If adjustment is necessary, loosen all four bolts securing the inner group to the outer group. Move the group, noting the following as necessary:
- a) Elongated holes in the upper mounts allow vertical adjustment
- b) Extended holes in the lower mounts allow for vertical and horizontal adjustment
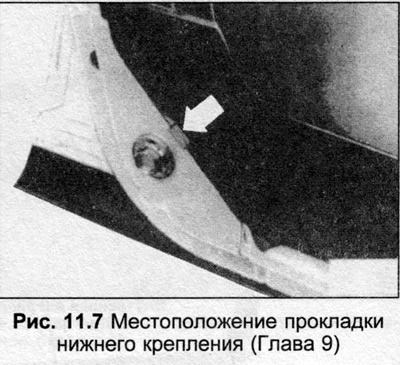
- c) By selecting the thickness of the spacers in the lower fastenings, you can adjust the group at the top of the window frame
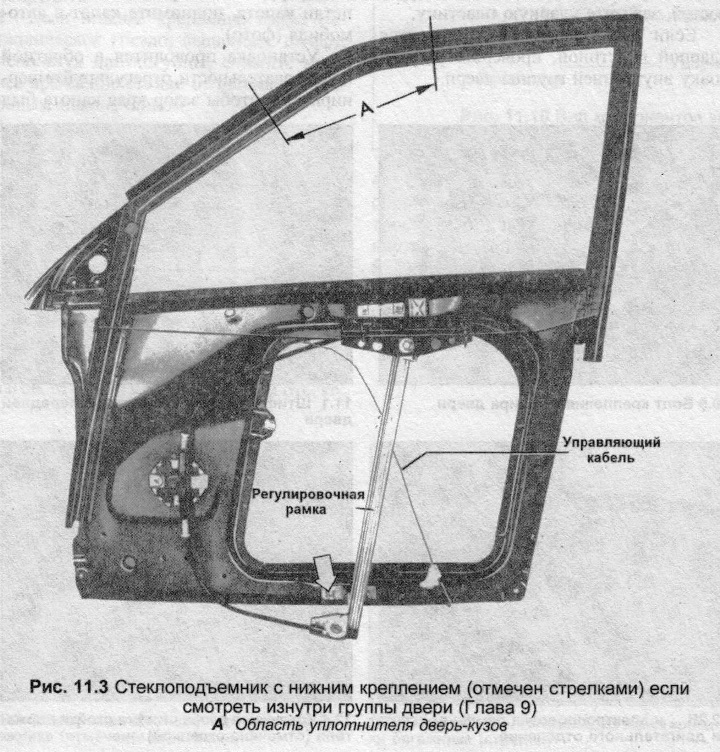
- d) The most critical area of the door seal is in the middle of the window frame (Fig. 11.3)