
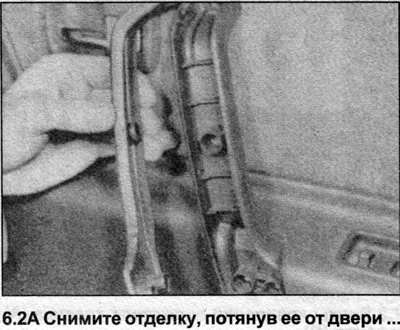
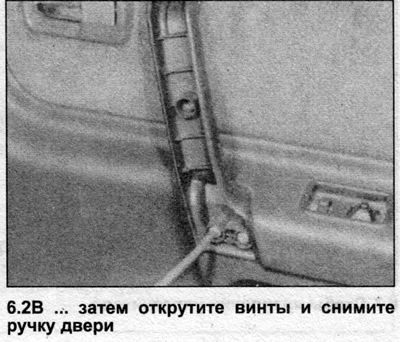
2. Carefully remove the door trim, then unscrew the screws and remove the handle (photo).
3. Unscrew the screws securing the handle trim and remove the trim plate (photo).
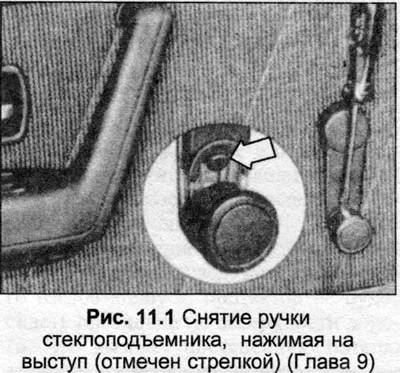
4. Remove the window handle trim and handle (Fig. 11.1).
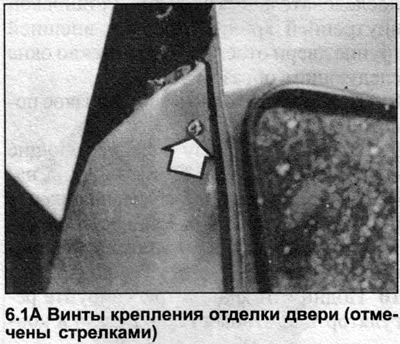
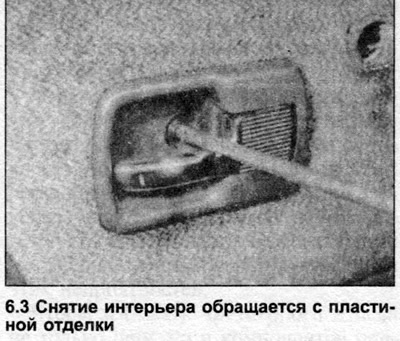
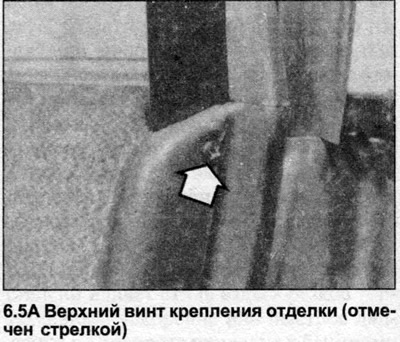
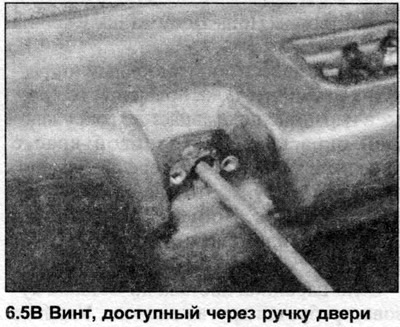
5. Remove the two top screws at each end of the trim panel and the screw accessible through the door handle hole (photo).
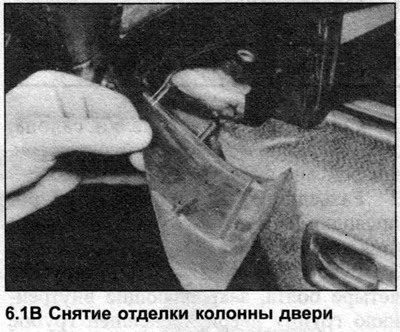
6. Using a suitable flat tool, carefully remove the trim assembly from the door (photo). If equipped with an electric window, disconnect the wiring connector at the switch (photo).


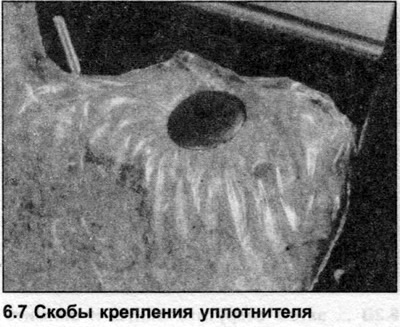
7. To remove the inner seal, remove the upper brackets, lift the group (photo).
8. Installation is carried out in reverse order.
(The original version of the article is posted on the website: AudiManual.ru)