Note: If necessary, the engine and gearbox can be removed together as described in Section 1, and then separate the gearbox. However, this Chapter describes how to remove the gearbox without removing the engine.
1. Place the front of the car on the inspection pit, apply the parking brake. Drain the transmission oil.
2. Disconnect the negative battery cable.
3. Loosen and remove the upper bolts securing the gearbox to the engine, noting the location of the hangers.
4. Unscrew the ground cable from the gearbox.
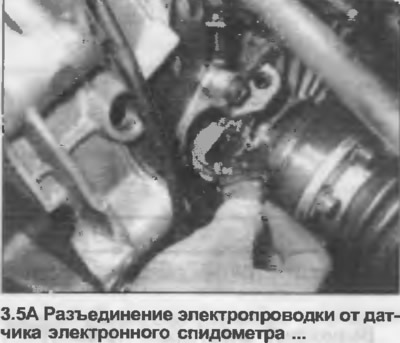
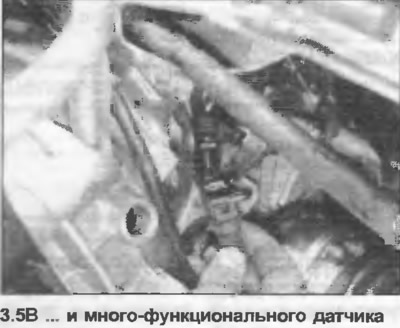
5. Disconnect the wiring from the electronic speedometer sensor and the connector for the multi-function sensor by squeezing the spring clips together (photo).
6. Where equipped, loosen the cable connection, disconnect the wiring from the catalytic converter.
7. Unscrew and remove the mudguard from under the engine.
8. Unscrew the nuts securing the exhaust outlet pipe to the manifold. Lower the distribution pipe and remove the gasket.
9. Disconnect the exhaust pipe behind the front muffler or catalytic converter as described in Section 3.
10. Remove the bolt and spring securing the exhaust outlet pipe to the transmission side suspension. Lower the exhaust outlet pipe and front muffler from the vehicle.
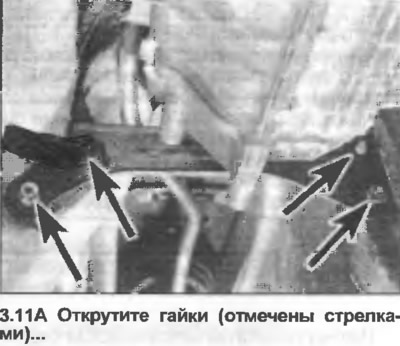
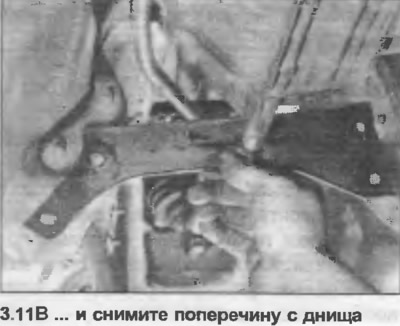
11. Unscrew the nuts, remove the cross member from the bottom behind the gearbox (photo).
12. On models with the Procon-Ten protection system, disconnect the cables from the gearbox, referring to Section 11 and Fig. 11.1.
13. Unscrew the clamp bolt, pull the coupling off the gear shift rod (photo).

14. Unscrew and remove the front gearbox cover (photo).

15. Where equipped, unscrew the drive shaft cover from underneath the vehicle.
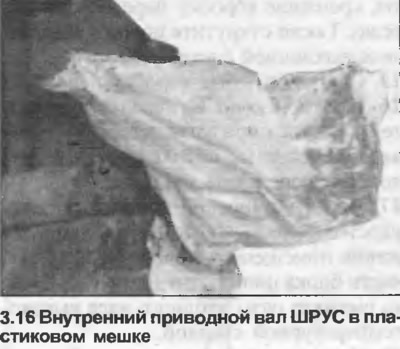
16. Loosen and remove the bolts securing the inner CV joints to the transmission drive flanges. Note the location of the bolt plates, remove the shims if any. Tie the drive shafts together on one side, cover the inner joints with plastic bags to prevent dust and dirt from getting in (photo).
17. Remove the clutch slave cylinder as described in Section 5, but do not disconnect the hydraulic hose. Tie the slave cylinder to one side.
18. Remove the starter as described in Section 12.
19. On 5-cylinder models, disconnect the steering linkage from the steering gear as described in Section 10.
20. Support the gearbox with a jack.
21. Support the front of the engine with a winch or a suitable support beam placed across the engine compartment.
22. Unscrew the front frame from the cylinder block.
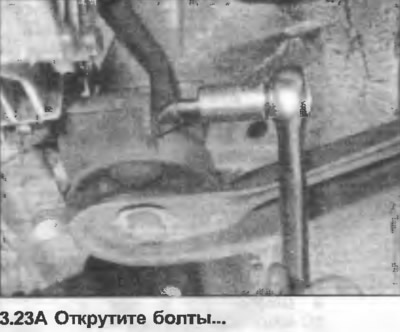
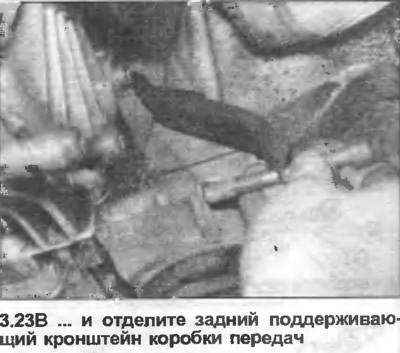
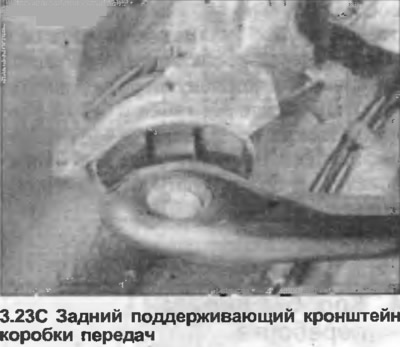
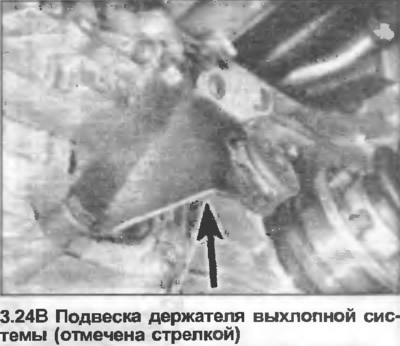
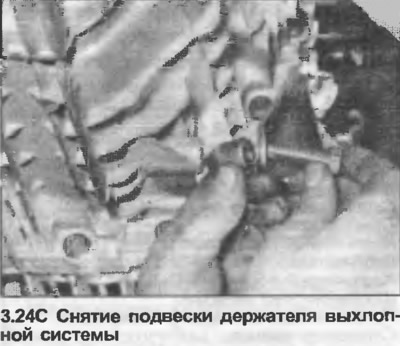
23. Remove the bolt securing the rear support beam to the rubber mount on the rear of the gearbox. Loosen the outer bolt, move the rod to the side. Alternatively, use a socket wrench to unscrew the entire bracket from the gearbox (photo).
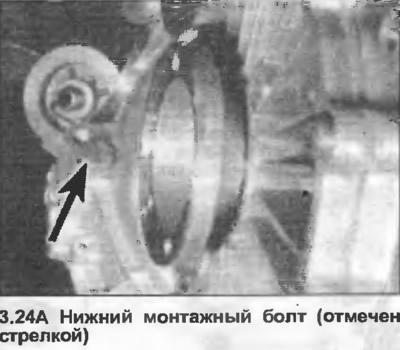
24. Unscrew and remove the lower bolts securing the gearbox to the engine. Also unscrew the exhaust system bracket hanger (photo).
25. Lower the gearbox slightly.
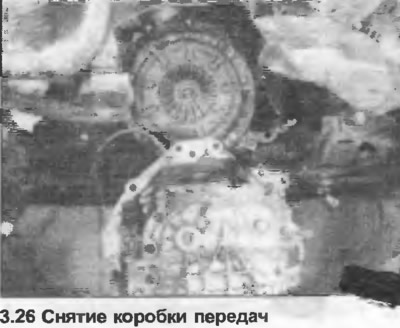
26. Separate the gearbox from the engine, making sure that the input shaft does not hang on the clutch. Lower the gearbox to the ground (photo).
27. Before installing the gearbox, make sure the location pins are placed in the surface of the rear of the engine cylinder block. Lightly lubricate the input shaft grooves with high temperature grease.
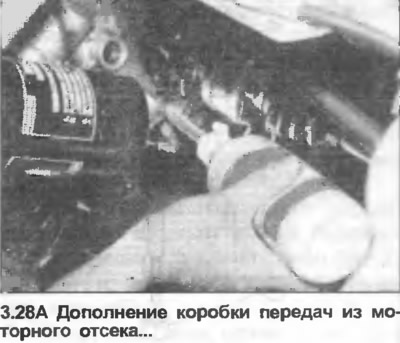
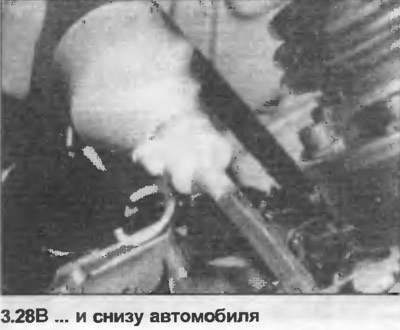
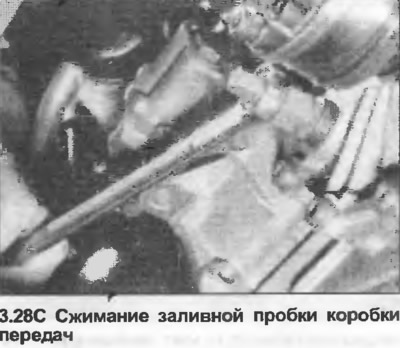
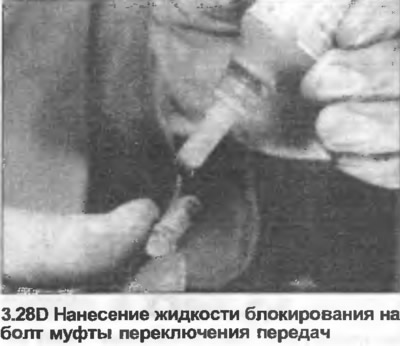
28. Installation is carried out in the reverse order. If necessary, adjust the engine and gearbox settings as described in Section 1. Fill the gearbox with oil (photo). Tighten all nuts and bolts to the tightening torque specified in the Specification. Apply locking fluid to the clutch bolt (photo).