
1. Apply the parking brake, then jack up the front of the vehicle and support it on axle stands.
2. Remove the exhaust system as described in Section 3.
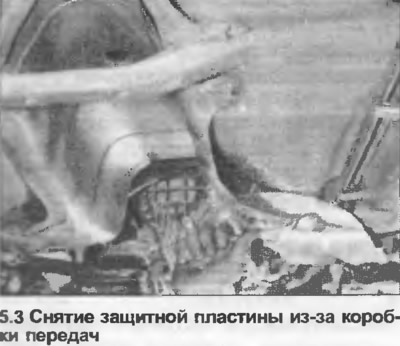
3. Unscrew the nuts, remove the protective plate located behind the gearbox (photo).
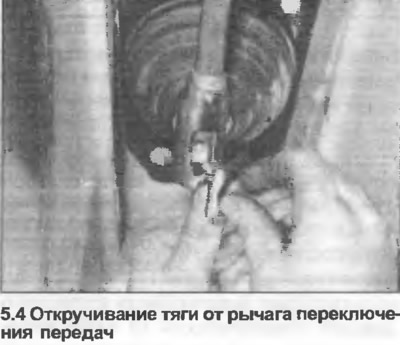
4. Mark the position of the adjustment bolt relative to the gearshift rod. Unscrew the bolt and lower the rod (photo). Remove the rubber boot.
5. Remove the center console as described in Section 11.
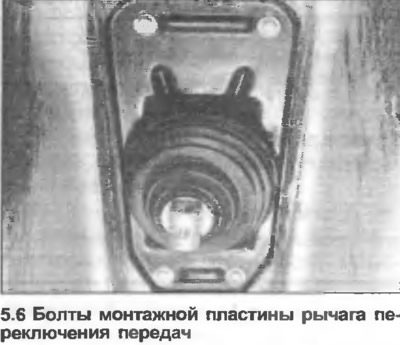
6. Mark the bolts securing the gearshift lever mounting plate to the underbody tunnel (photo). Remove the plate and lift the assembly out from under the vehicle.
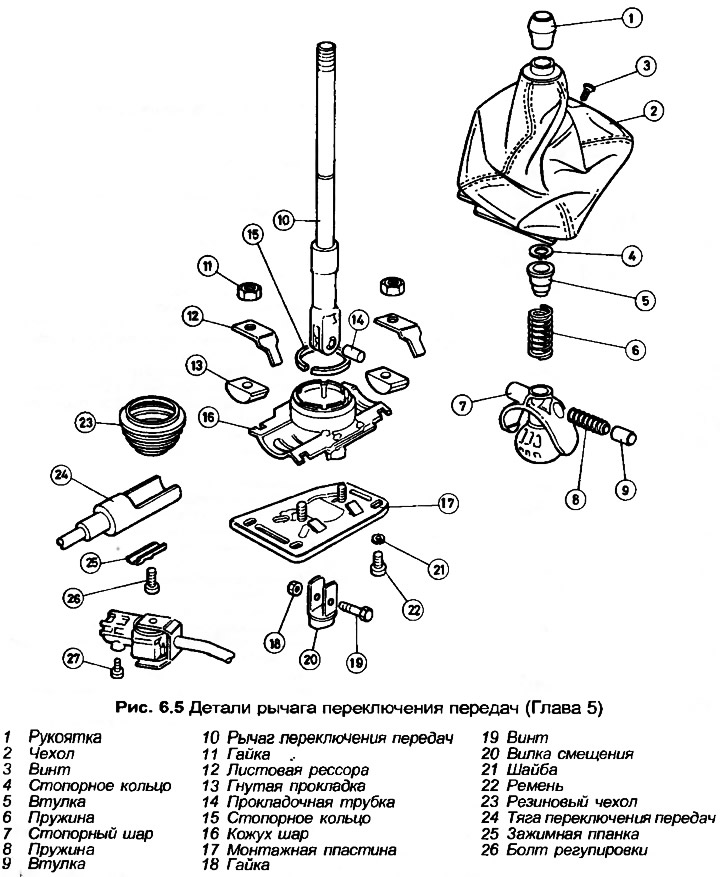
7. Remove the nuts, leaf springs and bent spacers, then separate the mounting plate from the shift lever assembly.
8. Remove the retaining ring from the gear shift lever, then remove the bushing and spring.
9. Remove the retaining ring securing the locking ball to the housing, then remove the ball and remove the gear shift lever from the housing.
10. Clean all parts, check their condition. Replace parts as necessary.
11. Assembly and installation are carried out in the reverse order of disassembly and removal. Note the following additional points. The bushing and spring should be located on the right side of the locking ball, the rounded end of the bushing should be facing the gearshift lever. Note that the gearshift lever can only be inserted into the ball housing in one position. The rounded side of the ball locking ring should be facing the bearing. Install the ball housing so that the reverse lock points to the left. Apply insulator to the gearshift lever mounting plate. Finally, adjust the gearshift rod as described in Chapter 6.