
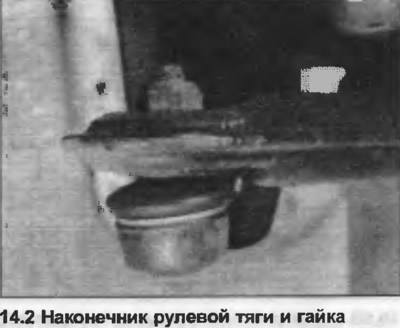
2. Remove the ball joint nut from the outer end of the tie rod and use a separator tool to separate the tie rod from the tie rod stand (photo).
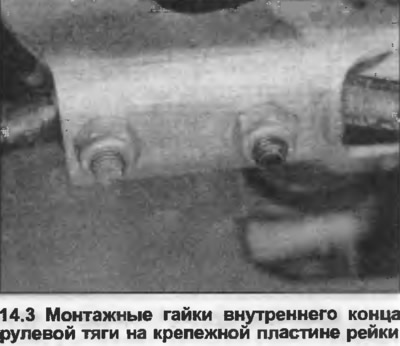
3. Remove the nuts from the front of the rack mounting plate (photo), then push the rack plate out and away from the inner ends of the tie rods.
4. Remove the steering rod.
5. If necessary, the tip can be removed from the tie rod. To do this, first measure the distance between the inner bushing and the tie rod tip. Loosen the lock nut and unscrew the tie rod tip. The adjuster can also be removed if necessary.
6. Installation is carried out in the reverse order. Replace all the nuts of the automatic lock and tighten them with the tightening force specified Specification. Do not fully tighten the strut plate nuts until the vehicle weight is established on the suspension. If removed, install the tie rod end to the previously marked dimension. Make sure the adjuster is installed centrally between the tie rod and the tie rod end so that an equal amount of thread is visible on each side of the center arm. Finally, check and adjust the front wheel alignment as described in Chapter 22. Make sure the steering tie rod adjustment lock nuts are fully tightened.