
2. Check the wear of the connecting rod and main journals. If the engine has a high mileage, or there are doubts about the condition of the crankshaft, it is better to consult with an Audi dealer or a specialist about the need for regrinding. If the bearing shells (and thrust washers, if any) almost new, do not use a new set when installing the crankshaft.
3. If available, Plastigage can be used to check the running clearance of existing bearing shells. A strip of Plastigage is placed across the crankshaft journal and the bearing is then assembled and compressed to the tightening torque specified in the Specification. After the bearing is removed, the width of the strip is measured against the chart and the running clearance is determined.
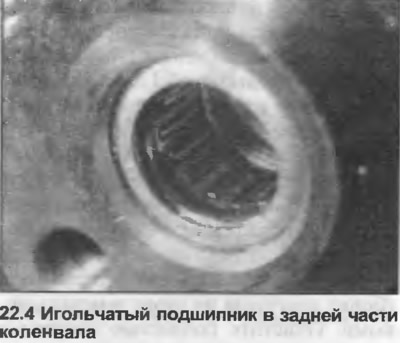
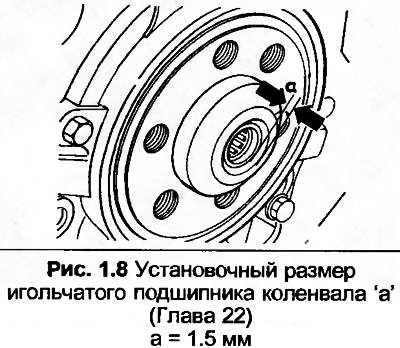
4. On manual transmission models, check the condition of the needle bearing at the rear of the crankshaft (photo). A special tool is required to replace it. Clean the recess, then insert the new bearing using a metal tube. The side of the bearing with the inscription should be facing outward, and the bearing should sit at a depth of 1.5 mm.
5. Note that short engines have needle bearing crankshafts. If the engine is to be used with an automatic transmission, the bearing must first be removed to accommodate the torque converter.
(The original publication in its entirety is posted on the website: «AudiManual»)