
2. Before installing piston rings, or when installing new rings, check the end gap of each ring in its cylinder bore by pushing the ring down the bore with the piston as described in the previous Chapter. Measure the end gap of the piston ring using feeler gauges. The gap should be within the limits given in Specifications.
3. When installing piston rings, the word TOP on one side of the ring must face the piston head.
4. If there is any doubt about the condition of the connecting rod bearings, they should be replaced with new ones when assembling the engine. Clean the connecting rods and caps completely, install the bearings so that the protrusion on the bearing fits into the recess in the connecting rod or cap, and the ends of the bearing are even with the joint surface.
5. Install the pistons, arranging the piston ring gaps at 120° from each other. Generously lubricate the rings and grooves, install the piston ring puller on the piston. Also generously lubricate the connecting rod bearings.
6. Turn the engine so that the journal of connecting rod No.1 is at BDC.
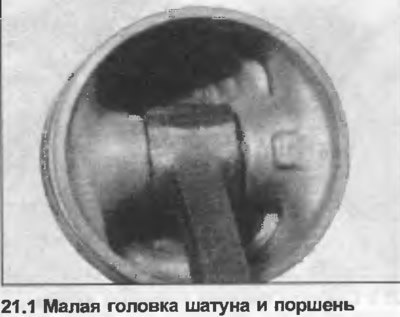
7. Lubricate the cylinder bore, then insert the piston and connecting rod, with the arrow on the piston head facing the front end of the engine.
8. Using the hammer handle, gently drive the piston through the compressor into the cylinder bore, guiding the connecting rod onto the crankshaft journal.
9. Lubricate the bearing shell, then install the lower connecting rod bearing cap onto the connecting rod legs. Lubricate the contact surfaces and tighten the nuts. Tighten them first to the specified tightening torque Specification, then turn it 90° further. Make sure the lid is oriented correctly.
10. Turn the crankshaft to check for free rotation.
11. Repeat the procedure given in steps 6-10 inclusive to install the remaining pistons and connecting rods.
12. Install the oil pump (Chapter 18), pallet (Chapter 16) and the cylinder head (Chapter 12).