
Screen markings for headlight adjustment

Execution order
1. Mark the screen in a certain way, with the line of the headlight centers M drawn on the screen at a distance h equal to the height of the headlight centers above the floor. The distance h must be measured on a loaded vehicle with an additional mass of 70 kg, in the middle of the rear seat. The fuel tank must be full.
2. The distance X from the center of the headlight to the center of the car is measured on the car.
3. Check and, if necessary, adjust the tire pressure to the standard.
4. Place the car on a horizontal platform perpendicular to the screen at a distance of 10 m. In this case, the longitudinal plane of symmetry of the car should pass along line 0 on the screen.
5. On models with electric headlight range control, set the range control knob to position "0".
6. Turn on the low beam.
7. Adjust the direction of the light spot for each headlight separately. Cover the other headlight with opaque material during adjustment.
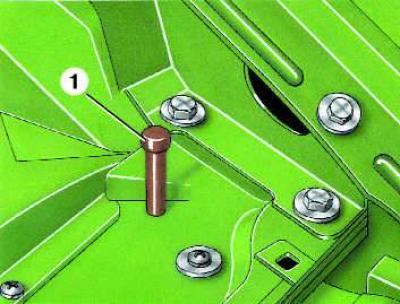
8. Pull up the locking button (1) located on the headlight.
9. Adjust with screws (in the horizontal and vertical plane) manual adjustment of the light beam position of the light spot for each headlight on the screen, if the location of the light spots is desired.
10. The headlights are considered adjusted when the upper boundaries of the left parts of the light spots coincide with line N, and the vertical lines A and B pass through points C1 and C2 of intersection of the horizontal and inclined sections of the light spots.
(The text is based on materials from the website: «audimanual.ru»)