
Table of contents: 4-cylinder engines ↓ 5-cylinder engines ↓
1. Disconnect the negative battery terminal.
2. Drain the cooling system as described in Chapter 3.
4-cylinder engines
3. Loosen the clamps, disconnect the upper and lower hoses and the expansion tank hoses from the radiator.
4. Disconnect the electrical wiring from the electric cooling fan and thermal switch.
5. Unscrew the lower mount suspension mounting bolt and remove the suspension.
6. Disconnect the radiator from the upper mounts, then lift the assembly with the cooling fan and shroud up and out of the engine compartment.
7. If necessary, unscrew the cooling fan and casing from the radiator, then unscrew the nuts, separate the fan and motor from the casing.
5-cylinder engines
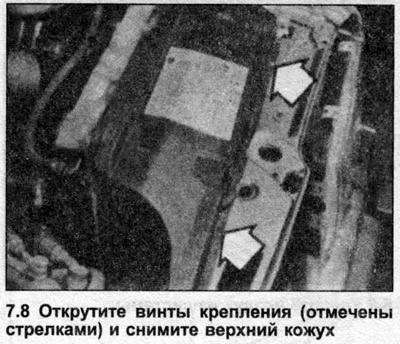
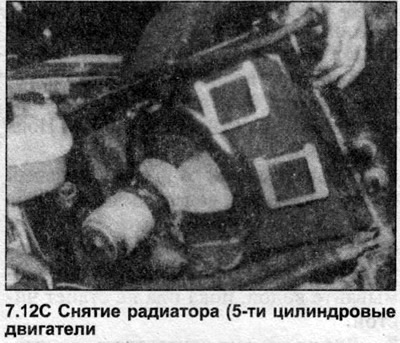
8. Unscrew the fastening screws and remove the upper radiator cover (photo).
9. Loosen the clamps, disconnect the upper and lower radiator hoses and the expansion tank hoses.
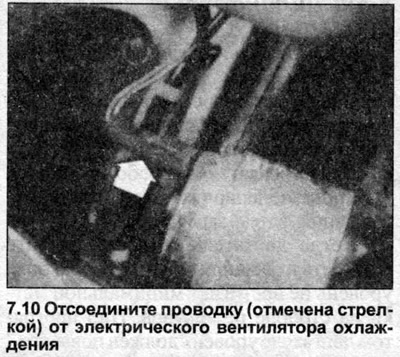
10. Disconnect the electrical wiring from the electric cooling fan and thermal switch (photo).
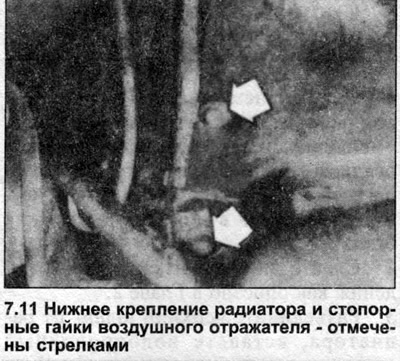
11. From under the car, unscrew the bolts securing the air deflector casing to the radiator, and the nuts securing the lower mounts to their suspensions (photo).
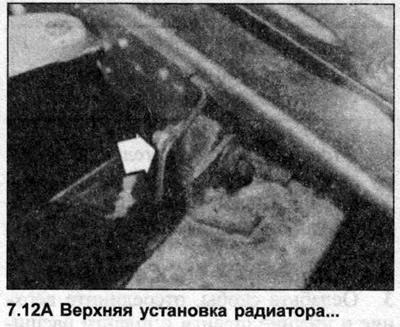
12. Unscrew the upper mounting nuts, lift the radiator with the cooling fan and shroud up and out of the engine compartment (photo).

13. If necessary, unscrew the cooling fan and casing from the radiator, then unscrew the nuts and separate the fan and motor from the casing.
All models
14. Radiator repairs are best left to a professional, although minor leaks can be fixed using a Holts Radweld radiator sealant without removing the radiator. The radiator's outer matrix can be cleaned of insects and leaves with a jet of water or a soft brush.
15. Perform a back flush of the radiator as described in Chapter 4, and replace hoses and clamps if they are damaged or worn.
16. Installation is carried out in the reverse order. Fill the cooling system as described in Chapter 5. If the thermal switch was removed, install a new washer.