



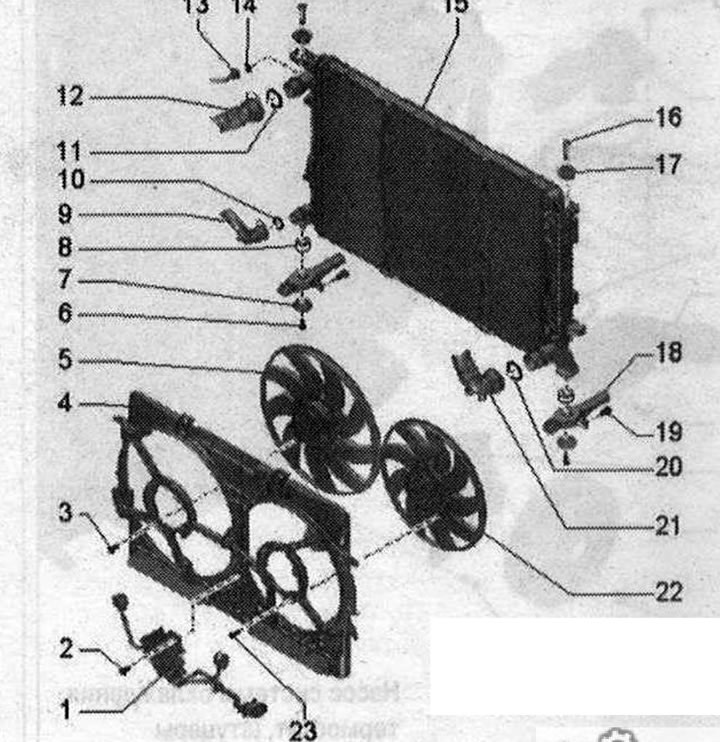
Radiator and radiator fan 1. Used radiator fans "J293". Depending on the kit, separate or built into the radiator fan "V7"; 2. Bolt 4.5 Nm; 3/23. Bolt. 5 Nm; 4. Fan frame; 5. Radiator fan "V7". Depending on the special fan control unit "J293"; 6. Bolt 3.5 Nm; 7. Lining; 8. Rubber support for radiator; 9. Cooling system hose. To remove, loosen the clamp and connect to the radiator; 10/11. Sealing ring, replace; 12. Cooling system hose. To remove, loosen the clamp and connect to the radiator; 13. Cooling system hose to coolant expansion tank; 14. Sealing ring, replace; 15. Radiator. After replacement, change the coolant; 16. Locking bolt. Unlock with a screwdriver and remove; 17. Rubber buffer; 18. Radiator console; 19. Bolt; 20. Sealing ring. Replace; 21. Cooling system hose. To remove, loosen the clamp and connect to the radiator; 22. Radiator fan 2 "V177". Except for the 400 W fan control unit
Connect the coolant hose with the coupling
Remove the old sealing ring "2" from the coolant hose "3". Moisten the new sealing ring with coolant and insert it into the coolant hose. Put the coolant hose onto the coolant pipe "1".
Removal the fan frame
Remove the front noise insulation. Install the tray for the service cranes "VAS 6208" under the engine. Unscrew the plug "1" of the drain hole on the connecting nipple and drain the coolant. Ignore "Pos. 2". Before starting work in the fan frame area, disconnect the electrical plug connections. Disconnect the electrical plug connection "1" of the radiator fan, to do this, move the lock back "arrow" and press the stopper down.
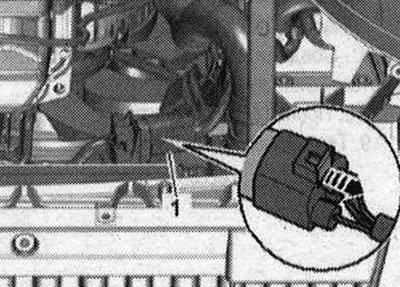
Release the wiring harness. Place an oil extraction device under the disconnection point. Loosen the "arrow" bolts and disconnect the ATF lines from the radiator.
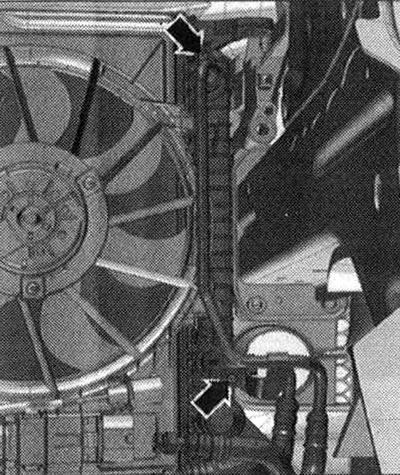
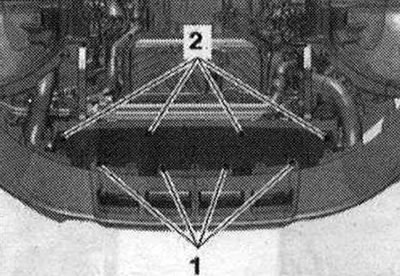
To prevent ATF oil leakage, tie up the ATF lines on the side member. Close the open lines and pipes with clean plugs from the plug kit for the "VAS 6122" engine. Unscrew bolts "1" and "2", remove the noise insulation screen of the bumper lining in the rear direction.
To remove the "arrow" spacer clamp, carefully press the clamping pin "1" by the dimension "x" until an audible click is heard into the "arrow A" spacer clamp. Dimension "x" = 5 mm. Remove the unlocked spacer clamp "2" with the clamping pin.
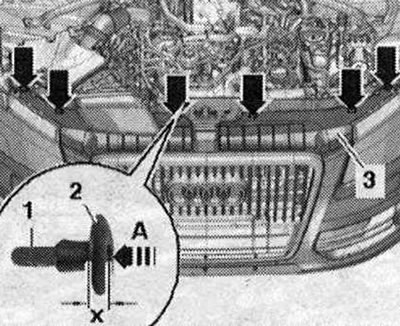
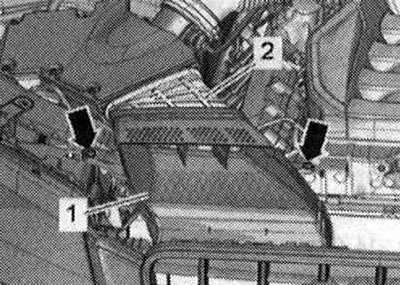
Unscrew the bolts "arrows". Remove the air duct "1" from the intermediate flange "2" of the air filter housing.
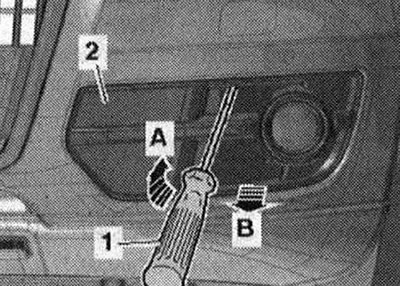
Unlock the lock "arrow A" with a screwdriver "1". Disconnect the air intake grille "2" from the bumper cover "arrow B". Repeat the entire process of performing the work on the other side of the car.
Disconnect the upper air duct "1" by unlocking the "arrow" fasteners.
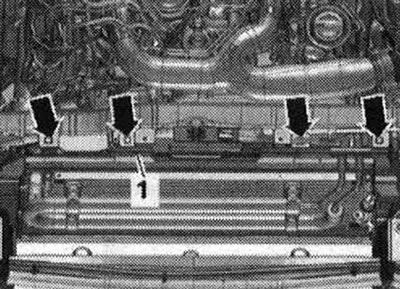
Unlock the fastening brackets "arrows A" and move the air duct -1 on the left and right towards the center of the car "arrow B".
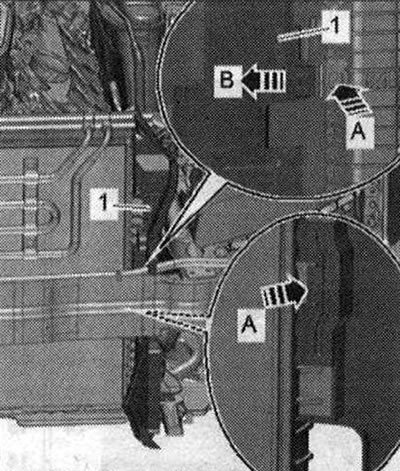
Remove the connecting nipple from the radiator by loosening clamps "1" and "2".
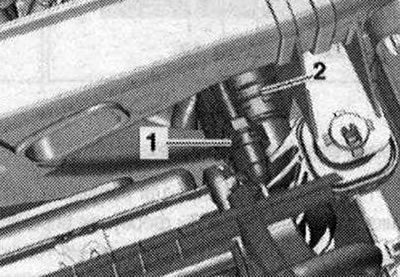
To the right and left, unlock both radiator mounting bolts and pull them up "arrows". Remove the radiator from the top in the forward direction.
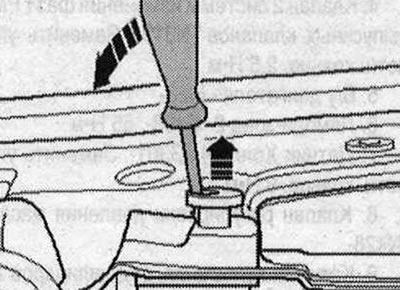
Simultaneously press the fan frame fastening tabs "arrow" on the right and left and remove the fan frame from the radiator in an upward direction.
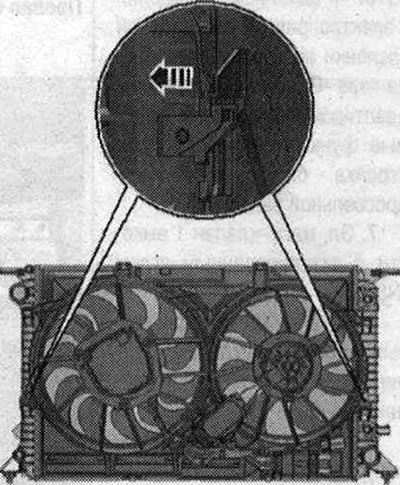
Installation
Installation in reverse order, note the following: install the air duct on the intermediate flange of the air filter housing. Install the radiator frame trim and the noise insulation screen of the bumper trim. Screw on the ATF lines. Connect the coolant hose using the coupling. Fill with coolant. Check the ATF level. Install the noise insulation.
(The original publication in its entirety is posted on the website: AudiManual.ru)