1. Disconnect the negative battery cable.
2. Drain the cooling system as described in Chapter 3.
4-cylinder engines
3. On models equipped with air conditioning, remove the front grille as described in Section 11, Chapter 24, then separate the capacitor from the radiator by unscrewing the screws.
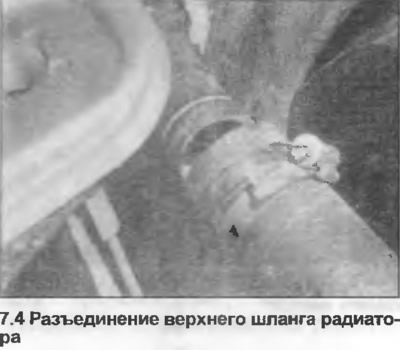
4. Loosen the clamps, disconnect the upper and lower hoses from the radiator (photo).
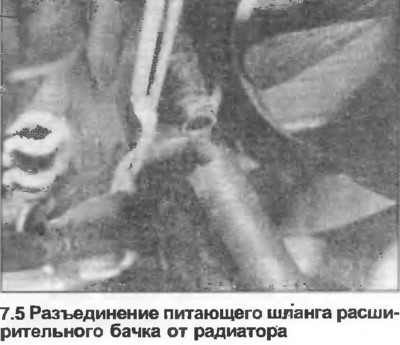
5. Loosen the clamps and disconnect the expansion tank hoses from the radiator (photo).
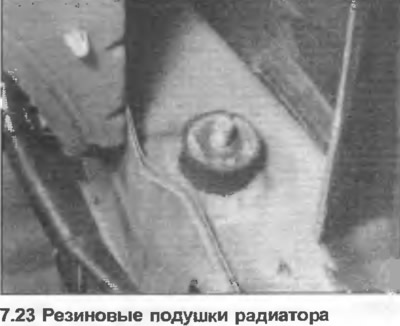
6. Remove the bolts securing the upper mounting brackets to the front panel (photo). Lift the hangers and rubber sealing rings off the radiator mounting pins.

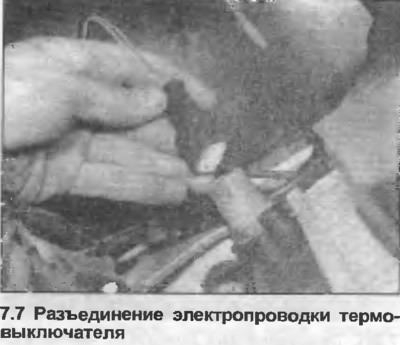
7. Disconnect the electrical wiring from the thermal switch located in the lower right corner of the radiator (photo).
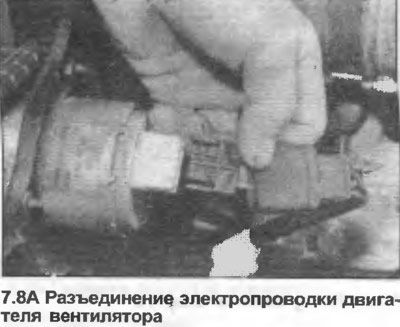
8. Disconnect the electrical wiring from the electric fan motor, release the wiring harness from the bracket (photo).

9. Unscrew the nuts securing the lower corner radiator hangers to the rubber cushions.
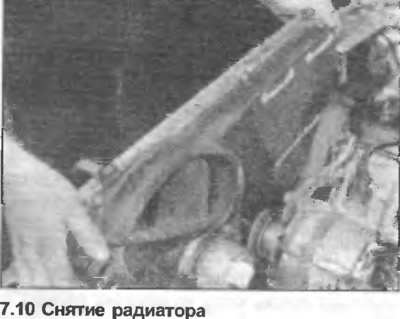
10. Lift the radiator from the lower mounts and remove it from the engine compartment along with the electric cooling fan and fan shroud (photo).
5-cylinder engines
11. On models equipped with air conditioning, separate the condenser from the radiator by unscrewing the screws.
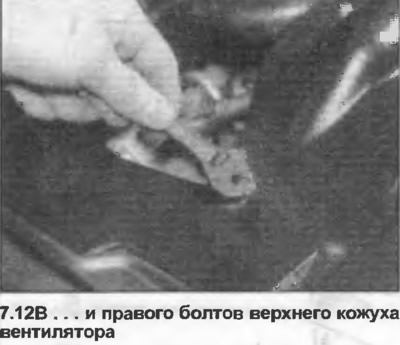
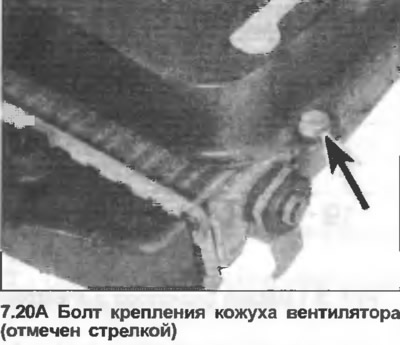
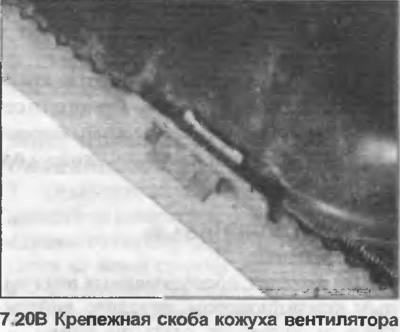
12. Unscrew and remove the upper fan casing (photo).
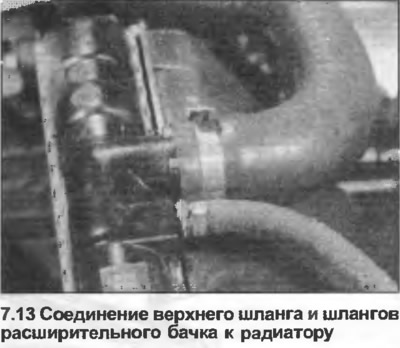
13. Loosen the clamps and disconnect the upper hose and the upper and lower expansion tank hoses from the radiator (photo). On models with air conditioning, automatic transmission and a trailer hitch, also disconnect the auxiliary radiator hose.
14. Disconnect the electrical wiring from the thermal switch located in the lower left corner of the radiator (photo).

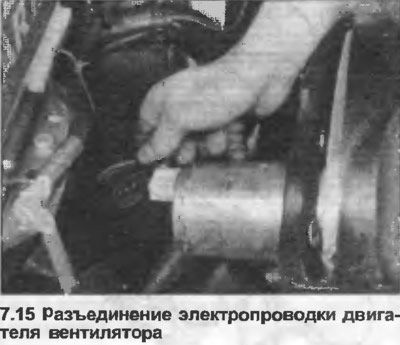
15. Disconnect the electrical wiring from the electric fan motor (photo).
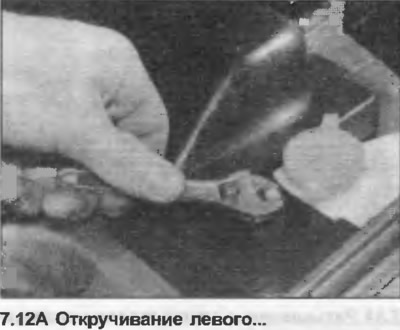
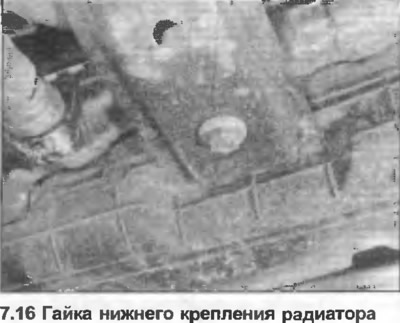
16. Unscrew the radiator mounting nuts (photo).
17. Unscrew the right fan casing.
18. On 20-valve models equipped with ABS (anti-lock braking), loosen the fan motor mounting nuts and slide the motor forward.
19. Lift the radiator from the mounts and remove it from the engine compartment along with the electric cooling fan and fan shroud.
All models
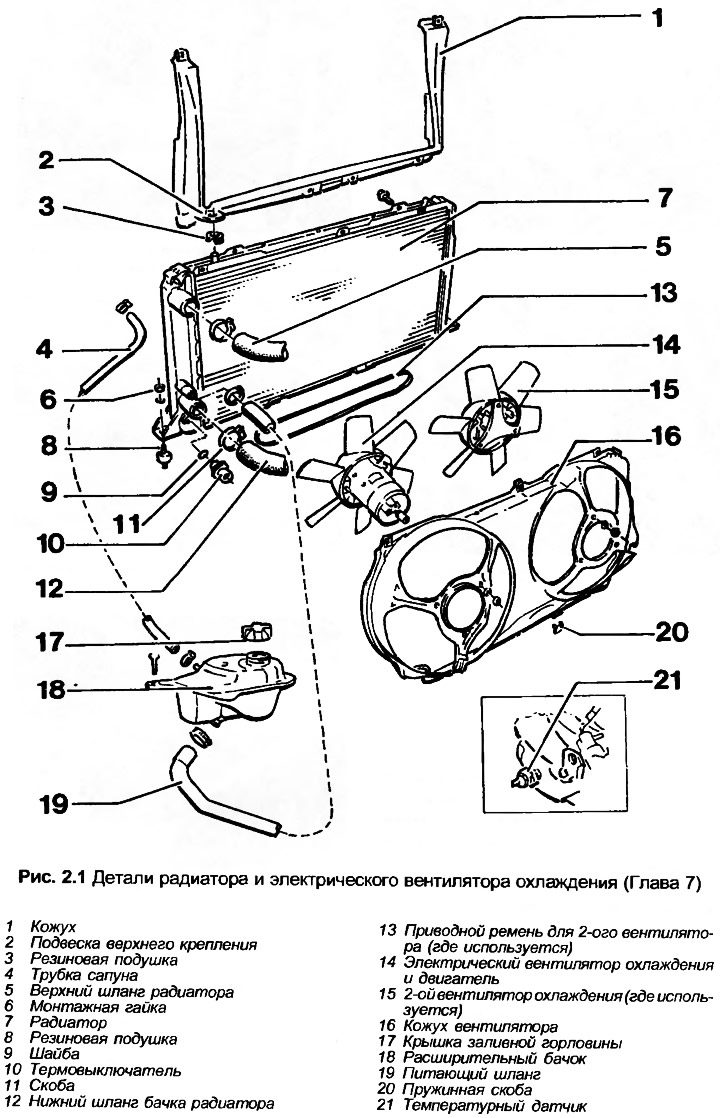
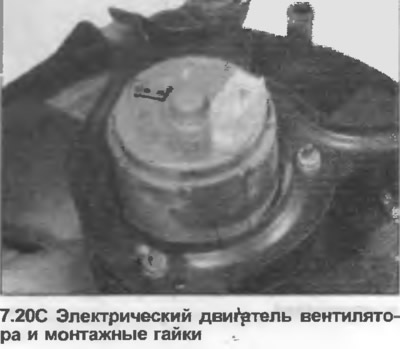
20. If necessary, unscrew and unfasten the cooling fan and fan shroud from the radiator, separate the fan and motor from the fan shroud (photo). Unscrew the thermal switch, remove the gasket if necessary.
21. It is better to leave radiator repairs to a specialist, although minor leaks can be fixed using a composition for adding to the coolant. Clean the radiator from insects and leaves with a soft brush, or rinse with water.
22. Backflush the radiator as described in Chapter 4, replace hoses and clamps if damaged or worn.
23. Assembly is carried out in the reverse order, fill the cooling system as described in Chapter 5. If the thermal switch has been removed, install a new gasket. Check the condition of the rubber cushions, replace them if necessary (photo).