
2. To replace, first remove the top engine cover and, on ADR, AFY, APT, AEB and AJL engines, remove the ignition coil as described in Chapter 5B. If the markings (numbering) on the high-voltage wires are not visible, apply them in accordance with the cylinder numbering (cylinder No.1 is on the timing belt side). Remove the wires from the spark plugs by pulling on the protective caps, but not on the wire itself, since it can easily be damaged.
3. It is recommended that before removing the spark plugs, you clean the dirt around them with a brush, vacuum cleaner or compressed air to prevent dirt from getting into the cylinders.
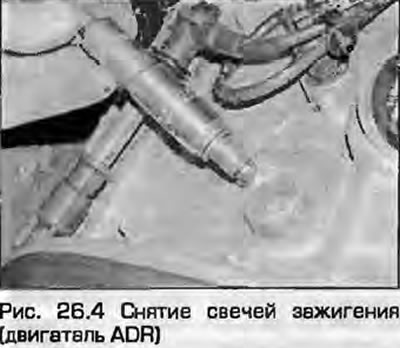
4. Remove the spark plugs using a spark plug wrench or a high head with an extension and a ratchet (Fig. 26.4). Keep the head aligned with the spark plug; when warped, it is easy to break the ceramic insulator. After removing the spark plugs, check them as follows.
5. The condition of the spark plugs can tell a lot about the condition of the engine. If the insulating tip of the central electrode is clean and white, this indicates that the mixture is too lean or the spark plug is too "hot" (a "hot" spark plug does not conduct heat well from the insulator, while a "cold" one does it quickly).
6. If the insulating tip is covered with black carbon, this may indicate that the mixture is too rich. If the carbon on the spark plug is oily, this indicates severe engine wear.
7. If the insulating tip is covered with deposits from brown to gray, this indicates good condition of the engine, its fuel system and ignition system.
8. If the spark plugs have not yet exhausted their intended service life, they can be installed again, but the gap between the electrodes must be checked, since during normal operation it gradually (0.025 mm per 1500 km) increases. If the spark plugs are damaged due to the engine condition, they are replaced. The size of the gap between the spark plug electrodes is very important, if it does not correspond to the prescribed one, spark formation can be seriously impaired. Check the gaps with the prescribed ones Specifications at the beginning of this chapter. The interelectrode gap of multi-electrode spark plugs is not adjustable, faulty multi-electrode spark plugs must be replaced.
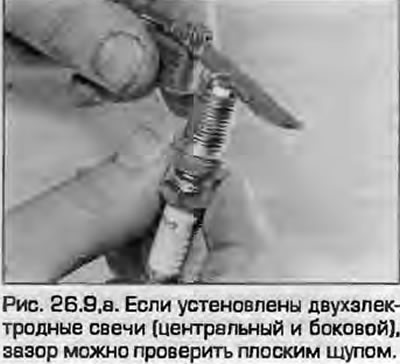
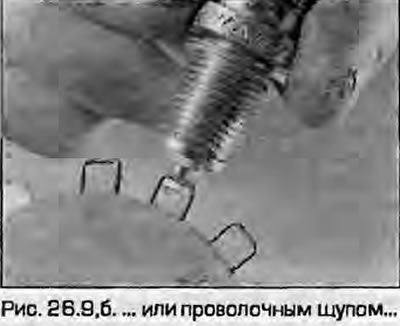
9. To adjust the gap, measure it with a flat feeler gauge. Adjust the gap by bending the outer electrode (fig. 26.9, a, b). Never try to bend the central electrode, its insulator is easy to break, after which the spark plug will only have to be thrown away.
 |
 |
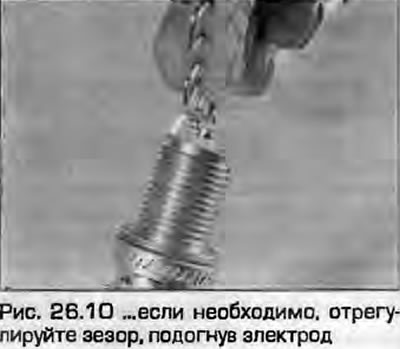
10. You can buy tools for measuring and adjusting the gap in auto parts stores (fig. 26.10).
11. Before installing the spark plugs, make sure that the threaded tips are screwed on tightly, the outer surface of the insulator and threads are clean. When installing new spark plugs, it can be difficult to align the threads - use a rubber hose.
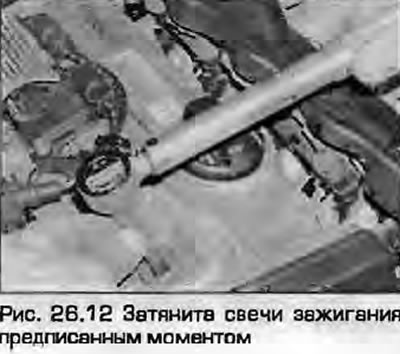
12. Remove the rubber hose. Tighten the spark plugs to the specified torque using a high socket and a torque wrench (fig. 26.12).
13. Connect the high-tension wires. If necessary, install the ignition coil as described in chapter 5B.
14. Install the top engine cover.