



Table of contents: Removal ↓ Installation ↓
Removal
1. The handbrake cable consists of two parts - right and left, connected to the lever assembly through an equalizing plate. Each part can be removed individually.
2. Under the vehicle, loosen the nuts securing the heat shields to the underbody to gain access to the front end of the cable.
3. As described in paragraph 14, remove the locking ring from the adjusting sleeve and turn the sleeve counterclockwise as far as possible. Slide the front and rear sections of the cable together to take up the slack. Repeat the operation with the other cable.
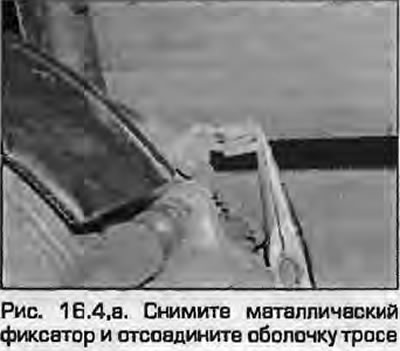
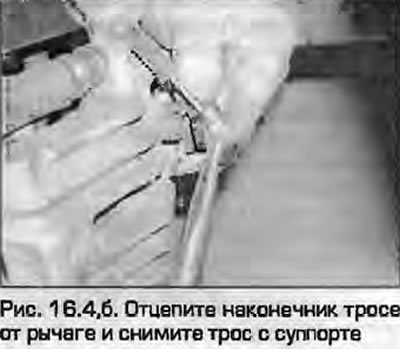
4. Working with the first rear caliper, remove the metal retainer and disconnect the cable housing from the mounting eye. Then unhook the cable end from the lever and remove it from the caliper (Fig. 16.4). Repeat the operation with the other caliper.
 |
 |
5. Disconnect both cables from all fastenings along their entire length, including the rear beam, remembering the way the cables are laid.
6. Remove the nuts and heat shield from the rear of the exhaust system to gain access to the cable mounting plate. Release the spring clips and disconnect the cables from the floor panel.
7. Carefully push the cable seals out from the bottom of the handbrake lever housing.
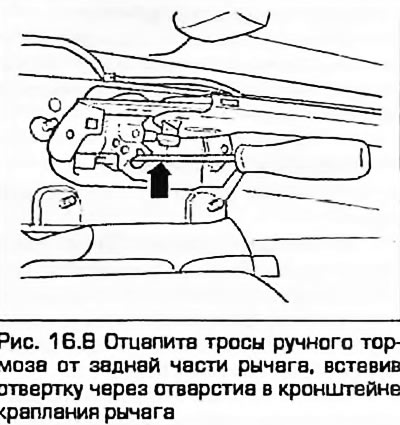
8. Inside the passenger compartment, unhook the cables from the compensator pulleys at the rear of the lever by carefully inserting a screwdriver through the hole in the lever mounting bracket (Fig. 16.8).
9. Remove the cables from under the vehicle.
Installation
10. Installation is the reverse procedure. Secure the cables with all fasteners, in particular, ensure that the rubber seals at the bottom of the handbrake lever housing are correctly installed. Adjust the cable as described in paragraph 14.
The full version is posted on the resource AudiManual.ru