
Note: If the engine is in the vehicle, first do the following:
- (a) Disconnect the negative battery cable
- (b) Where used, remove the power steering pump leaving the hoses connected (Section 10)
- (c) Remove the alternator drive belt (Section 12) and, if equipped, the air conditioning compressor drive belt (Section 11)
- (d) Remove the radiator grille
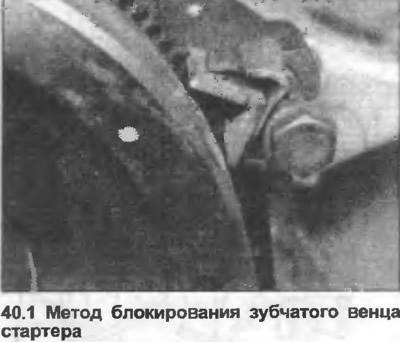
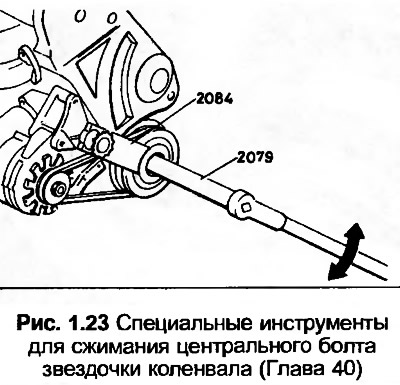
1. Use Audi tool 2084 to lock the vibration damper at the front end of the crankshaft, then use Audi tool 2079 to loosen the central bolt. However, it is possible to loosen the bolt by locking the starter ring gear with a wide screwdriver or by the method shown (photo).
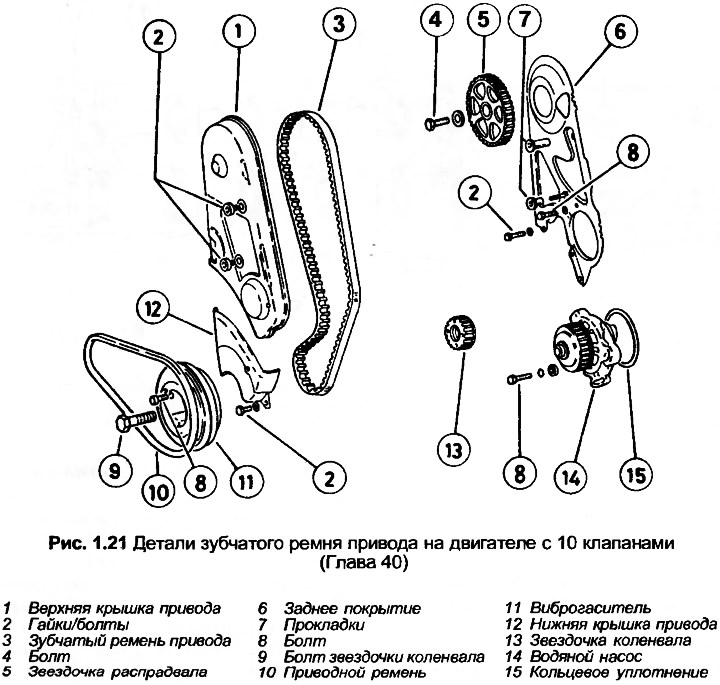
2. Complete steps 1-11 inclusive from Chapters 35 (where equipped, remove both drive covers).
3. Unscrew the central bolt, remove the vibration damper together with the crankshaft sprocket and toothed drive belt.
4. Separate the vibration damper from the crankshaft sprocket by loosening the bolts, then screwing in two diagonally opposite bolts a few turns until they come out through the vibration damper.
5. Do not turn the crankshaft with the timing belt removed.
6. If necessary, unscrew and remove the rear timing belt cover.
7. Installation begins with positioning the rear timing belt cover on the front end of the cylinder head and block, then tighten the mounting bolt and struts.
8. Install the vibration damper on the crankshaft sprocket, then tighten the bolts.
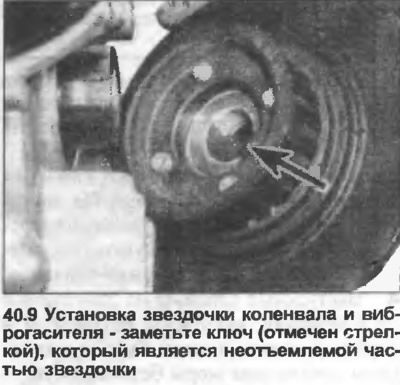
9. Align the key on the crankshaft sprocket with the groove in the crankshaft, then position the timing belt on the crankshaft sprocket, install the sprocket on the crankshaft (photo). Make sure that the belt is not pinched between the sprocket and the oil pump housing.
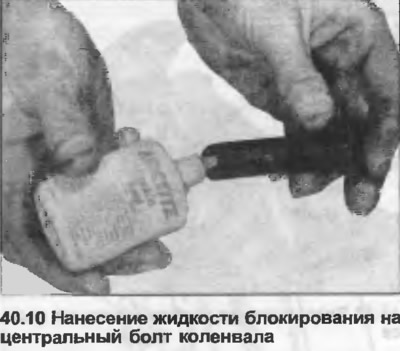
10. Coat the threads of the center bolt with blocking fluid (photo), insert and tighten the bolt, blocking the crankshaft.
Please note that the tightening torque given for this bolt is only applicable when using Audi tool 2079: if you do not use this tool, tighten the bolt to at least the tightening torque specified in the Specification and then have your Audi dealer check the final tightening torque (special tool increases the leverage of a standard torque wrench).
11. Install the woodruff key and sprocket onto the camshaft. Insert the bolt and washer, tighten the bolt to the tightening torque specified in the Specification.
12. Check that the alignment marks are correctly positioned as described in Chapter 35, points 4-7.
13. Position the timing belt on the crankshaft, camshaft and water pump sprockets and on the idler gear. Rotate the water pump counterclockwise to pre-tension the belt, then check that the TDC timing marks remain aligned.
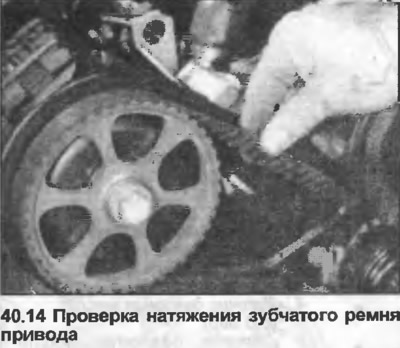
14. Turn the water pump counterclockwise and tighten the timing belt so that it can only be turned up to 90°, grasping it with your thumb and forefinger in the middle between the camshaft and water pump sprockets (photo). Tighten the water pump mounting and adjustment bolts.
15. Turn the crankshaft two full revolutions, then recheck the installation and adjustment of the timing belt.
16. Install the timing belt covers.
17. Install the valve cover with new gaskets.
18. If the engine is in the vehicle, repeat the preliminary procedures performed at the beginning of this Chapter.