
Table of contents: Removal ↓ Installation ↓
Removal
1. Apply the handbrake, raise the front of the vehicle and install safety stands. Remove the wheel in question.
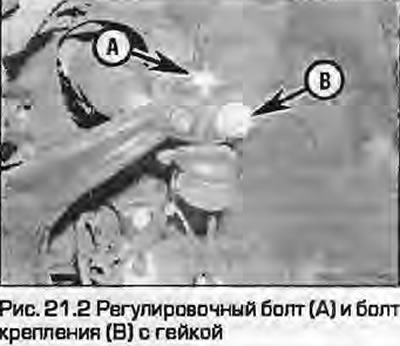
2. Loosen the adjusting bolt, then the locking nut with the bolt, and then push the hinge pin down to disconnect it from the steering knuckle (Fig. 21.2).
3. For better access, unscrew the plastic nut, remove the clips and remove the window cover in the mudguard to allow the steering rod to pass through.
4. If the tip is to be reused with a scriber, mark it in relation to the tie rod adjusting nut.
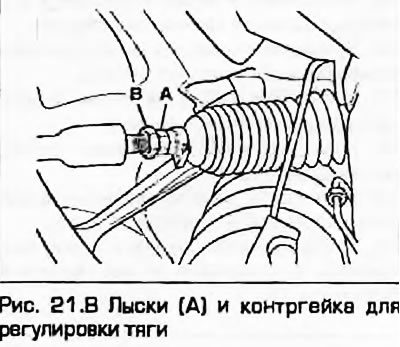
5. Holding the rod by the flats, unscrew the lock nut by a quarter. Do not unscrew the nut any further, it will serve as a mark for installation.
6. Having counted the exact number of turns, unscrew the tip from the steering rod.
7. Clean the threaded part of the tip thoroughly. If the tip pin moves with jams, or dangles completely, or is excessively tight or is damaged in any way, the tip must be replaced. Check the cone and thread of the pin. If the cover is damaged, the entire tip must be replaced - covers are not supplied as spare parts.
Installation
8. Screw the tip onto the steering rod by the same number of turns as was counted when removing the old part. In this case, there should be a quarter of a turn left to the lock nut and the marks should align. Holding the rod by the flats, tighten the lock nut to the prescribed torque (Fig. 21.8).
9. Install the mounting bolt with a new nut, then install the adjusting bolt and tighten them to the specified torque.
10. Install the wheel, lower the vehicle and tighten the wheel bolts to the specified torques.
11. Check the front wheel alignment as described in paragraph 24.