



Table of contents: Removal ↓ Installation ↓
Removal
1. Apply the handbrake, raise the front of the car and install safety supports. Remove the corresponding wheel. When removing the wheel, tighten the bolt of its fastening into the hub so as not to displace the brake disc.
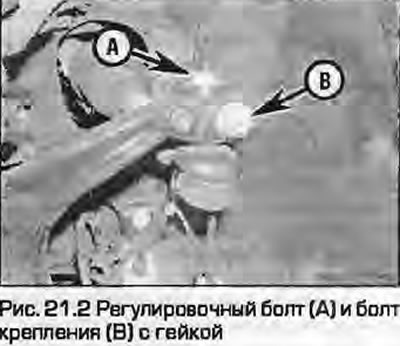
2. Loosen the adjusting bolt, then the locking nut with the bolt, and then push the ball joint pin down to disconnect it from the steering knuckle (Fig. 21.2).
3. For better access, unscrew the plastic nut, remove the clips and remove the window cover in the mudguard for the steering rod to pass through.
4. Release the clamps and slide the boot outward to access the inner end of the rod nut.
5. Holding the nut with a large open-end wrench, unscrew the steering rod from the rack.
6. If the tie rod end is to be used again, use a scriber to mark the position of the rod and adjusting nut. Remove the tie rod end from the tie rod as described in paragraph 21.
Note: If both rods are removed and the L and R marks are no longer visible, apply new ones.
Installation
7. Installation is the reverse procedure. Please note the following:
- a) Tighten the rod to the specified torque using the appropriate adapter.
- b) Install the covers with the edges in the grooves, using new clamps if necessary.
- c) Finally, check the front wheel alignment.
(The original publication in its entirety is posted on the website: AUDIMANUAL)