
Note: This operation requires a long bolt/threaded stud M16 (see item 4).
2. Secure the shaft in a vice with soft jaws, then remove the boot mounting clamps. If necessary, cut the clamps.
3. Fold the cover back to reveal the hinge. Collect any excess grease and dispose of it.
4. Now you need to remove the outer joint from the shaft. It is best to use a long bolt or M16 stud for this. Screw the bolt into the joint thread until it stops against the shaft, then, overcoming the resistance, press the joint (Fig. 3.4).
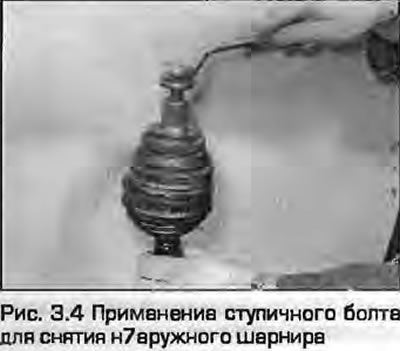
Note: If the original bolt has full threads, you can use it.
If there is no bolt or pin, you can use a hammer and a suitable soft punch to knock the joint off the shaft - be careful not to damage the joint in the process.
On hollow shaft models, you will need to displace the inner snap ring from the groove on the inside surface of the joint so that the Belleville washer and plastic bushing can be removed from the shaft.
5. Once the joint is removed, remove the retaining rings from the groove on the splined end and discard them. New rings are required for installation.
6. Remove the bushing and disc washer from the shaft, remembering how they were installed. Remove the rubber boot.
7. After removing the joint from the shaft, wash it thoroughly with kerosene or another suitable solvent and dry it. Inspect the joint.
8. Tilt the internal drive spline to expose the balls and inspect them for any dents or cracks.
9. Carefully inspect the working surfaces of the outer and inner races. If the tracks are broken, the balls will no longer sit tightly. Inspect the separator windows at the same time - there should be no wear, cracks, breaks or other damage.
10. If the joint is worn or damaged, replace it or (if the hinges are not available for sale separately) the entire shaft. Check with your dealer for availability of spare parts. A genuine Audi/VAG repair kit consists of a new boot, snap ring, clamps, washer, bushing and the required amount of grease of the prescribed type.
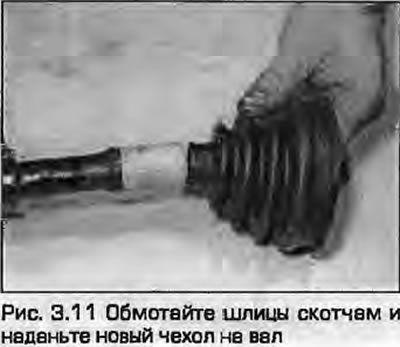
11. Wrap the shaft splines with tape and put a new cover on it (Fig. 3.11). Remove the tape.
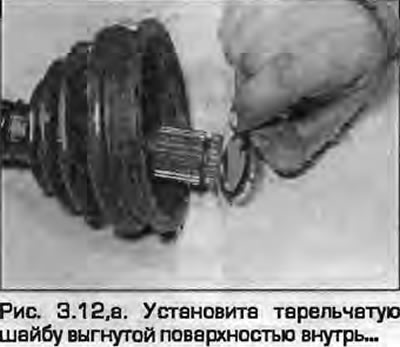
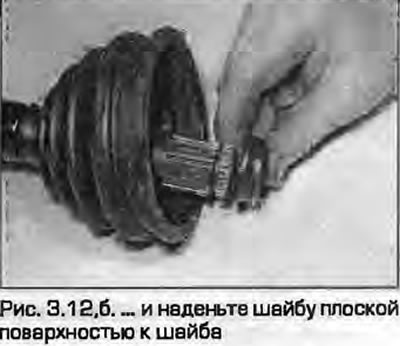
12. Install the disc washer with the curved surface inward, and then the bushing with the flat surface facing the washer (fig. 3.12, a, b).
 |
 |
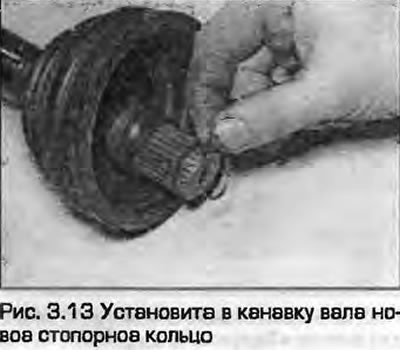
13. Install the new retaining ring into the shaft groove (Fig. 3.13).
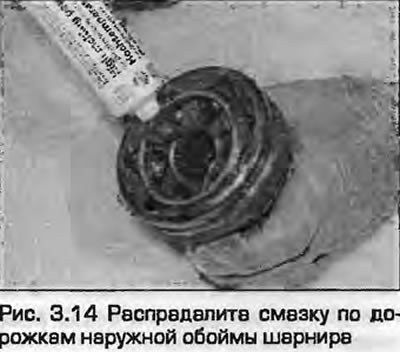
14. Spread the grease over the hinge, then squeeze the remaining grease into the boot (Fig. 3.14).
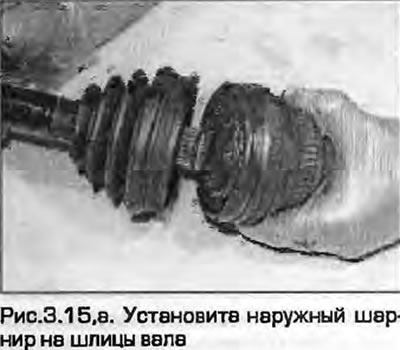
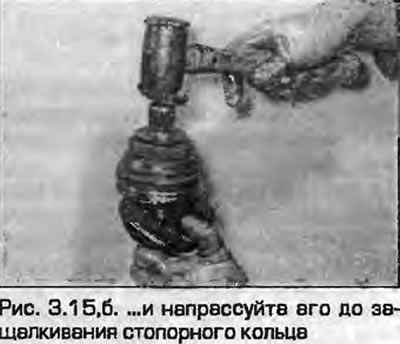
15. Install the outer joint on the splines of the shaft and slide it until it stops against the retaining ring. Gently but firmly tap the end of the splined pin of the joint with a soft heavy hammer to snap it onto the retaining ring (fig. 3.15, a, b). Pull on the hinge to ensure it is securely fastened.
 |
 |
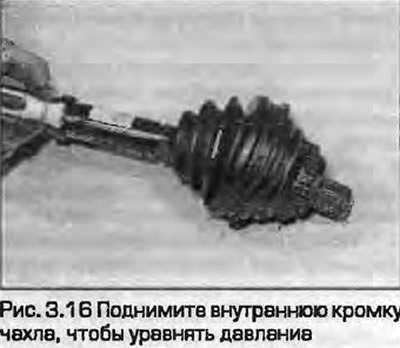
16. Place the outer edge of the boot into the groove of the outer hinge and lift the inner edge to equalize the air pressure inside the boot (Fig. 3.16).
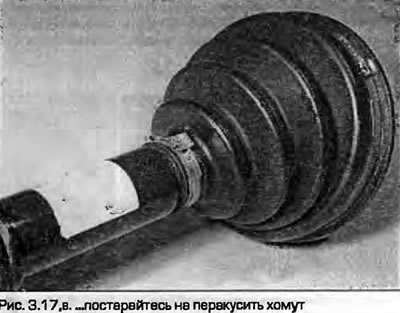
17. Install clamps on both ends of the covers and squeeze the protruding part to tighten the clamps. If you do not have a special tool, you can do this quite carefully with nippers (don't overdo it - don't bite the clamp) (fig. 3.17, a-c).
 |
 |
18. Check the freedom of movement of the joint in all directions and install it on the vehicle as described in paragraph 2.
(Read the original source on the website: AudiManual)