
2. Before the day's work, gather all the necessary tools and materials. Also prepare clean rags or old newspapers to wipe off any spills. It is desirable that the oil be warm, this improves its fluidity and helps remove wear products from the engine. Be careful - do not touch the exhaust system or other hot parts of the engine. To prevent scratches and damage to the skin by wear products contained in the oil, use gloves. Apply the handbrake and place the front of the car on a jack. Place a support under it. Otherwise, lift the car with a lift or roll it onto an inspection pit or overpass. Whichever way you choose, try to place the car horizontally to drain all the oil without leaving any residue. Unscrew the retaining screws and remove the protective tray from below the engine compartment.
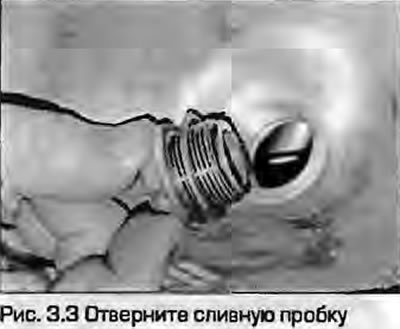
3. Remove the oil filler cap from the valve cover, place a container under the engine sump to drain the oil. Clean the drain plug, loosen it half a turn using a socket or open-end wrench, and unscrew it completely. Remove the sealing washer from the plug (Fig. 3.3).
4. Let the oil drain. Be careful: you may have to move the container when the oil starts to flow in a thin stream.
5. After draining the oil, wipe the plug and sealing washer with a clean rag. Inspect the washer for damage (they can cause a breach of the seal). Replace it if necessary. Wipe the area around the drain hole and put the plug and washer back, tightening it securely.
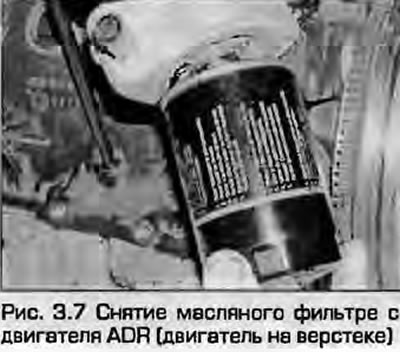
6. Move the container with the waste oil under the oil filter. The filter is located on the left rear part of the cylinder block.
7. Using an oil filter remover, loosen the filter, place a rag around it, unscrew it by hand and immediately place it upside down to avoid spilling oil. Remove the filter from the vehicle and drain the oil into an oil drain container (Fig. 3.7).
8. Wipe all oil and dirt from the filter sealing surface on the cylinder block with a clean rag. Make sure the rubber sealing ring is not stuck to the engine. If necessary, carefully remove it.
9. Lubricate the sealing ring on the new oil filter with a thin layer of grease, screw it onto the fitting until it stops. Tighten the filter only by hand - do not use any tools. Wipe the filter from the outside.
10. Remove the used oil and all tools from under the car, install the protective tray in place, tighten its screws securely. Lower the car.
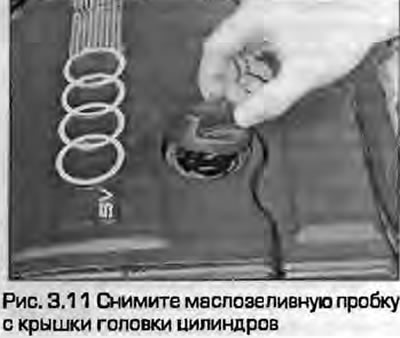
11. Remove the dipstick. Fill the engine with oil through the oil filler neck, using the correct type of oil (see "Daily checks"). A funnel will help. First, pour in half of the required oil, then wait a few minutes until it drains into the pan. Little by little, drink the rest of the oil, constantly checking its level in the engine with the dipstick. Adding about one liter of oil to the engine should increase its level from the "max" mark to "min" on the dipstick. Install and tighten the oil filler cap securely.
12. Start the engine and let it run for a few minutes, checking for possible leaks around the oil filter seal and the drain plug of the pan. Note that the oil pressure warning light will most likely go out after a few seconds as the filter and oil passages fill with oil, rather than immediately when you first try to start the engine.
Warning: On turbocharged models, do not rev above idle until the oil pressure warning light goes out. Revving the engine while the light is on will damage the turbo!
13. Stop the engine and wait a few minutes for the oil to drain into the pan. Now that all the channels and the filter are filled with oil, check the level again and top up if necessary.
14. Used oil must be disposed of. It should be noted that used oil filters should not be thrown into garbage chutes, as this is not considered household waste. Garages should have special containers for collecting such waste.