
Note: Before you begin, please read the warnings in paragraph 5 about the harmfulness of asbestos dust.
Examination
Note: If one disc requires replacement, both must be replaced to maintain uniform wheel braking. A new hub nut will be required for assembly.
1. Place chocks under the front wheels, engage reverse (or "P" in the case of an automatic transmission) gear. Raise the rear of the car and install safety supports. Remove the corresponding wheel.
2. Checking the disk is described in paragraph 6.
Removal
3. Remove the two caliper bracket mounting bolts and remove the entire caliper from the disc. Tie the caliper to the stand with wire to avoid putting stress on the brake hose. If necessary, the bracket can be removed separately as described in paragraph 9.
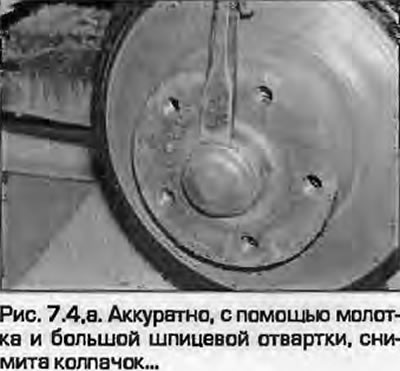
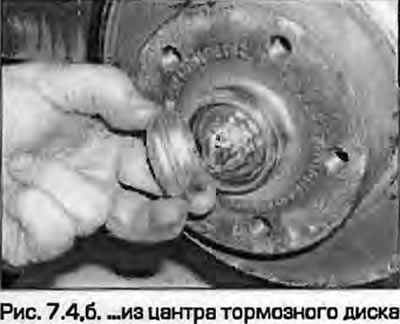
4. Using a hammer and a large flat-blade screwdriver, carefully remove the hub nut cap (Fig. 7.4). If the cap is damaged during removal, it must be replaced.
 |
 |
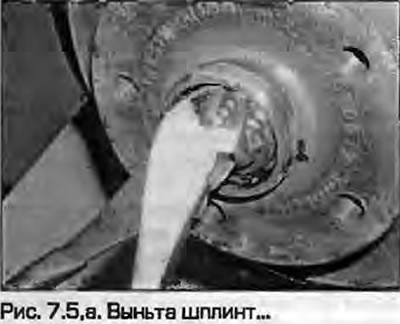
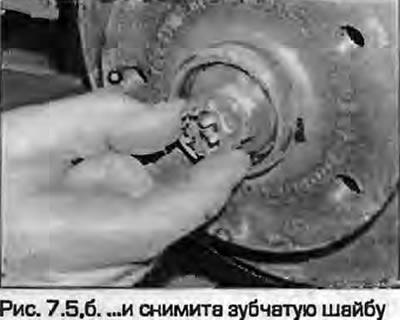
5. Remove the cotter pin from the hub nut and remove the retaining ring. Discard the cotter pin, a new one is required for installation (fig. 7.5, a, 6).
 |
 |
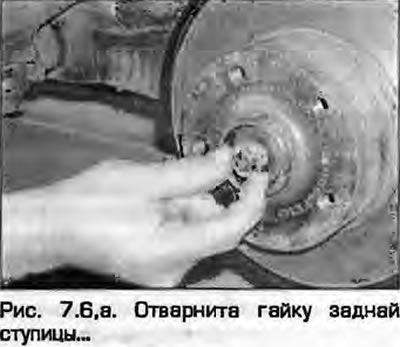
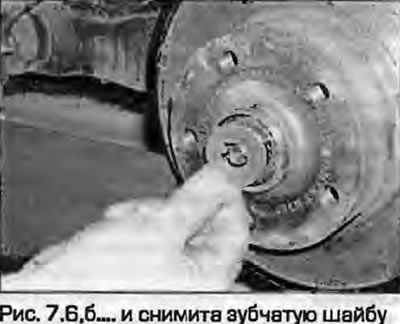
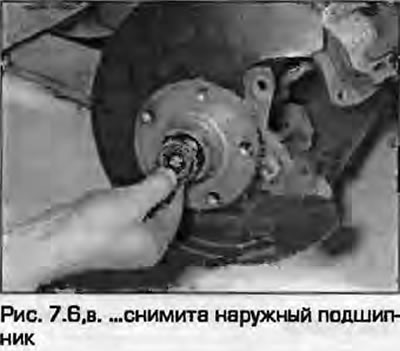
6. Loosen the rear hub nut and remove the toothed washer. Remove the outer hub bearing (without outer ring) (fig. 7.6, a-c).
 |
 |
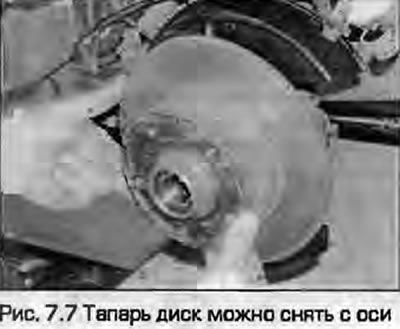
7. Now you can remove the disc with the hub from the hub axle by hand (Fig. 7.7).
Installation
8. If installing a new disc, remove the protective coating from the disc with a suitable solvent. If necessary, install the inner bearing and seal as described in chapter 10. Lubricate the outer bearing thoroughly.
9. Lubricate the hub seal on the disc and install the disc on the axle.
10. Install the outer bearing and toothed locking washer with the tooth in the slot in the axle.
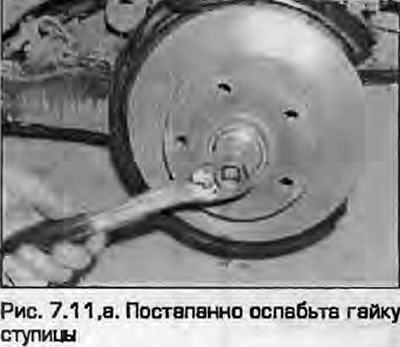
11. Tighten the hub nut until it stops in the washer, then turn the disc so that the bearings "self-align". Gradually unscrew the nut until you can slightly move the toothed washer from side to side with a screwdriver (fig. 7.11, a, b).
 |
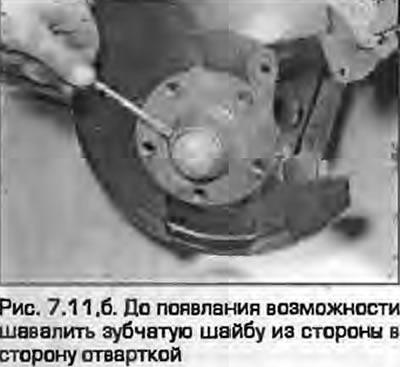 |
Note: Very little force should be required to move the washer.
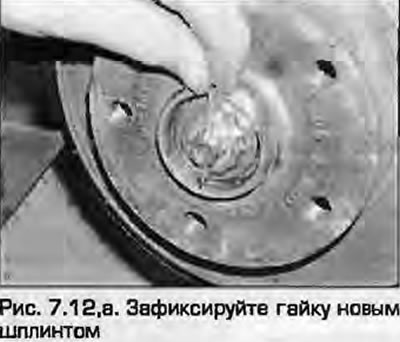
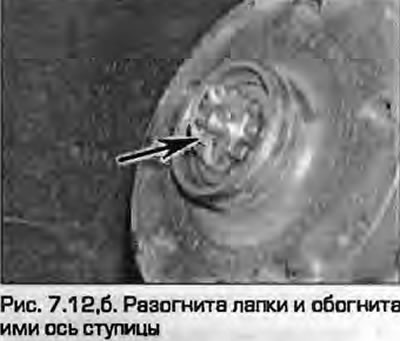
12. After adjusting the nut, install the locking ring and a new cotter pin. Spread the cotter pin tabs (Fig. 7.12).
 |
 |
13. Install the central cap, pressing it until it stops against the "shoulders".
14. Before installing the caliper, make sure the disc is clean on both sides. Put the caliper on the disc. Tighten the caliper mounting bolts to the specified torque.
15. Install the wheel, lower the vehicle. Tighten the wheel mounting bolts to the specified torque as described in the chapters 1A or 1B.
The original source of the article can be found on the website AUDIMANUAL.ru