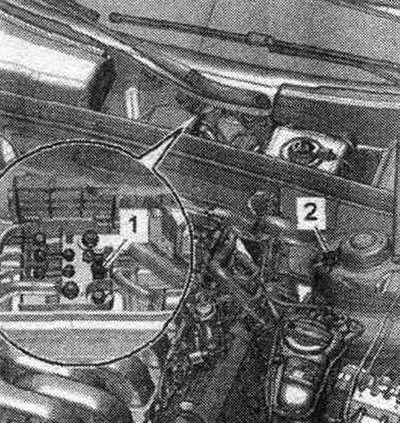
Table of contents: Battery (battery) ↓ Disconnecting and connecting the… ↓ Preparatory work before charging the… ↓
Battery (battery)
Sedan
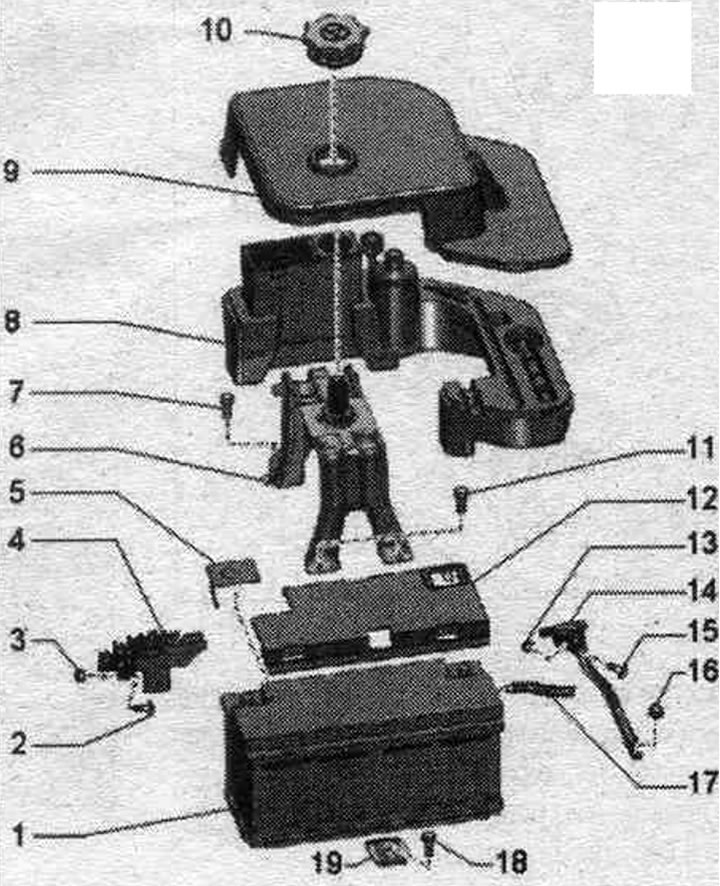
1. Battery: in the luggage compartment, in the spare wheel niche.
2. Bolt.
3. Nut: 6 Nm.
4. Fuse box A "SA".
5. Cover for (+) terminal.
6. Support bracket: for the side cover, tool.
7. Bolt: 18 Nm.
8. Fastening: for on-board tools.
9. Facing: for side. Tool.
10. Nut: for the side cover, tool; 4 Nm.
11. Bolt: 18 Nm.
12. Cover (-) terminal.
13. Nut: 6 Nm.
14. Ground wire from used battery control "J367".
15. Bolt.
16. Nut: 20 Nm.
17. Center hose, gas outlet.
18. Bolt: 18 Nm.
19. Mounting bracket.
Avant
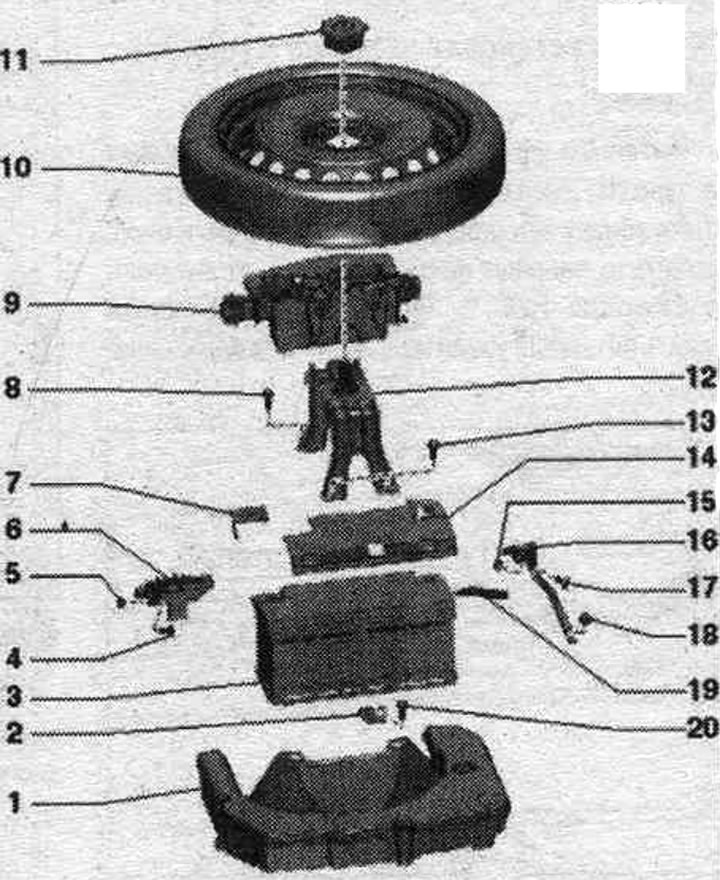
1. Low frequency speaker.
2. Mounting bracket.
3. Battery: in the luggage compartment, in the spare wheel niche.
4. Bolt.
5. Nut: 6 Nm.
6. Fuse box A "SA".
7. Cover for (+) terminal.
8. Bolt: 18 Nm.
9. Fastening: for jack.
10. Spare wheel.
11. Nut: for spare wheel; 4 Nm.
12. Support bracket: for spare wheel.
13. Bolt: 18 Nm.
14. Cover (-) terminal.
15. Nut: 6 Nm.
16. Ground wire from used battery control "J367".
17. Bolt.
18. Nut: 20 Nm.
19. Center hose, gas outlet.
20. Bolt: 18 Nm.
Disconnecting and connecting the battery
Caution! Risk of accident. When working on pyrotechnic units (for example. Airbag, seat belt tensioner.) The battery must be disconnected in a special manner, described below, with the ignition on. Vehicles with a TDI (SCR) engine. After the ignition is turned off, the additive is sucked back from the metering line to the "N474" additive injector into the feed tank. Before working on these components, you must wait until the reverse suction has completely resolved; this will take up to 10 minutes after turning off the ignition. The battery can be disconnected only after the reverse suction is complete, that is, 10 minutes after the ignition is turned off.
Disconnection
Turn off the ignition.
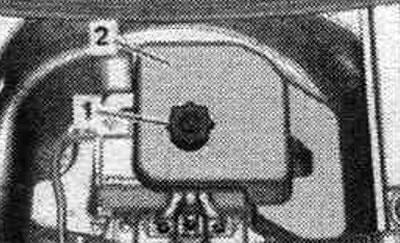
Sedan: Lift the trunk mat using the handle and hook the handle onto the trunk seal. Unscrew nut "1" and remove cover "2" from the side of the tool.
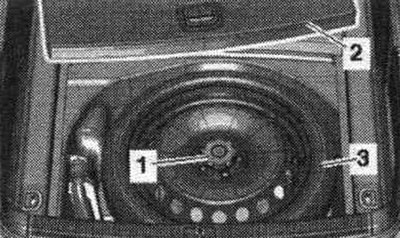
Avant: Remove the trunk floor "2". Unscrew the nut "1" and, if present, remove the spare wheel "3".
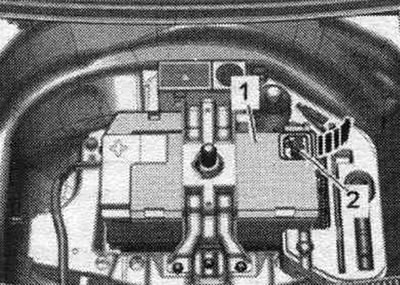
(-) terminal cover — version I: Slightly pull the cover "1" upwards over the (-) pole "arrow". Loosen the nut a few turns and remove the ground cable terminal "2" from the battery pole terminal.
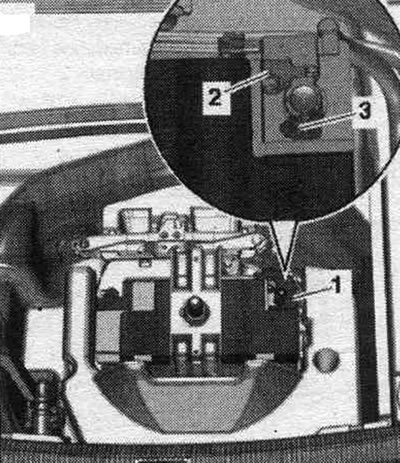
(-) terminal cover - option II: Open cover "1" above the (-) battery terminal. Loosen nut "3" a few turns and remove battery terminal clamp "2" of the ground wire from the battery terminal.
Connection
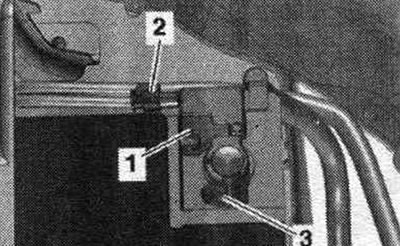
Disconnect the plug connection "2" used for battery monitoring "J367" no. 1-. When connecting manually, place the ground wire terminal on the (-) battery pole - and tighten the nut "3". Connect the plug connection to the control unit. for monitoring the battery "J367".
If the wires to the battery terminals are reconnected, the following operations must be performed. Activate automatic lifting/lowering mode of the electric. window lifter. Query the event memory of all control units. and remove the Low Voltage error message. After reconnecting the power supply, the system indicator light will come on. ESP may go out only after a few meters of driving.
Preparatory work before charging the battery
It is preferable to charge the battery while it is installed and connected. Only in this way will the charging current be taken into account in the capacity calculation performed by 6/y for monitoring the "J367" battery. Turn off the ignition.
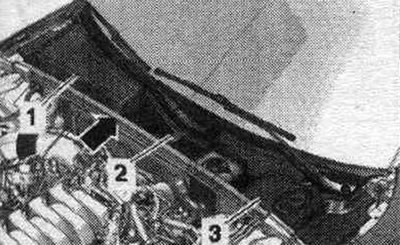
Vehicles manufactured before 05.2008: Unlock and remove the cover of the water drainage channel "2". Ignore "Pos. 1, 3" and "arrow".
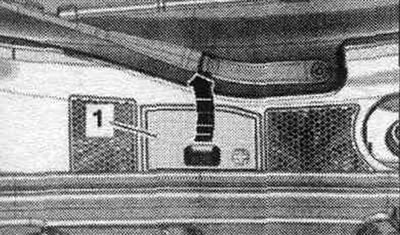
Cars produced since 06.2008: Remove cover "1" from the handle in the upward direction "arrow".
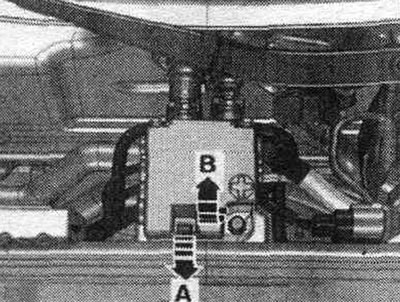
All
Unlock the "arrow A" lock and remove the "arrow B" cover.
Connect the red terminal + of the battery charger to positive "1" and the black terminal - to ground "2". Connect the power plug of the battery charger and turn on the charger. Leave the back cover open during the charging process.