
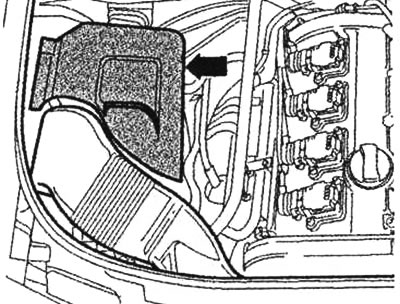
1.8L Turbocharged Engine Cover Removal (AVJ)
2. Remove the air filter cover (arrow).
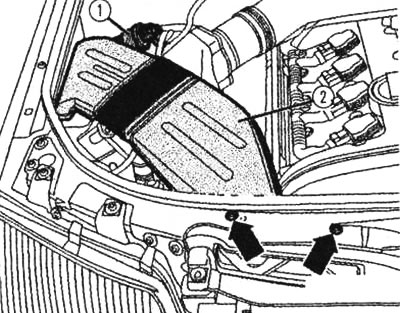
Removing the Air Filter Cover (AVJ)
3. Unscrew the screws (arrows). Remove the N80 electromagnetic valve for the activated carbon tank 1 from the air duct 2. Remove the air duct.
Removing the Air Duct (AVJ)
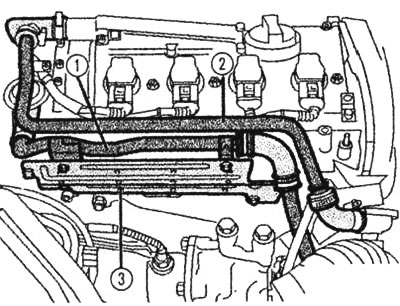
4. Remove pipe 2 of the crankcase ventilation system. Remove the crankcase ventilation hose on the cylinder head cover. Remove pipe 1 on the combination valve for blowing in additional air on the cover and on the heat shield 3. Turn the pipe slightly to the side.
Removing the pipes above the cylinder head cover (AVJ)
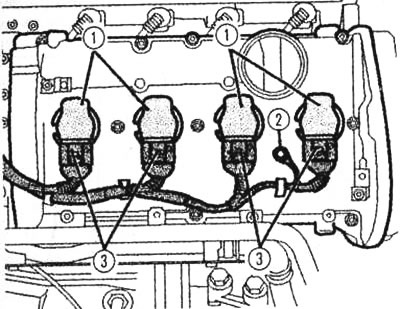
5. Unscrew the wire for connection to the housing 2. Remove the connectors 3 and release the wires. Pull out the ignition coils 1 and loosen both spring clamps for fastening the upper part of the toothed belt protective cover.

Removing ignition coils (AVJ)
6. Loosen the nuts (arrows) on the cylinder head cover and remove the cover.
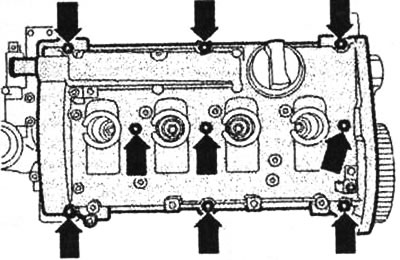
Loosening the nuts on the cylinder head cover (AVJ)
7. Installation is carried out in the reverse order. During installation, replace all seals and sealing rings; if damaged, also replace the sealing gaskets for the cylinder head cover. Provide the transitions (arrows) at the upper sealing surface of the cylinder head with a small amount of sealant AMV 174 004 01.
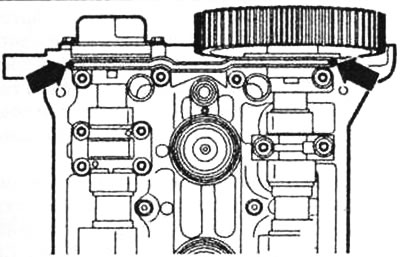
Transition to the upper sealing surface of the cylinder head (AVJ)
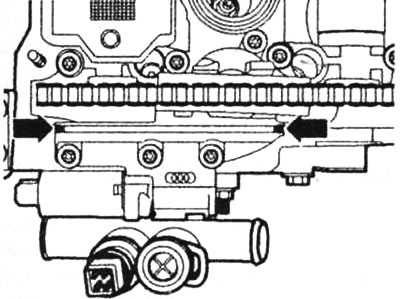
Bolting and sealing the cylinder head cover (AVJ)
8. Tighten the inner cylinder head cover mounting nuts to 10 Nm first, then tighten the outer nuts crosswise. Make sure the timing belt guard is seated correctly. When installing the pipes, tightening torques of 10 Nm should also be observed (hose clamps: 2 Nm).