
Table of contents: Rear section ↓ Front section ↓
Rear section
Removal
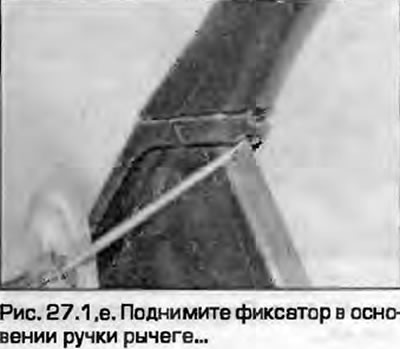
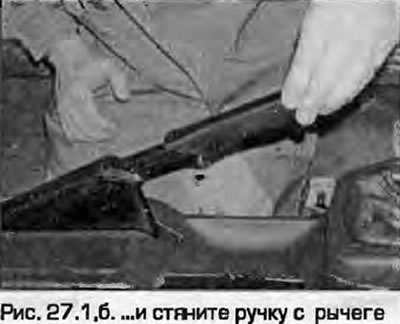
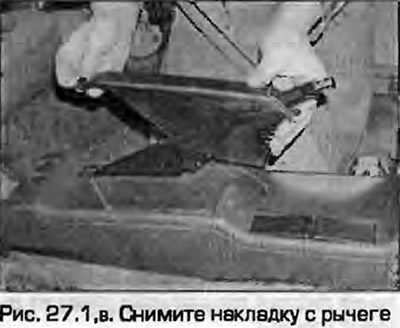
1. Raise the handbrake lever, lift the latch at the base of the lever handle and pull the handle off the lever. Remove the cover from the lever (fig. 27.1, a-c).
 |
 |
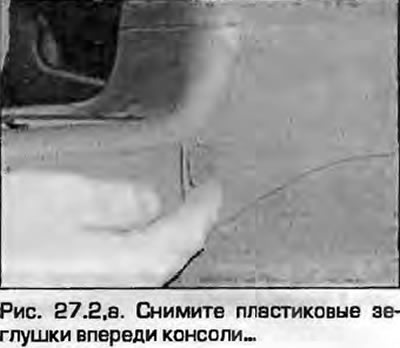
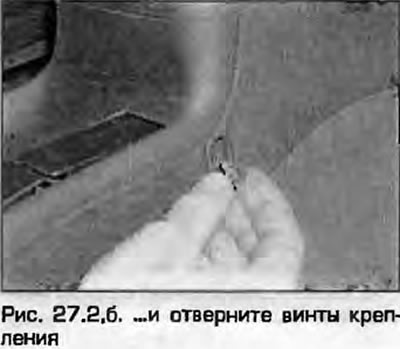
2. Remove the plastic plugs at the front of the console and unscrew the mounting screws (Fig. 27.2).
 |
 |
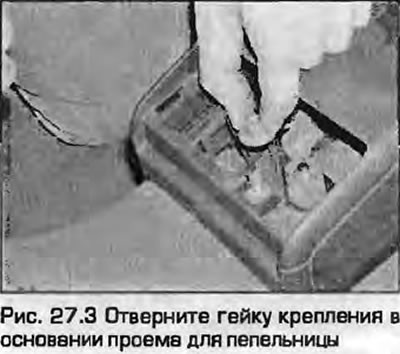
3. Remove the ashtray at the rear of the console, unscrew the fastening nut at the base of the ashtray opening (Fig. 27.3).
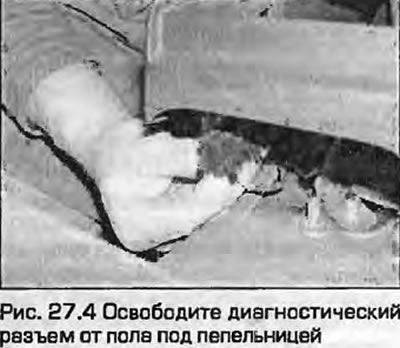
4. If present, release the diagnostic connector from the floor under the ashtray (Fig. 27.4).
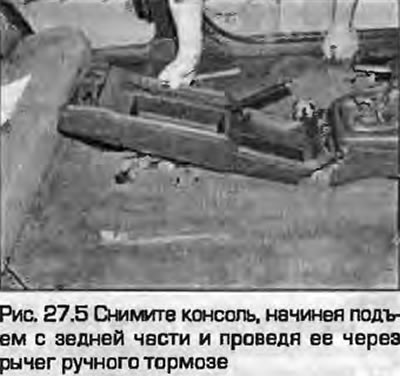
5. Lift the console, disconnect the cigarette lighter and ashtray light wiring connector. Remove the console, starting from the rear and passing it through the handbrake lever (Fig. 27.5).
Installation
6. Installation is the reverse procedure. Connect the cigarette lighter and ashtray light wiring connector. Secure the diagnostic connector.
Front section
Removal
7. Remove the rear section of the console as described above.
8. Remove the radio unit as described in chapter 12.
9. On vehicles with manual heater control, remove the knobs from the switch shafts as described in chapter 3. Unscrew the four mounting screws at the corners of the radio opening and release the console trim from the clips.
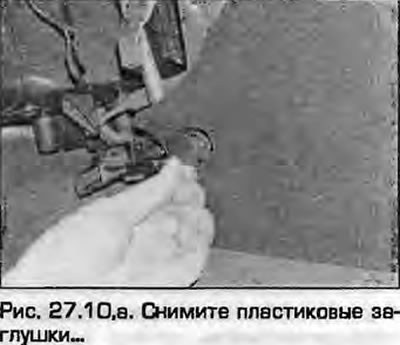
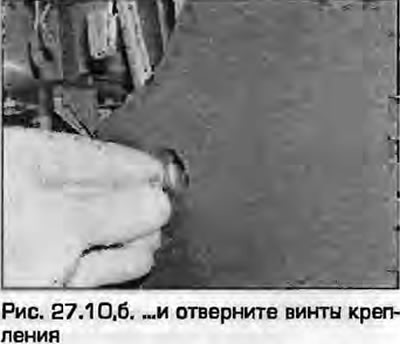
10. Remove the plastic plugs at the front edges of the console and unscrew the mounting nuts (fig. 27.10, a, b).
 |
 |
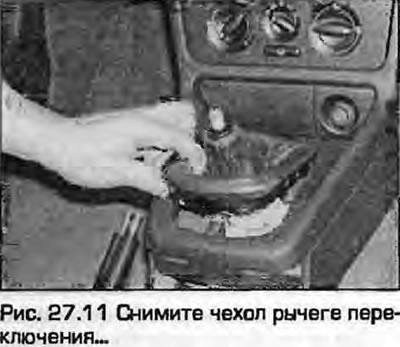
11. On models with manual transmissions, unscrew the knob of the lever, unfasten and remove the lever cover (fig. 27.11). On models with automatic transmission, carefully unclip the trim/indicator panel and remove it via the lever from the console.
12. Lift the console, disconnect the ashtray/cigarette lighter wiring and remove the console from the dashboard (fig. 27.12).

Installation
13. Installation - reverse procedure. Align the front console mounts with the front panel frame. Carefully lay the wiring.
[The article was copied from the website: audimanual.ru]