
Removal
29. Before starting work, make sure that the engine is completely cool.
30. Open the hood, find the place on the engine shield where the heater hoses connect to the heater fittings.
31. To collect the coolant, place a suitable container under the hoses.
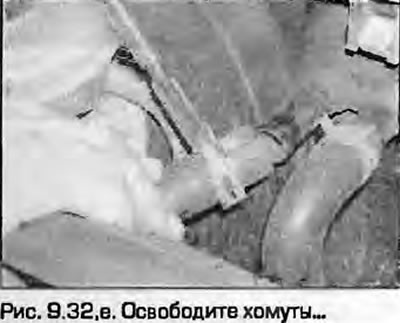
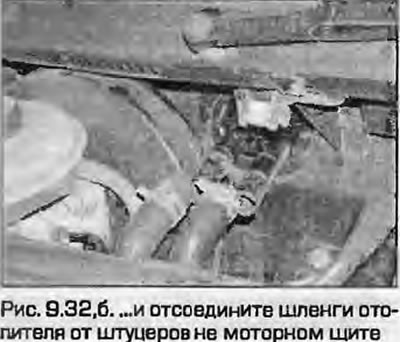
32. Clamp the hoses with suitable clamps. Loosen the clamps and pull the hoses off the fittings (fig. 9.32, a, b). Drain the liquid into a container underneath.
 |
 |
33. If it is possible to use compressed air, connect the compressor hose to the left fitting and blow out the heater radiator with low pressure to expel any remaining liquid from it.
Warning: Wear safety glasses when working with compressed air.
34. If there is no compressed air, take into account that there is still a fair amount of coolant left in the radiator, which will be soaked into the cabin when the radiator is removed.
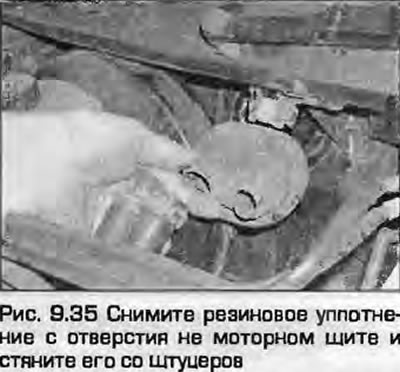
35. Remove the rubber seal from the hole in the engine shield, pull it off the fittings and remove it from under the hood (Fig. 9.35).
36. Remove the front panel completely as described in chapter 11. On early models, the heater is attached to the back of the front panel.
Models before 1996
37. Disconnect the wiring connector between the heater unit and the front panel. Put tags on the connectors to avoid confusion during assembly.
38. Loosen the mounting screws and remove the heater from the rear of the front panel. Remove the heater from the vehicle, holding it vertically to avoid spilling coolant.
Models since 1997
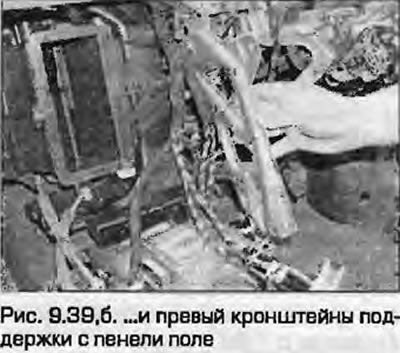
39. Loosen the bolts and disconnect the left and right front panel mounting brackets from the floor panels (fig. 9.39, a, b).
 |
 |
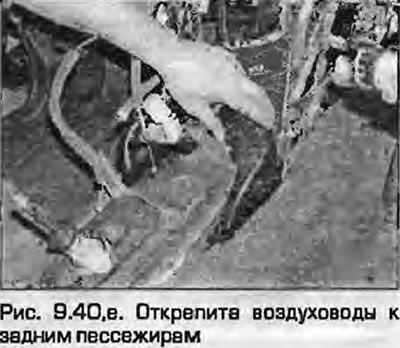
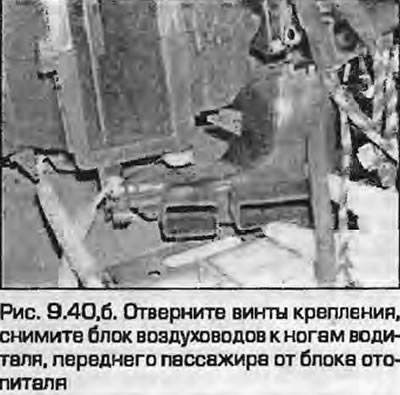
40. Disconnect the air ducts to the rear passengers from the front of the air distributor unit to the driver's and front passenger's feet. Loosen the mounting screws and remove the air distributor unit from the base of the heater unit (fig. 9.40, a, b).
 |
 |
41. Disconnect the heater wiring from the multi-pin connector. Put tags on the connectors to avoid confusion during installation. Release the wiring from the various fasteners on the side of the heater unit.
42. Loosen the mounting screws and remove the heater from the engine shield, towards the passenger side. The heater gasket may "stick" to the engine shield - gently rock the unit to remove it.
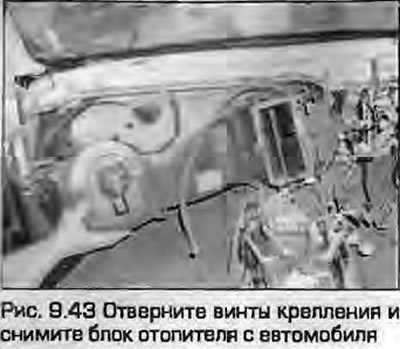
43. When removing the unit from the vehicle, hold it vertically to avoid spilling the coolant (Fig. 9.43).
Installation
44. Installation - reverse procedure. Please note the following:
- a) If the gasket is damaged, use a new one for installation.
- b) Make sure that all air ducts and covers are properly secured to the body and that the wiring is properly routed.
- c) Securely attach the hoses to the heater radiator. The supply hose from the cylinder head is connected to the left nipple, the return hose to the right.
- d) Do not forget to install the rubber seal of the fittings on the engine shield.
- d) Finally, top up the coolant and bleed the system as described in the relevant section chapters 1.
Text provided by the online resource AUDIMANUAL.RU