Table of contents: Disassembly ↓ Assembly ↓
Disassembly
Press the 1st gear pinion, adjusting washer and inner ring of the ball bearing using a mandrel.
The needle bearing with the inner sleeve and the 1st gear synchronizer locking ring have been removed.
Press out the 2nd gear pinion, needle bearing, 2nd gear synchronizer locking ring and 1st and 2nd gear synchronizer using a special puller or on a press using a mandrel.
Remove the support ring and press off the third gear pinion using a press or a special puller.
Press the fixed gear of the 4th gear on a press using a suitable device and remove the inner ring of the bearing with cylindrical rollers, having first removed the gear retaining ring on the type 014 II gearbox.
Check the technical condition of the secondary shaft parts and, if necessary, replace worn or damaged parts.
Assembly
Note: Do not lubricate the III and IV gears and the secondary shaft with oil before installation.
Press the inner ring of the bearing with cylindrical rollers onto the secondary shaft.
Using a press, press the fourth gear pinion onto the shaft until it stops, after heating it up to 120°C on a heating plate, with the wide flange of the pinion facing the head of the main gear drive pinion.
On the gearbox type 014 II, install the retaining ring for the fourth gear pinion, selecting the thickest of the rings supplied as spare parts (see subsection "Design and technical characteristics").
Heat the third gear pinion to a temperature of 120°C, press it onto the press until it stops, directing the wide flange of the pinion towards the fourth gear pinion.
Measure the clearance between the end face of the third gear pinion and the groove for the retaining ring using a set of feeler gauges. If the clearance is less than 1.6 mm, then a retaining ring with catalog No.12.378.1, 1.5 mm thick, should be installed. If the clearance is equal to or greater than 1.6 mm, then a retaining ring with catalog No.014.311.287, 1.6 mm thick, should be installed.
Install the needle bearing.
Install the 2nd gear pinion and the synchronizer locking ring, having first checked the axial clearance between the end face of the locking ring and the end face of the synchronizer gear ring with a set of feeler gauges
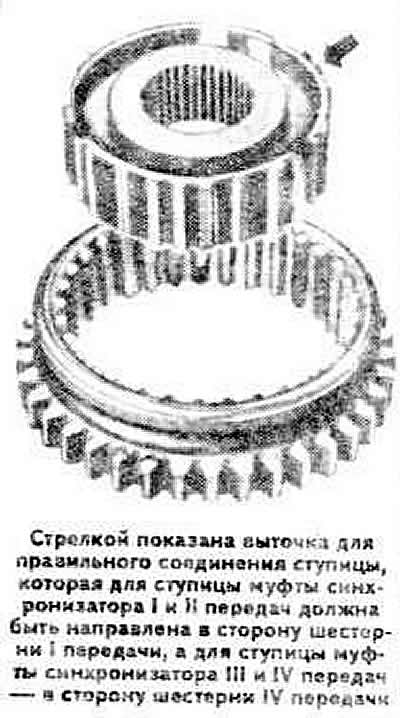
Assemble the sliding clutch and the hub of the synchronizer of the first and second gears; when installing, direct the groove of the hub towards the gear of the first gear. Install the crackers and put on the synchronizer springs, placing their connectors at an angle of 120°C relative to each other and inserting the curved ends of the springs into the recesses of the crackers.
Press the synchronizer of the 1st and 2nd gears onto the shaft using a press.
Install the inner sleeve and needle bearing of the 1st gear.
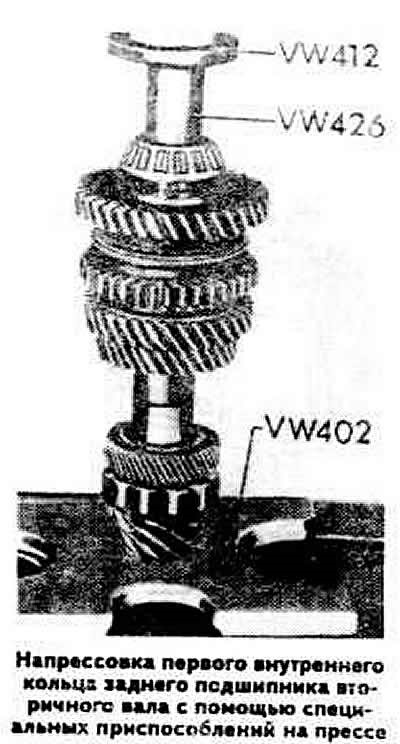
Press the inner ring of the roller bearing onto the shaft using a press.
Note: When replacing the siesta bearing with the outer ring, install a new adjusting ring, having first calculated the thickness (see "Adjusting the distance between the differential axle and the end of the drive gear").