
Table of contents: Removal ↓ Installation ↓
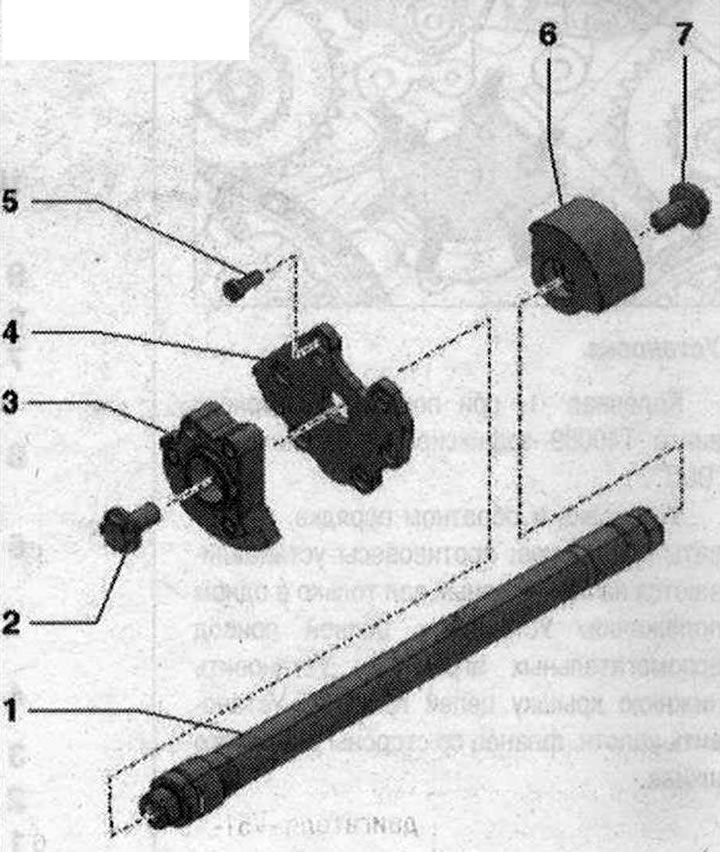
Balance shaft 1. Balance shaft; 2. Bolt. 60 Nm. Use a 8 mm drill bit as a counter support to loosen and tighten; 3. Counterweight from the gearbox side. It is installed on the balance shaft in only one position; 4. Support body; 5. Bolt. 13 Nm; 6. Balancer on the belt pulley side. Installed on the balance shaft in only one position; 7. Bolt. 60 Nm. Use an 8 mm drill as a counter support to loosen and tighten
Removal
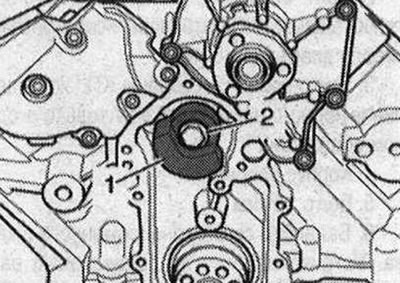
The gearbox is removed. Remove the sealing flange from the belt pulley side. Remove the lower cover of the drive chains. Install the chain drive of the auxiliary units. To protect against cuts, wrap the cutting edge of the 8 mm drill with electrical tape. Secure the counterweight "2" at the rear of the engine with an 8 mm drill "pos. 1". Unscrew the bolt "3" and remove the counterweight from the balance shaft.

Unscrew bolt "2", holding the counterweight with a punch, and remove the front counterweight "1" on the engine from the balance shaft.
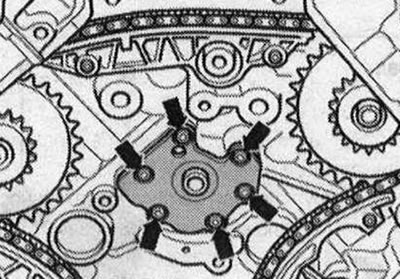
Loosen the "arrow" bolts and remove the balance shaft support shield. Remove the balance shaft from the cylinder block backwards.
Installation
Crankshaft "1" is fixed in the "TDC" position using the locking screw "T40069".
Installation in reverse order, note the following: Counterweights are installed on the balance shaft in only one position. Install the chain drive of the auxiliary units. Install the lower cover of the drive chains. Install the sealing flange on the belt pulley side.