



2. Remove the fasteners (And in the illustration) heat shield over the central bearing of the propeller shaft and unscrew the bolts (B) of the central bearing, supporting the shaft with your hand. Remove the heat shield and screw the bolts into place by hand.
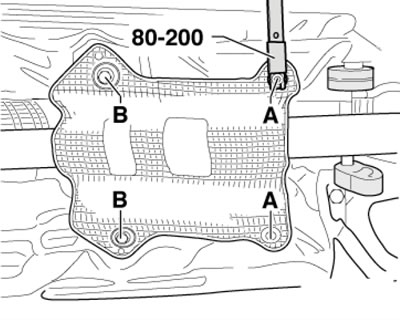
2.2. Fastening the heat shield
3. If available, unscrew the exhaust pipe mounting bolts (1 and 2 in the illustration). Remove the transmission guard (And in illustration 3.13 Chapter 7).
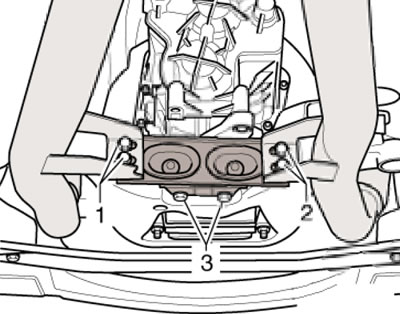
2.3. Exhaust pipe mounting bolts
4. If there are no color marks on the driveshaft and on the rear differential flange (see illustration), apply them with a felt-tip pen.
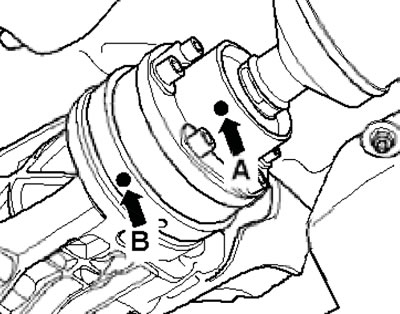
2.4. Marks on the propeller shaft and on the rear differential flange
5. Install tool 3139 and tighten the plastic nuts (see illustration).
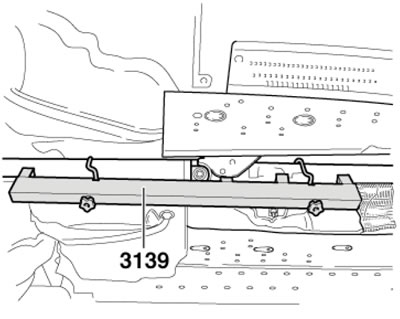
2.5. Device 3139
6. Remove the central bearing mounting bolts (see illustration).
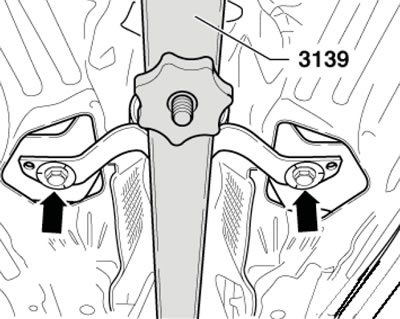
2.6. Central bearing fastening
7. While holding the cardan shaft from turning, unscrew the bolts that secure it to the transmission and release the shaft onto the transmission jack (see illustration).
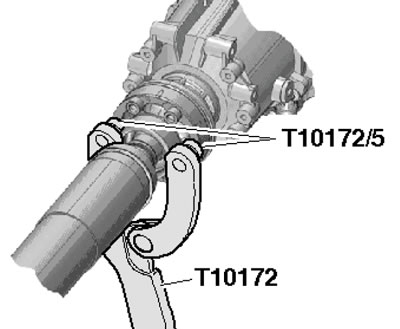
2.7. Separating the shaft from the transmission
8. Holding the shaft from turning with the T10172 tool, unscrew the six bolts (1 in the illustration) on the rear hinge and remove the propeller shaft.
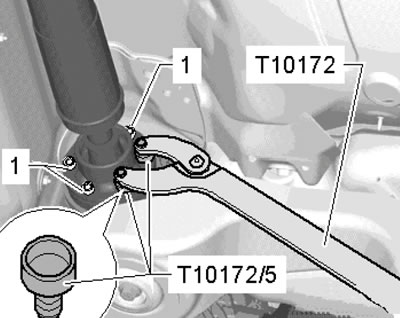
2.8. Separating the shaft from the rear differential
9. Remove old grease from the joints and flanges and fill them with approximately the same amount of new G000633 grease.
10. Installation is carried out in the reverse order of disassembly of the components. Use new bolts and gaskets. If there are alignment marks, they should be aligned; otherwise, measure the runout of the installed shaft and, if necessary, reposition it while turned. Remove the old locking sealant from the threaded holes before tightening the bolts. The center joint should be located between the center bearing and the rear differential.
[This article was previously published on the resource «AudiManual.ru»]