
Application: Before using, read the warnings in paragraph 1.
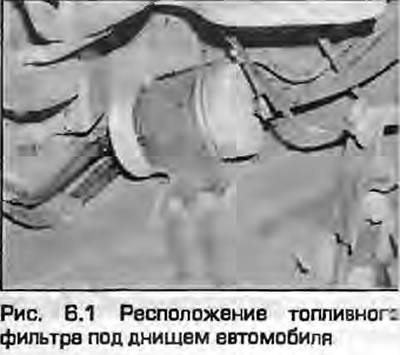
1. The fuel filter is located under the vehicle, in front of the fuel tank (Fig. 6.1). To access the filter, place chocks under the front wheels, raise the rear of the vehicle and install safety supports.
2. Relieve the pressure in the fuel system as described in paragraph 9.
3. If available, clamp the fuel hoses at the filter with suitable clamps or clips. This is not absolutely necessary, but even after the pressure is released, there will still be gasoline in the system, which will spill out when the hoses are disconnected from the filter. Fuel will also remain in the filter - place a rag underneath it.
4. Loosen the clamps and remove the hoses from the filter. If spring clamps are installed, discard them and install worm clamps. If the hoses are cracked or otherwise damaged, replace them as well.
5. Before removing the filter, pay attention to the arrows indicating the direction of fuel flow marked on the filter housing and compare them with the marks on the new filter (gasoline must move towards the engine).
6. Now you can remove the filter from the bracket. If it fits tightly, remove the bracket from the body and remove the filter on the workbench.
7. Install the new filter, observing the marks. After installing the filter on the bracket, screw in and tighten the mounting bolts.
8. Connect the hoses and tighten the clamps (if necessary, use new hoses and clamps). Make sure no dirt gets into the system. Remove the clamps from the hoses if they were installed.
9. Start the engine. The engine may not start immediately, as fuel pressure must build up in the system. Let let the engine run for a few minutes, checking for leaks.
Attention: The filter must be disposed of, given its high flammability - if it gets into a fire, the filter may explode.