



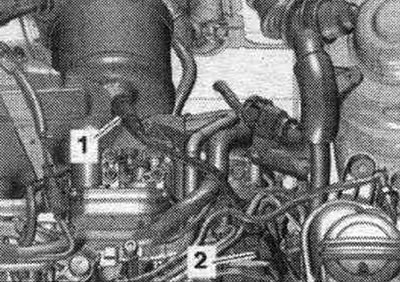
Release and disconnect connector "1" from the exhaust gas temperature sensor. Remove bolts "2" and "3". Remove the turbocharger heat shield.
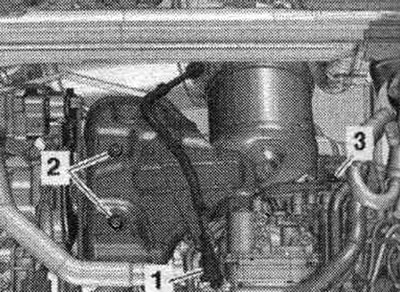
Disconnect plug connectors "1" and "3". Disregard "Pos. 2".
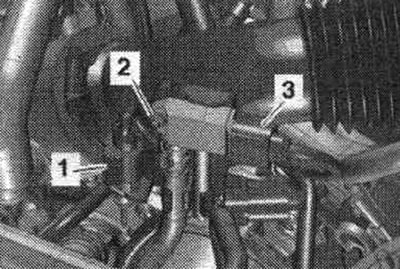
Unscrew bolt "3". Ignore "Pos. 1, 2".
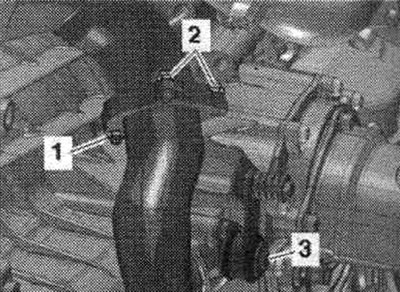
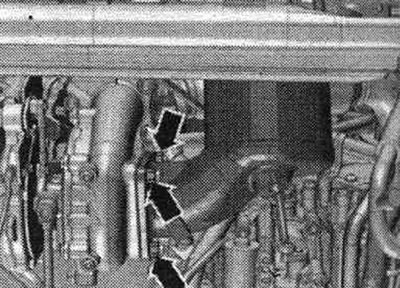
Unscrew the nuts of the particulate filter and turbocharger arrows. Remove the diesel particulate filter with the exhaust pipe.
Caution! Risk of failure of the gearbox control unit (Meohatronik) due to static discharge. Therefore, before working with plug connectors, it is necessary to "Remove the electrostatic charge" from the mechanic. For example, touching the ground, heater or lift with your hand. Do not touch the plug contacts of the gearbox connector with your hands.
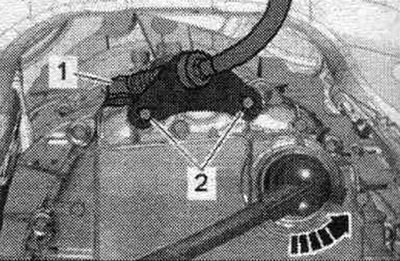
Disconnect the connector from the gearbox by turning the rotary latch counterclockwise "arrow". Release the wiring. "Pos. 1, 2" do not take into account.
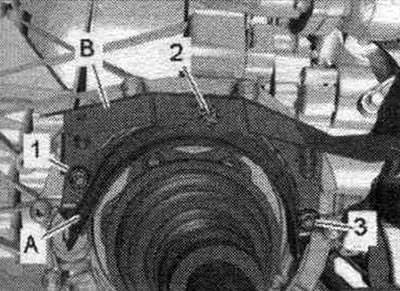
Remove bolts "1" and "3". Loosen bolt "2" and set heat sink "B" aside. Ignore "Pos. A".
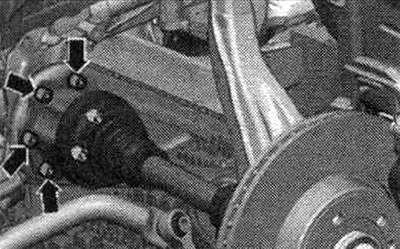
Unscrew the left and right CV joints from the transmission flange shafts. Disconnect the wiring to the G28 engine speed sensor on the transmission.
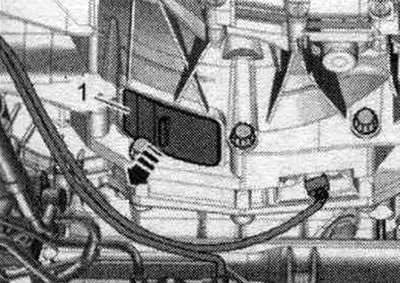
Remove cover "1" from the bottom of the "arrow" gearbox.
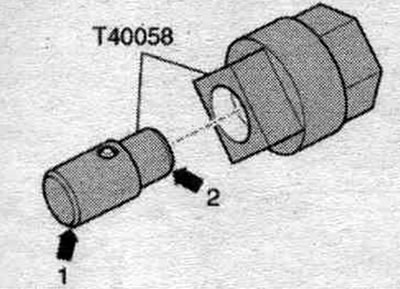
Insert the guide pins of the adapter "T40058" as shown below: the large diameter "arrow 1" faces the engine, the small diameter "arrow 2" faces the adapter.
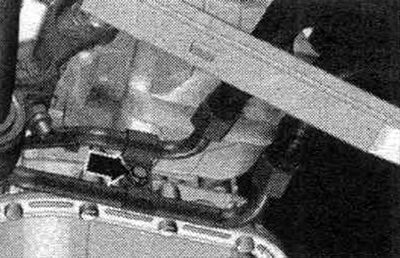
Unscrew the "arrow" bolts of the ATF lines.
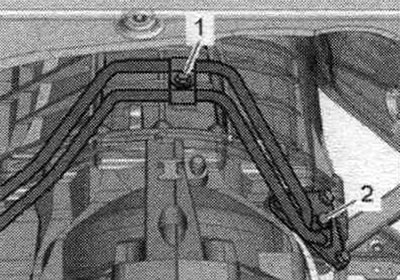
Place a rag under the disconnected area. to collect the escaping ATF, unscrew bolts "1" and "2", disconnect the ATF lines from the transmission, and tie them up. Close open lines and pipes with clean plugs from the VAS 6122 engine plug kit.
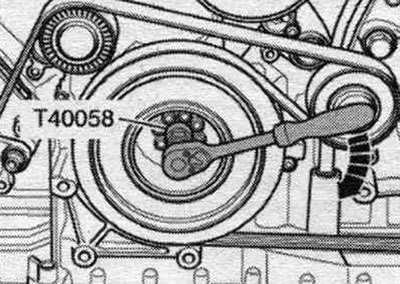
Hold or turn the crankshaft to loosen the dual-mass flywheel mounting bolts using the adapter "T40058". During the final turn, rotate the crankshaft only in the direction of engine rotation "arrow".
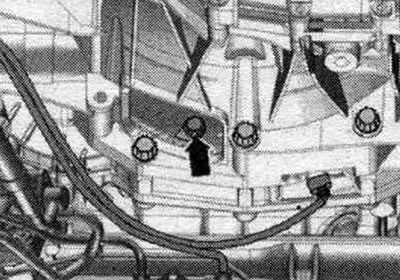
Unscrew the 6 "arrow" bolts of the dual mass flywheel; to do this, turn the crankshaft by 60° in the direction of engine rotation.
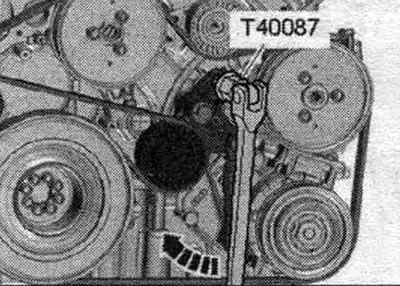
To relieve the poly V-belt tension, tilt the tensioner with the Torx T 60 bit "T40087" clockwise "arrow". Remove the poly V-belt from the tensioner and relieve the tensioner element.
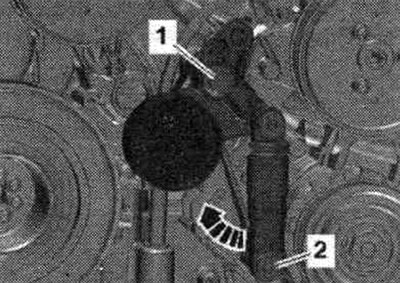
Loosen bolt "2" and tilt the tensioning element clockwise "arrow". Ignore "Pos. 1".
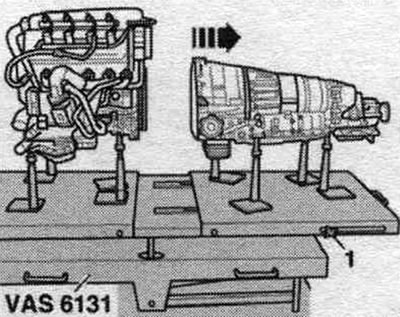
Prepare the lifting table "VAS 6131 A" with a set of fasteners for Audi "VAS 6131/10", additional set "VAS 6131/13" and mounting bracket "VAS 6131/14" as follows. Other fasteners remain unchanged. Secure the conductor "VAS 6131/13-7" on the front left side of the engine, in the threaded hole of the tensioner element of the poly V-belt, using an M8x35 bolt and a washer with an outer diameter of 25 mm. Secure the jig "VAS 6131/13-7" on the lifting table. Install conductors from "VAS 6131/10" and the gearbox lock "VAS 6131/14" in front of the checkpoint, as shown in the figure. Turn the right and left lead screws upwards so that the gearbox lock "VAS 6131/14" fits snugly against the gearbox. Tighten the support plates of the fastening elements to a torque of 20 Nm using the "VAS 6131 A" lift. Loosen bolts "1" and "2" of the starter. Press the starter away from the gearbox and leave it in the mounting position. position. Loosen the remaining bolts "3...11" securing the engine to the gearbox. Ignore "Pos. A". Unscrew the clamping bolts "1" on the side of the "VAS 6131 A" lift and move the rear platform with the gearbox back "arrow".
The original article is available on the online resource: AudiManual