
Table of contents: Manually closing the hatch ↓ Motor ↓
Manually closing the hatch
1. If the electric drive is faulty and the hatch is open, it can be closed manually. To do this, open the fuse box cover on the right side of the front panel and unfasten the emergency "brace".
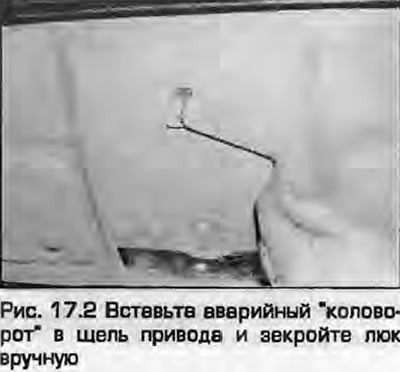
2. Open the hatch in the upper console, insert the "brace" into the drive and close the hatch manually (Fig. 17.2).
Motor
Removal
3. Close the hatch completely - if the electric drive is faulty, close the hatch manually, as described in paragraphs 1 and 2. Disconnect the ground wire from the battery, as described in paragraph 1.
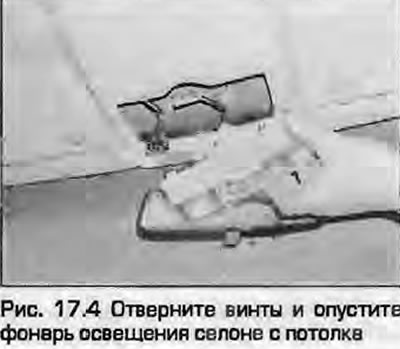
4. Remove the diffusers from the lamp as described in paragraph 8. Loosen the screws and lower the lamp from the ceiling (Fig. 17.4).
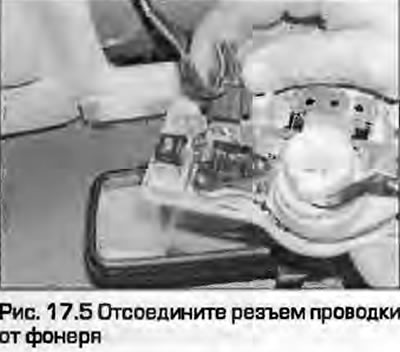
5. Disconnect the wiring connector from the lamp (Fig. 17.5).
6. Unscrew the mounting screws and remove the visors from the roof. Remove the side handles in the same way.
7. Loosen the mounting screws and remove the pads from the "B" pillars.
8. Pull back the front of the ceiling to access the motor.
9. Disconnect the wiring connector from the motor.
10. Loosen the mounting bolt and remove the motor from the mounting bracket.
Installation
11. Installation - reverse procedure. Please note the following:
- a) Lubricate the drive before installation.
- b) As with removal, it is important that the hatch is closed when installing. If a new motor is installed, it must be installed in its original position. To do this, connect the wiring connector and move the switch to the "closed" position (temporarily connecting the battery). This will return the motor to its original position.
- c) Use new bolts to secure the motor. Clean the threaded holes from old anaerobic sealant before tightening them.
- d) Check the system's functionality.
(The full version is posted on the resource: AudiManual.ru)