
Table of contents: Front passenger light ↓ Rear passenger light ↓ Luggage compartment and glove box… ↓ Backlit mirror in the visor ↓ Instrument panel lighting lamps ↓ Cigarette lighter illumination ↓ Backlighting of buttons and switches ↓ Heater control panel lighting ↓
1. When replacing any lamp, please pay attention to the following.
- a) Disconnect the negative battery cable as described in paragraph 1.
- b) Remember that if the pump has just been glowing, it is very hot.
- c) Always check the contact of the lamp and the socket. They must be clean and free from rust. Remove dirt and rust before installation.
- d) When installing bayonet-type lamps, check the condition of the central spring contact.
- d) Make sure that the lamp being installed has the specified voltage and power, especially for headlights.
Front passenger light
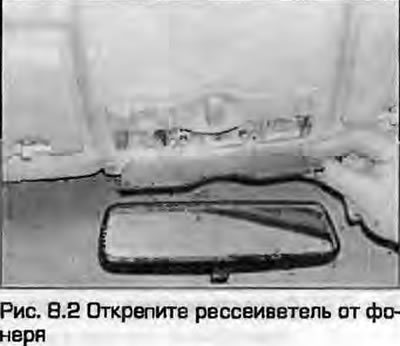
2. Detach the diffuser from the lamp (Fig. 8.2).
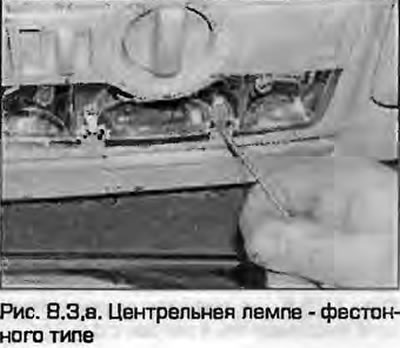
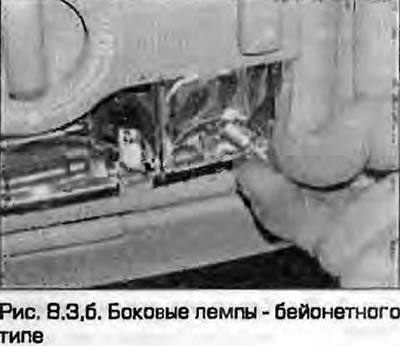
3. Remove the lamp from the socket. The central lamp is of the festoon type and can be removed easily by pressing the spring contact. The side lamps are of the bayonet type (pressed, turned, pulled out) (Fig. 8.3).
 |
 |
4. Installation - reverse procedure.
Rear passenger light
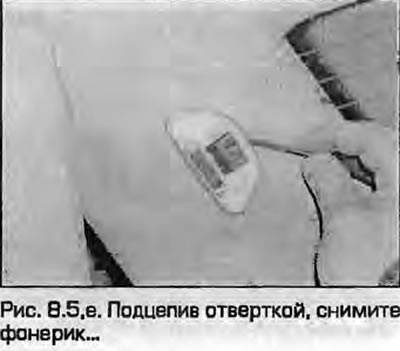
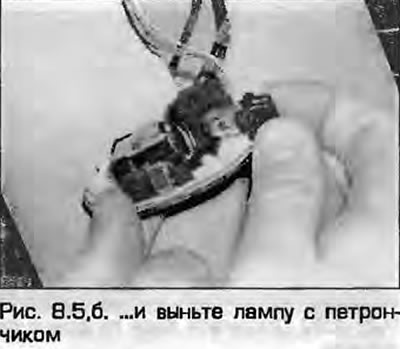
5. Using a screwdriver, remove the flashlight and take out the pump with the cartridge (fig. 8.5, a, b).
 |
 |
6. Installation - reverse procedure.
Luggage compartment and glove box lights
7. Using a screwdriver, remove the flashlight and take out the festoon-type lamp.
8. Installation - reverse procedure. Check the functionality of the flashlight.
Backlit mirror in the visor
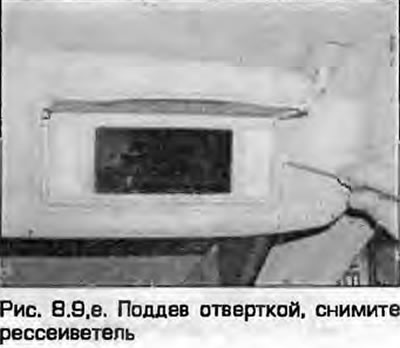
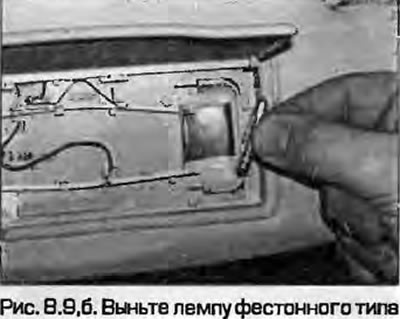
9. Using a screwdriver, remove the diffuser. Remove the festoon-type pump (fig. 8.9, a, b).
 |
 |
10. Installation - reverse procedure.
Instrument panel lighting lamps
11. Remove the instrument panel as described in paragraph 10.
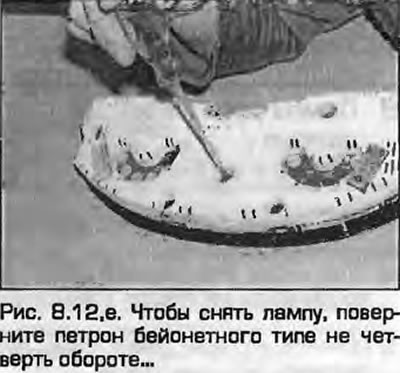
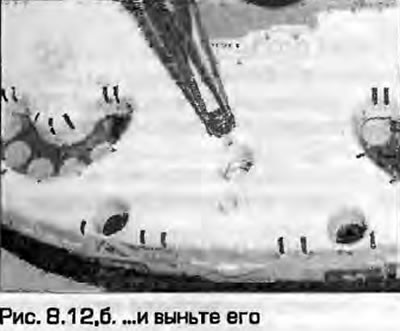
12. To remove the pump, turn the bayonet-type chuck a quarter turn and pull it out (Fig. 8.12). Depending on the model, either removable pumps may be used (baseless type) or lamps combined with a socket.
 |
 |
13. Installation - reverse procedure.
Cigarette lighter illumination
14. Open the ashtray, press the latches and remove the ashtray from the housing. Disconnect the wiring connector.
15. Without removing the cigarette lighter, pull the lamp socket from its rear part and remove the lamp from it.
16. Installation - reverse procedure.
Backlighting of buttons and switches
17. Non-removable lamps built into the switch or button are usually used. Removing switches is described in paragraph 6. If the method for replacing the lamp is not obvious, replace the button or switch entirely.
Heater control panel lighting
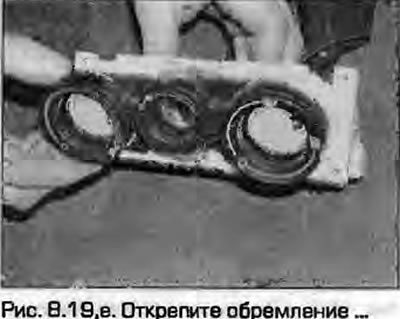
18. Remove the heater control panel as described in chapter 3.
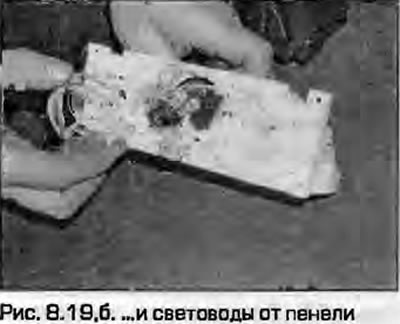
19. Detach the frame and light guides from the panel (fig. 8.19, a, b).
 |
 |
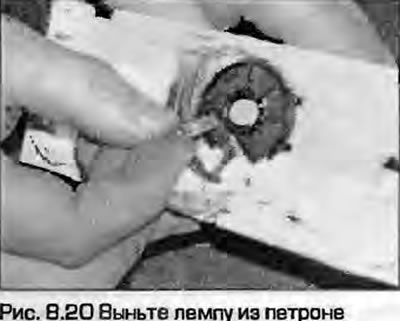
20. Remove the lamp from the socket (Fig. 8.20).
21. Installation - reverse procedure.