
Table of contents: Headlights ↓ Front side lights ↓ Front fog lights ↓ Front direction indicator ↓ Front turn signal repeater ↓ Tail light - Sedan models ↓ Tail light - Station wagon models ↓ License plate lighting ↓ Third brake light (sedan models) ↓ Third brake light (station wagon… ↓
1. When replacing any lamp, please pay attention to the following.
- a) Disconnect the negative battery cable as described in paragraph 1.
- b) Remember that if the lamp has just been lit, it is very hot.
- c) Always check the contacts of the lamp and socket. They must be absolutely clean and free of rust. Remove dirt and rust before installation.
- d) When installing bayonet-type lamps, check the condition of the central spring contact.
- d) Make sure that the lamp being installed has the specified voltage and power, especially for headlights.
Headlights
Note: This does not cover replacement of xenon headlight low beam bulbs - please refer to the description paragraph 11.
2. If you are removing the right headlight, unscrew the two screws securing the air intake duct to the front panel of the body, remove the air duct and move it to the side.
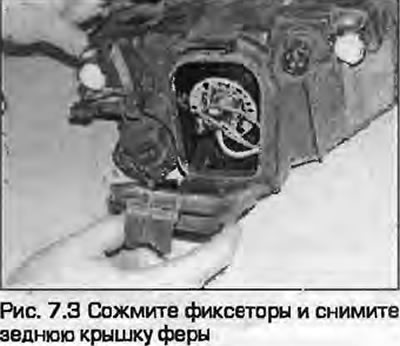
3. Squeeze the clips and remove the rear headlight cover (Fig. 7.3).
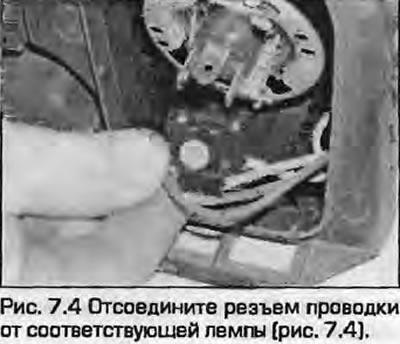
4. Disconnect the wiring connector from the corresponding lamp (Fig. 7.4). On headlights with separate low/high beam lamps, the low beam lamp is installed on the outside, the high beam - inside. On other models, the lamps are combined into one.
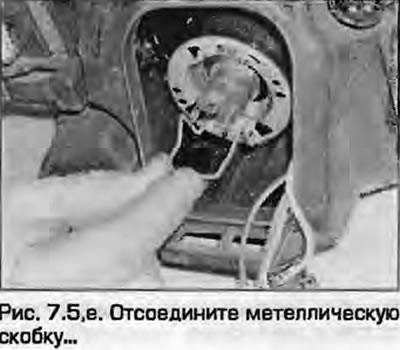
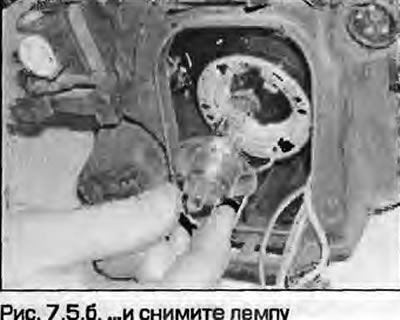
5. Detach the metal bracket and remove the lamp (fig. 7.5, a, b).
 |
 |
6. Installation - reverse procedure. Do not touch the bulbs of new lamps with your fingers. If you accidentally touch them, wipe them with alcohol.
Front side lights
7. Remove the cover from the back of the headlight (see fig. 7.3).
8. Remove the socket with the lamp (Fig. 7.8).

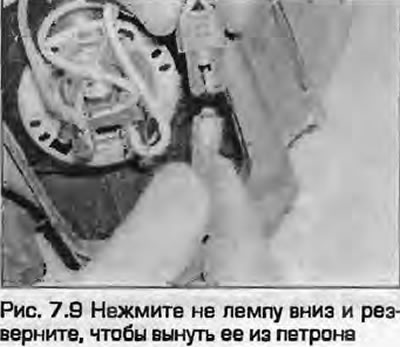
9. Press the lamp down and turn it to remove it from the socket (Fig. 7.9).
10. Installation - reverse procedure.
Front fog lights
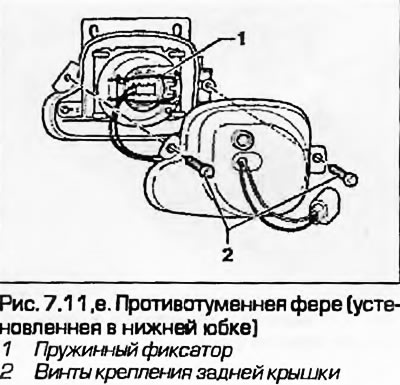
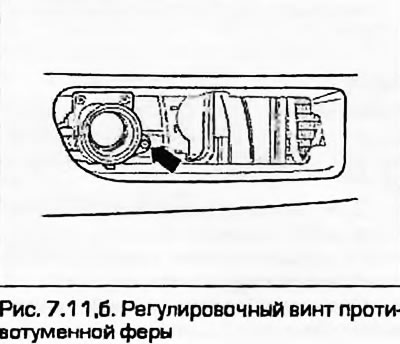
11. On models with fog lights integrated into the headlights, replacing their bulbs is similar to replacing the high/low beam bulbs. In this case, the fog lights are installed lower than all the others. On models with fog lights integrated into the bumper/front spoiler, unscrew the two screws from the rear of the bumper and remove the cover from the rear of the headlight. The bulb can be removed by unhooking the metal bracket and disconnecting the wiring connector. In any case, when installing, align the recess in the lamp base with the protrusion in the holder. If the headlight requires vertical adjustment, unhook the adjacent grille panel and turn the adjusting screw installed at the lower inner edge of the mounting flange (fig. 7.11, a, b).
 |
 |
Front direction indicator
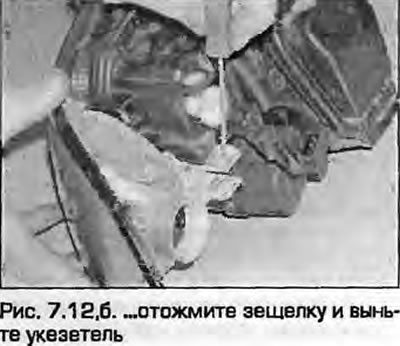
12. At the rear of the turn signal lamp, find the latch. Use a small screwdriver to push it back, press the splinter and remove the indicator (Fig. 7.12).
 |
 |
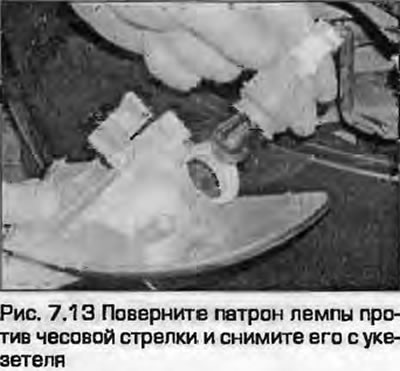
13. Turn the pump cartridge counterclockwise and remove it from the pointer (Fig. 7.13).
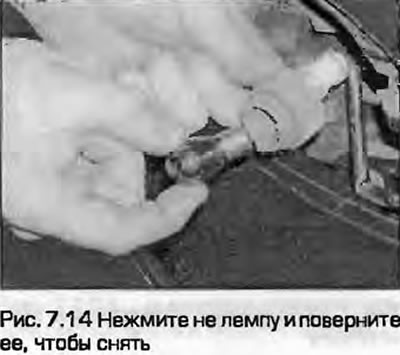
14. Press the lamp and turn it to remove it (Fig. 7.14).
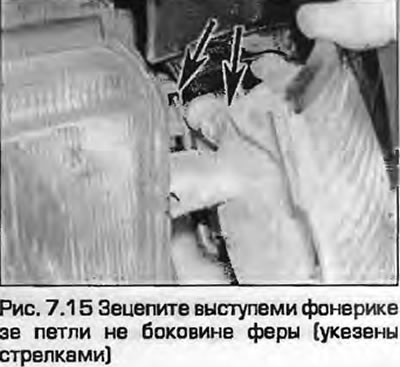
15. Installation - reverse procedure. When installing, hook the flashlight's protrusions onto the hinges on the side of the headlight (Fig. 7.15). Snap the latch into place at the rear of the flashlight.
Front turn signal repeater
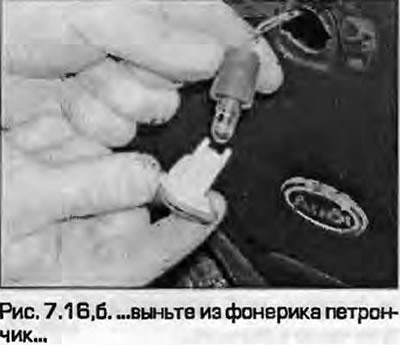
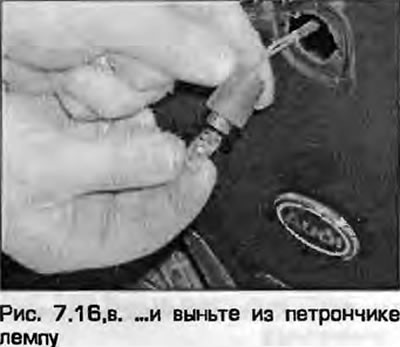
16. Move the repeater forward and disconnect it from the wing. Remove the socket from the flashlight and remove the bulb from the socket (fig. 7.16, a-c).
 |
 |
17 Installation - reverse procedure.
Tail light - Sedan models
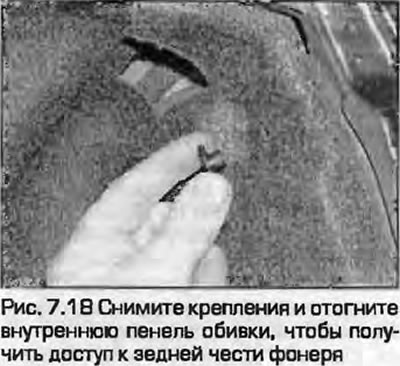
18. Remove the fasteners and fold back the inner trim panel to gain access to the rear of the light (Fig. 7.18).
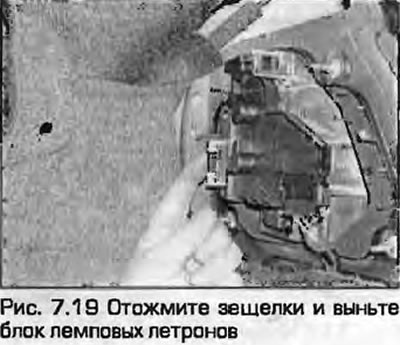
19. Press the latches and remove the lamp holder block (Fig. 7.19).
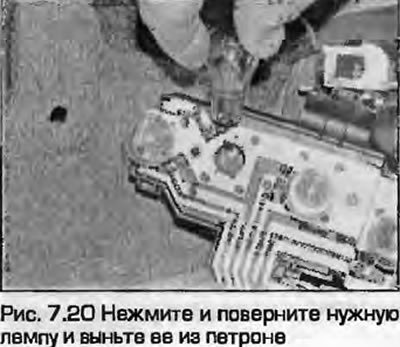
20. Press and turn the desired lamp and remove it from the socket (Fig. 7.20).
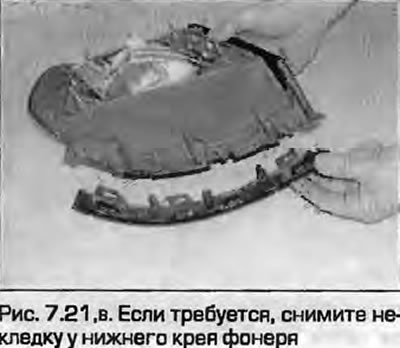
21. To remove the flashlight, remove the socket block as described above. Unscrew the mounting nuts. After removing the flashlight, unfasten the trim at the bottom (fig. 7.21, a-c).
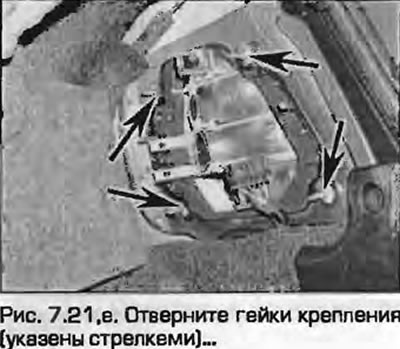 |
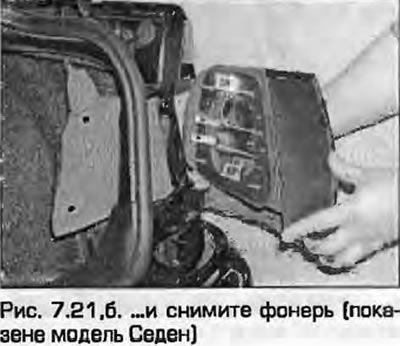 |
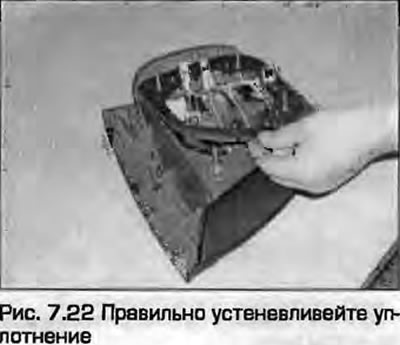
22. Installation - reverse procedure (Fig. 7.22). Install the seal correctly. Check the functionality of all lights.
Tail light - Station wagon models
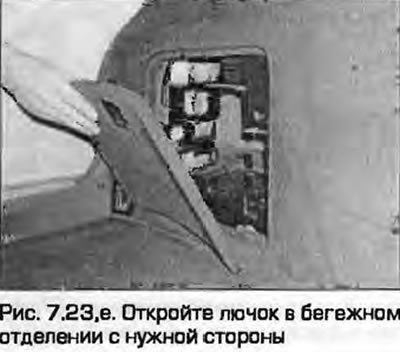
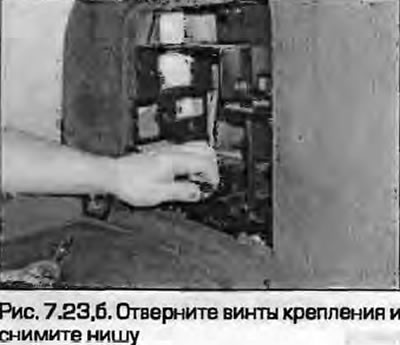
23. Open the hatch in the luggage compartment on the desired side. If you are working on the left side, remove the transceiver (transceiver) mobile phone or other radio equipment installed below the hatch. Unscrew the mounting screws and remove the niche (fig. 7.23, a, b).
 |
 |
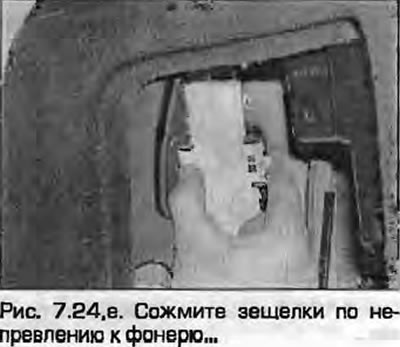
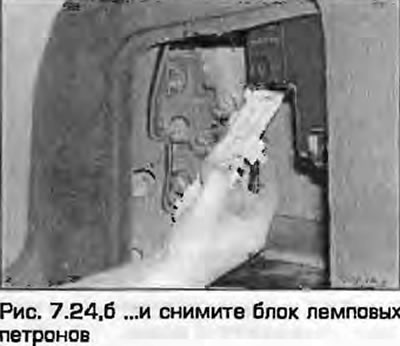
24. Press the latches towards the lamp and remove the lamp holder assembly (fig. 7.24, a, b).
 |
 |
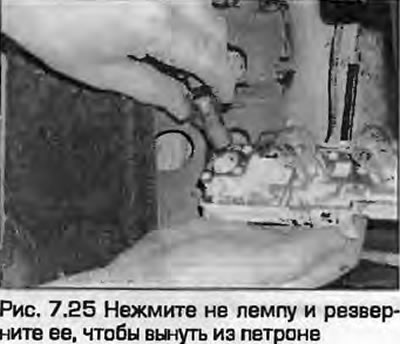
25. Press on the lamp and turn it to remove it from the socket (Fig. 7.25).
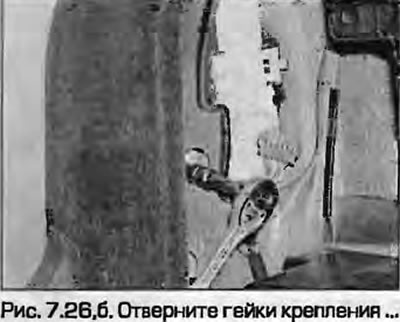
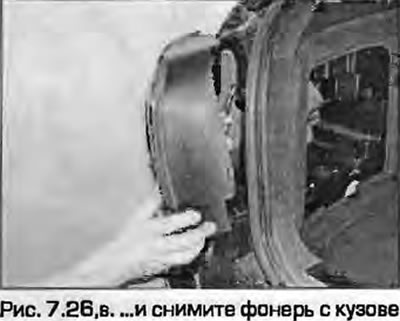
26. To remove the light, unscrew the mounting nuts and remove it from the body (fig. 7.26, a-c).
 |
 |
27. Installation - reverse procedure. Check the functionality of all lights.
License plate lighting
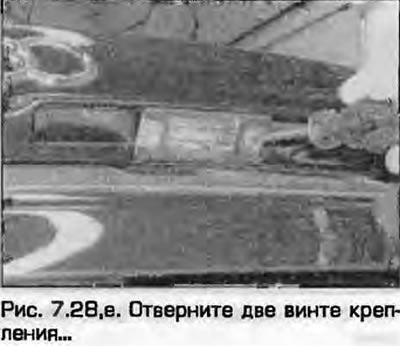
28. The license plate lights are installed in the trunk lid or in the fifth door, above the license plate. Open the trunk or the fifth door. Unscrew the two mounting screws and remove the corresponding lens and socket from the light (fig. 7.28, a, b).
 |
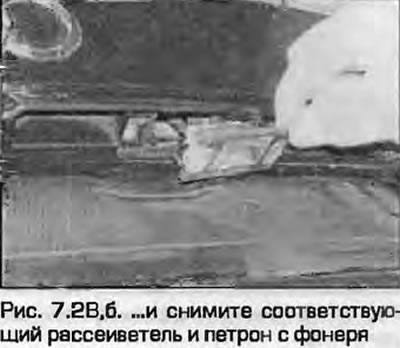 |
29. Remove the bulb from the socket (Fig. 7.29).
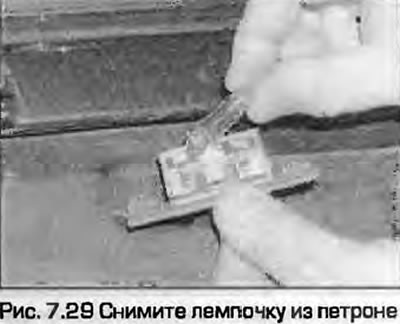
30. Installation - reverse procedure. Check the functionality of the lamp.
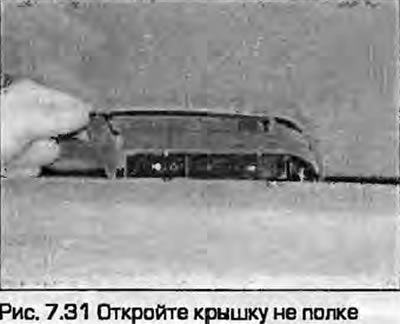
Third brake light (sedan models)
31. Open the lid on the shelf (Fig. 7.31).
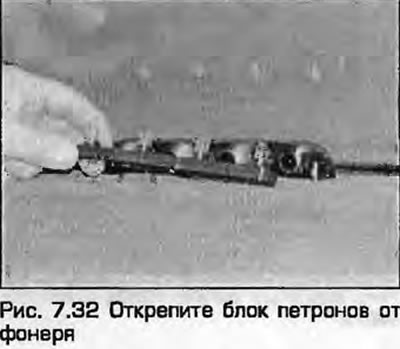
32. Detach the cartridge block from the flashlight (Fig. 7.32).
33. Remove the lamp from the socket (Fig. 7.33).

34. Installation - reverse procedure.
Third brake light (station wagon models)
35. Remove the fifth door trim panel as described in paragraph 14 of chapter 11.
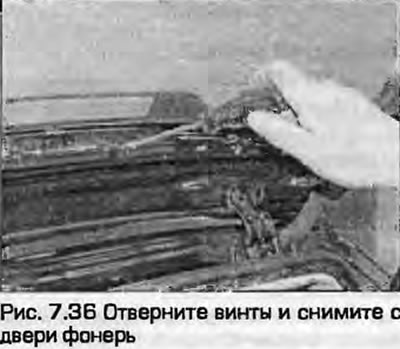
36. Loosen the screws and remove the light from the door (Fig. 7.36).
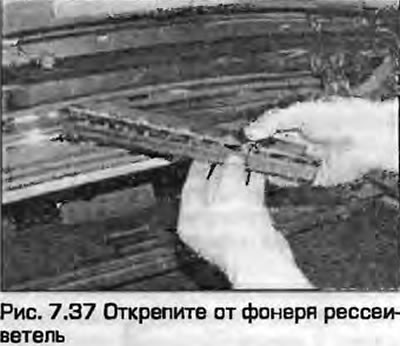
37. Remove the diffuser from the flashlight (Fig. 7.37).
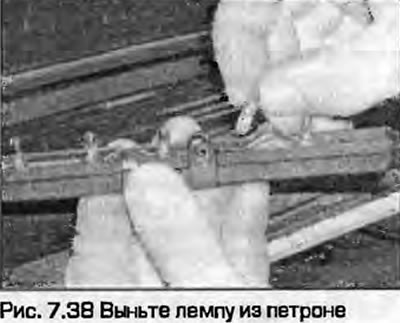
38. After this, remove the lamp from the socket (Fig. 7.38).
39. Installation - reverse procedure.