
Table of contents: Removal ↓ Installation ↓
Removal
1. Place chocks under the front wheels, raise the rear of the vehicle and install safety stands. Remove the corresponding rear wheel.
2. Transfer the weight of the appropriate rear arm to a trolley jack.
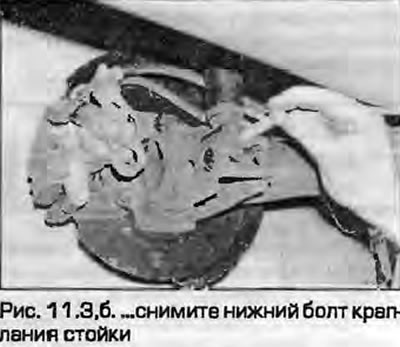
3. Unscrew the nut and remove the lower bolt securing the rack to the beam (Fig. 11.3). Throw away the bolt and nut - new ones are required for installation.
 |
 |
4. From inside the vehicle, remove the trim in the luggage compartment to access the pillar mounting bolts. You can do this by removing the rear seat back as described in chapter 11 - there is a cutout in the rear bulkhead for access to the bolts.
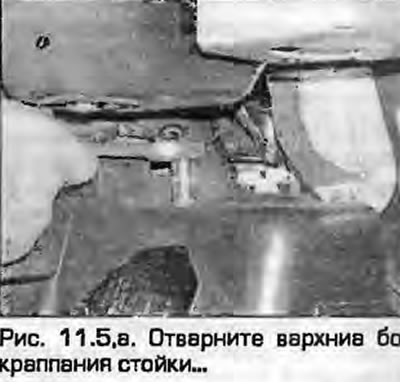
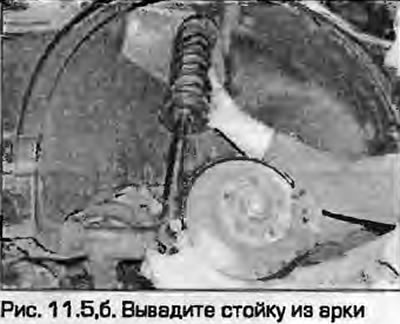
5. Unscrew the upper mounting bolts of the stand and turn it around to disconnect it from the body. Remove the stand from under the car (Fig. 11.5). Discard the nuts - new ones are required for installation.
 |
 |
6. Remove the upper support gasket, it may "stick" from the inside of the arch. Throw away the gasket - a new one is required for installation.
Installation
7. Install a new gasket onto the upper strut support.
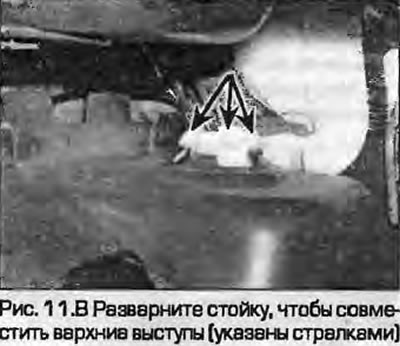
8. Install the stand, turning it so that the upper support projections match (Fig. 11.8). Install new upper support mounting bolts and tighten them to the specified torque.
9. Install the luggage compartment/rear seat back trim.
10. Raise the beam and secure the rear pillar to it. Screw in a new mounting bolt with a new nut. Do not tighten the nut at this stage.
11. Install the wheel. Lower the vehicle and tighten the wheel bolts to the specified torque.
12. After installing the car on the wheels, pump the car so that the struts "self-install". Tighten the lower nut with the prescribed torque.
(Read the original source on the website AUDImanual)