Examination
1. If faults appear in the system, the check can be carried out by replacing it with known good elements, but it is still worth carrying out some preliminary tests.
2. Connect a voltmeter or 12-volt test light between the glow plug power wire and the vehicle ground (metal parts of the body or engine).
Warning: Do not touch the power cable to metal parts of the body or engine.
3. Ask an assistant to turn on the ignition and check the voltage at the spark plugs. Note the duration of the warning light on the instrument panel and the duration of the presence of voltage at the spark plugs. At the end of the warm-up period, the voltage should drop to zero
4. If there is no power supply and no light at all, the fault lies in the control unit, relay or electrical components.
5. To locate the faulty spark plug, unscrew the nuts, remove the washers and disconnect the power wire and power bus from the spark plugs.
6. If you have an ammeter, you can check the current through each spark plug. After the first pulse of 10...15 A, the current should drop to 8 A. A spark plug whose current is less or more than the above values may be faulty.
7. Finally, the spark plug can be removed and checked as described below.
Removal
8. Disconnect the negative battery cable and carefully move it away from the terminal as described in chapter 5A.
9. Loosen the nuts securing the supply wire to the spark plugs. Remove the busbar from the spark plugs.
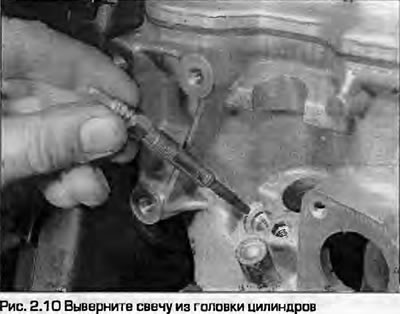
10. Unscrew the spark plugs and remove them from the cylinder head (Fig. 2.10).
11. Check the spark plugs for mechanical damage. Burnout or erosion of the tips may be due to faulty injector atomizers. Check the injectors if you see that there is damage as described in chapter 4B.
Installation
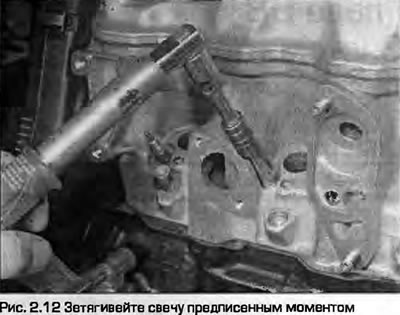
12. Installation is the reverse procedure. Tighten the spark plugs to the specified torque.