
Table of contents: Removal ↓ Installation ↓
Removal
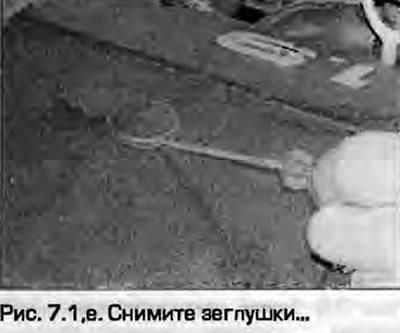
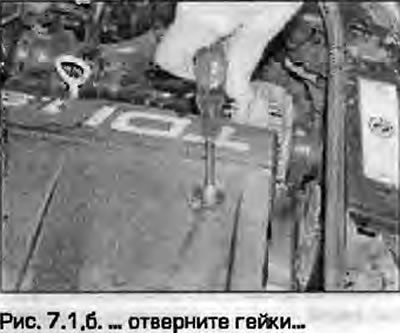
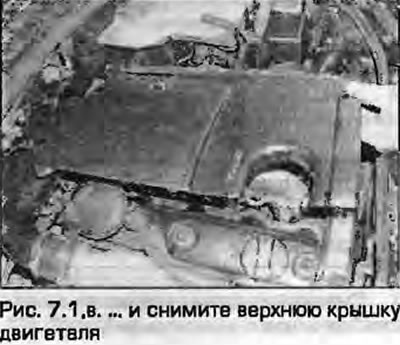
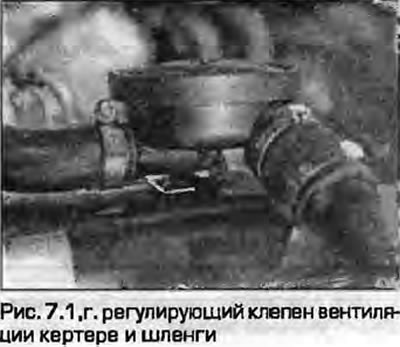
1. Remove the top engine cover Remove the clamp and disconnect the crankcase ventilation hose from the valve cover Remove the regulator valve from the cover, then remove the sealing ring (fig. 7.1, a-g).
 |
 |
 |
 |
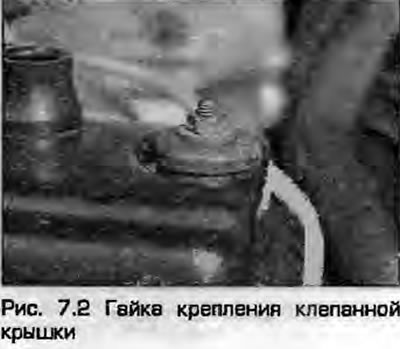
2. Remove the caps and unscrew the three nuts securing the riveted cover. Remove the washers and seals, remembering the order in which they were installed (Fig. 7.2).
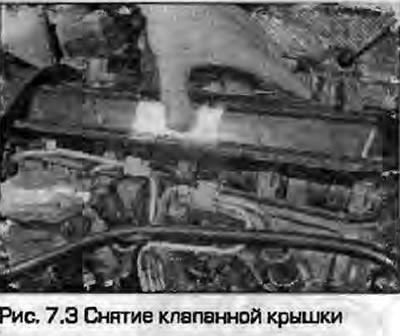
3. Remove the cover. If it has "stuck", do not pry it off with any levers - gently tap it with a rubber-coated hammer (Fig. 7.3).
4. Remove the valve cover gasket (Fig. 7.4). If the gasket is obviously damaged, replace it.

5. Clean the mating surfaces of the cover and head from traces of the old gasket - be careful not to damage the surfaces themselves.
Installation
6. Install the cover in the reverse order of removal, paying attention to the following:
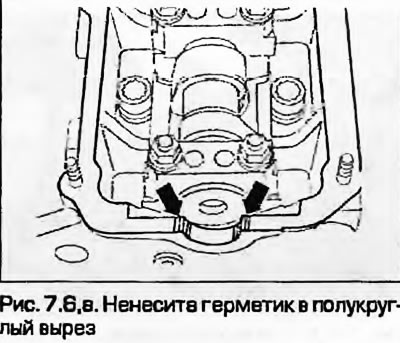
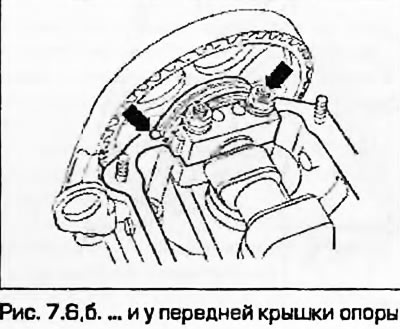
- a) Before installing the valve cover, at the rear of the cylinder head, apply a suitable sealant to the upper edges of the semi-circular cutout in the cylinder head. At the front of the cylinder head, apply the appropriate sealant to the two contact points of the camshaft bearing cover with the cylinder head (fig. 7.6, a, b).
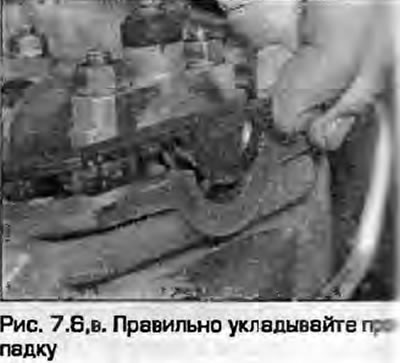
- b) Make sure that the gasket is correctly positioned on the head and try not to move it when installing the cover (Fig. 76, c). On previous models, the gaskets had four guide projections that had to match the holes in the cylinder head.
- c) Tighten the cover mounting nuts to the specified torque.
 |
 |
Content source: the specified website: AUDImanual.ru