
Removal
AHL Engine
2. Disconnect the ground wire from the battery.
3. Remove the front panel of the body (hood lock bracket) to the "maintenance" position as described in chapter 11.
4. Drain the coolant as described in the chapter 1A or 1B.
5. Remove the accessory drive frame as described in chapter 2A.
6. Loosen the clamp and remove the upper radiator hose as described in paragraph 3.
7. Pull the oil dipstick tube out of the guide bushing in the cylinder block.
8. Remove the generator as described in chapter 5A.
9. Disconnect the lower radiator hose from the thermostat housing.
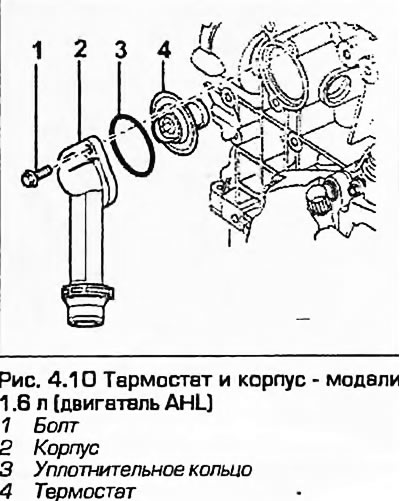
10. Loosen and remove the mounting bolts and carefully remove the thermostat housing cover. Remove the thermostat from the housing and then remove the sealing ring. You will need a new ring for installation (Fig. 4.10).
All other models
11. Disconnect the "ground cable from the battery".
12. Drain the coolant as described in Chapter 1A or 1B.
13. If better access is required, loosen the clamp and disconnect the cooling hose from the thermostat cover.
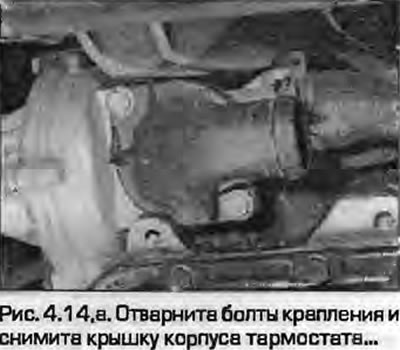
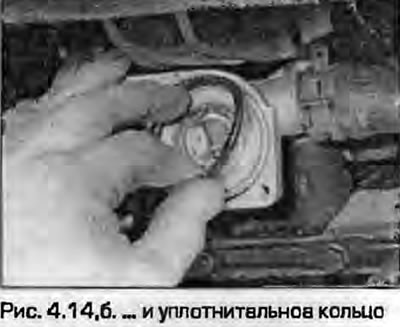
14. Unscrew the mounting bolts, then remove the thermostat housing cover, and then the sealing ring from the engine (fig. 4.14, a, b). Throw away the ring; a new one is required for installation.
 |
 |
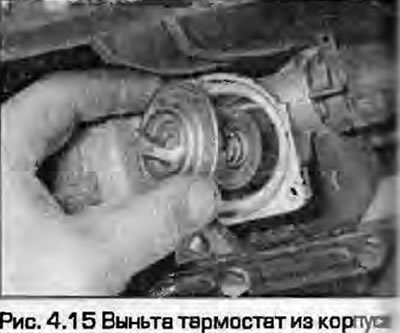
15. Remove the thermostat, remembering how it was installed (Fig. 4.15).
Examination
16. You can roughly check the thermostat by hanging it on a wire in a pot of water. Boil the water in it - the thermostat should open when it boils. If it does not open, replacement is inevitable.
17. If you have a thermometer with a sufficient measurement range, you can measure the opening temperature of the thermostat and compare it with the data in Specifications. The opening temperature value is usually marked on the thermostat. If the thermostat does not open with or without a thermometer, or does not close when removed from boiling water, throw away the thermostat and buy a new one for installation.
18. If the thermostat does not close when cooling, it also needs to be replaced.
Installation
All models
19. Installation is the reverse procedure. Please note the following:
- a) Replace the thermostat sealing ring.
- b) On AHL engines, the curved part of the thermostat is installed vertically.
- c) Tighten the thermostat housing mounting bolts to the specified torque.
- d) Fill with coolant as described in the chapter 1A or 1B.
- d) Finally, connect the battery.
(The original article is available on the online resource: AUDIMANUAL)